
|
WHAT'S NEW |
Learn about Shibori!
|
Now that the weather is getting warmer, I will be teaching some Shibori workshops with indigo dye. You can learn how to fold fabric to create beautiful repeating patterns that develop after you dip them in the dye. It's so fun - you will want to dip everything you can find!
See all upcoming classes. |

|
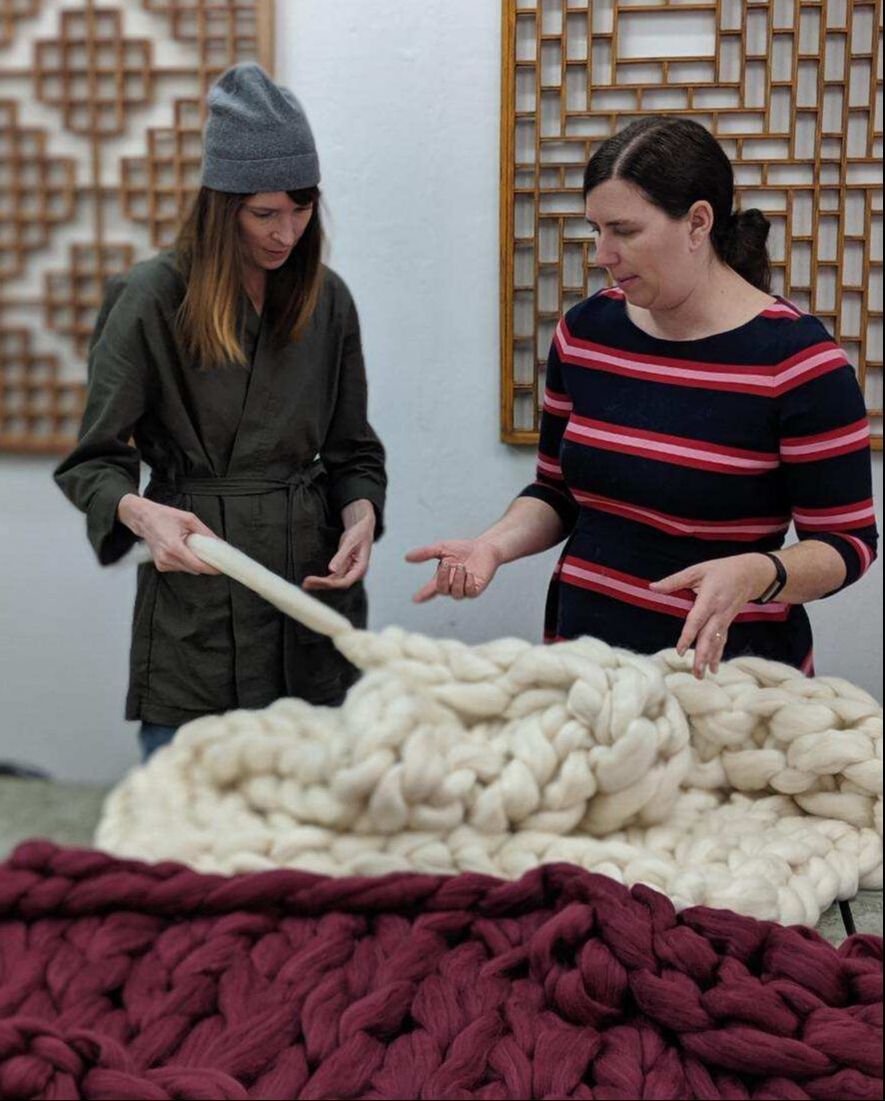
I want to help you build confidence.Most of my classes are designed to help beginners learn a skill, build confidence, and finish a project so that they can move onto the next one.
While I specialize in knit and crochet designs, I love all kinds of textile and fiber arts. No matter where you are in your crafting education, I would love to help you expand your knowledge with a fun and engaging project. |
|
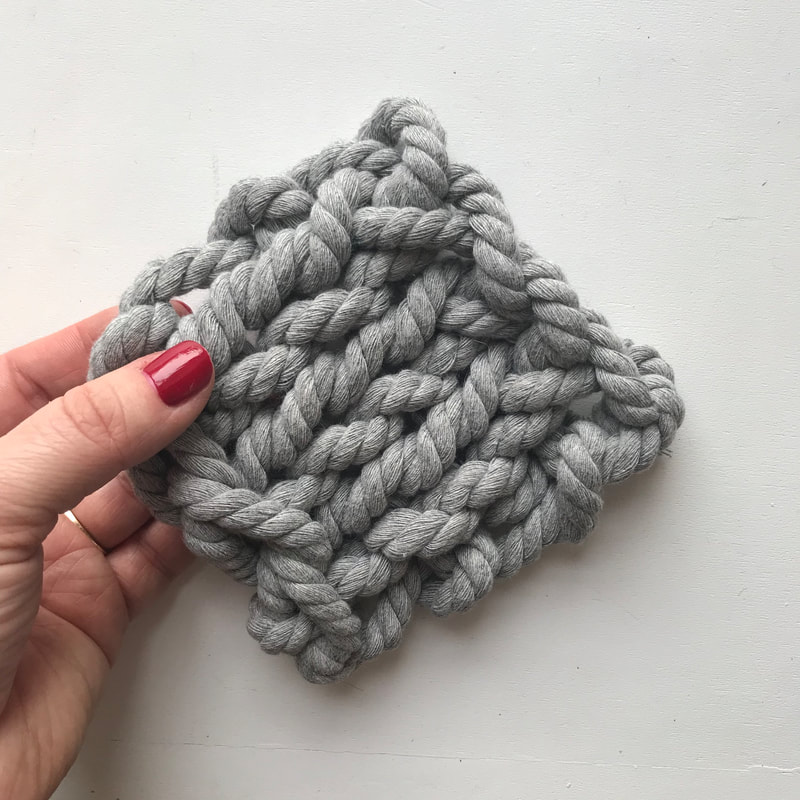
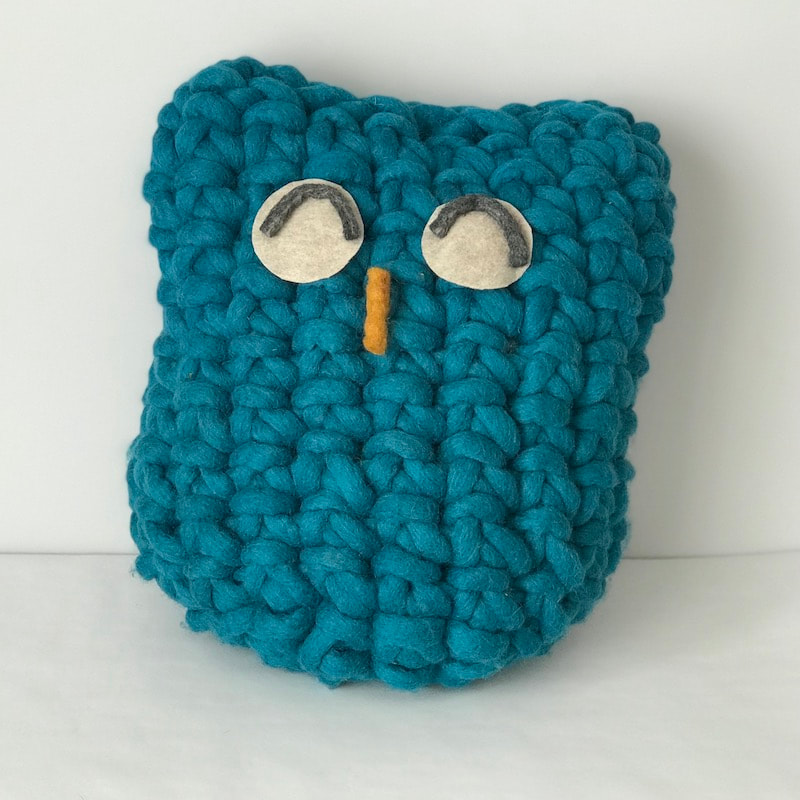
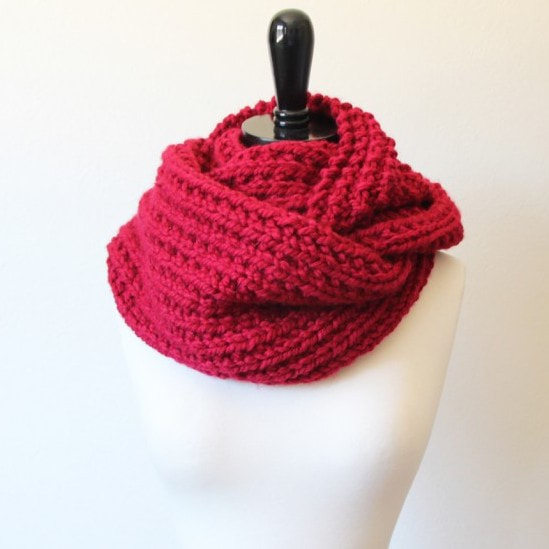
Past classes
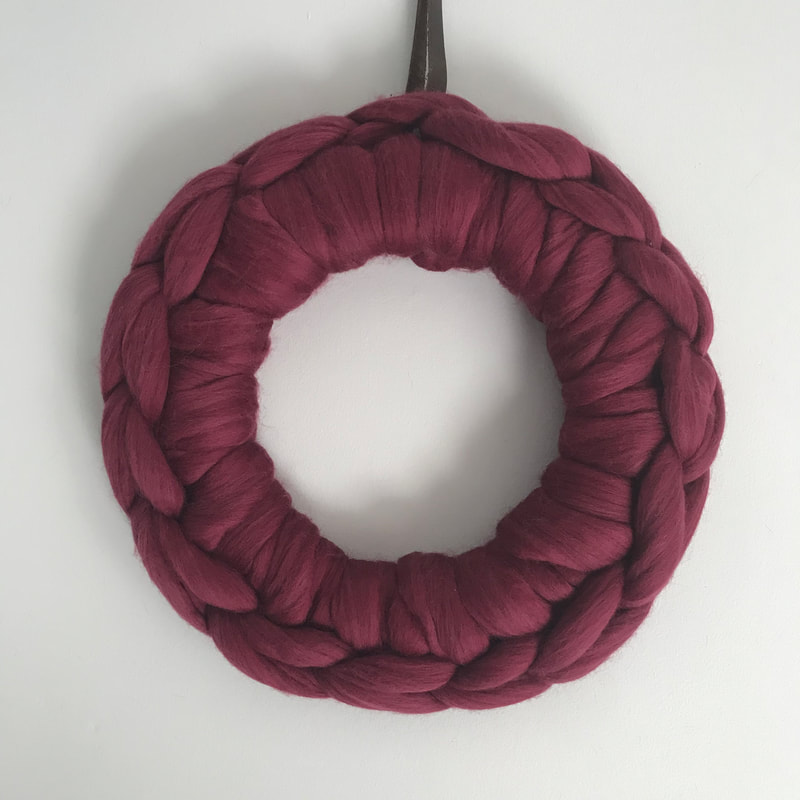
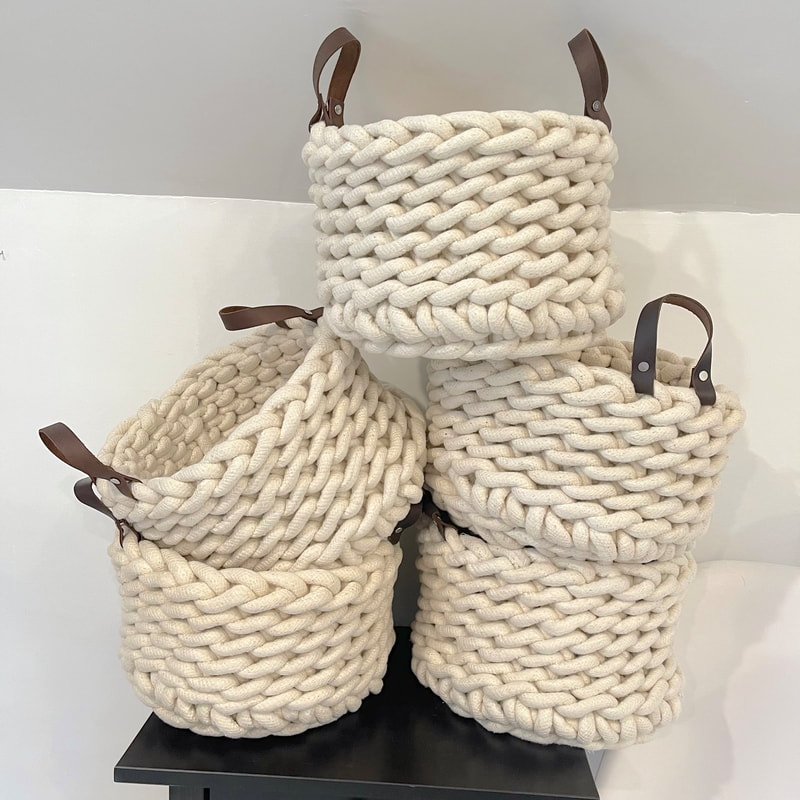
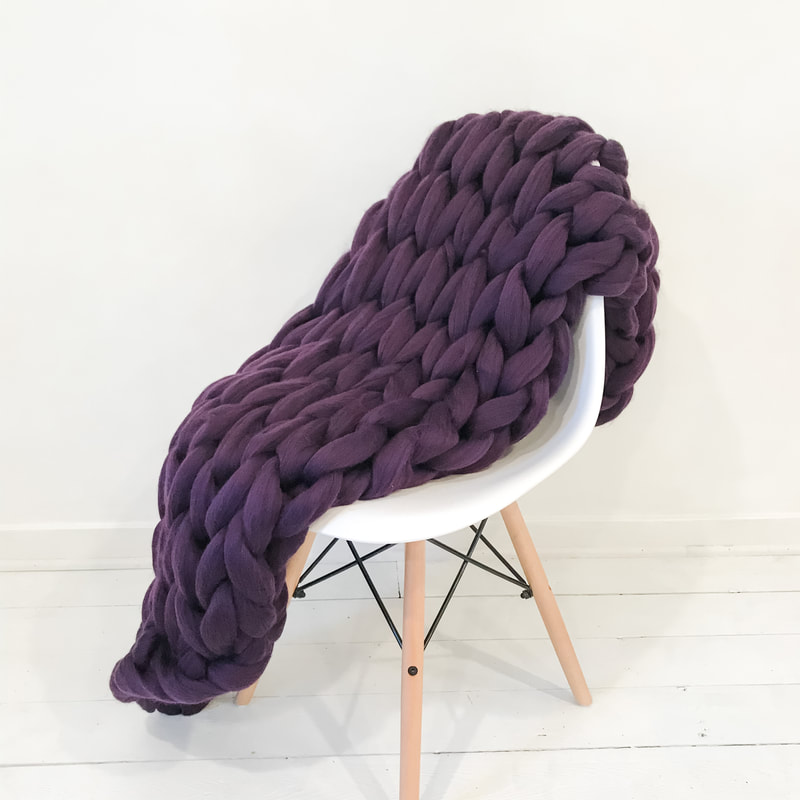
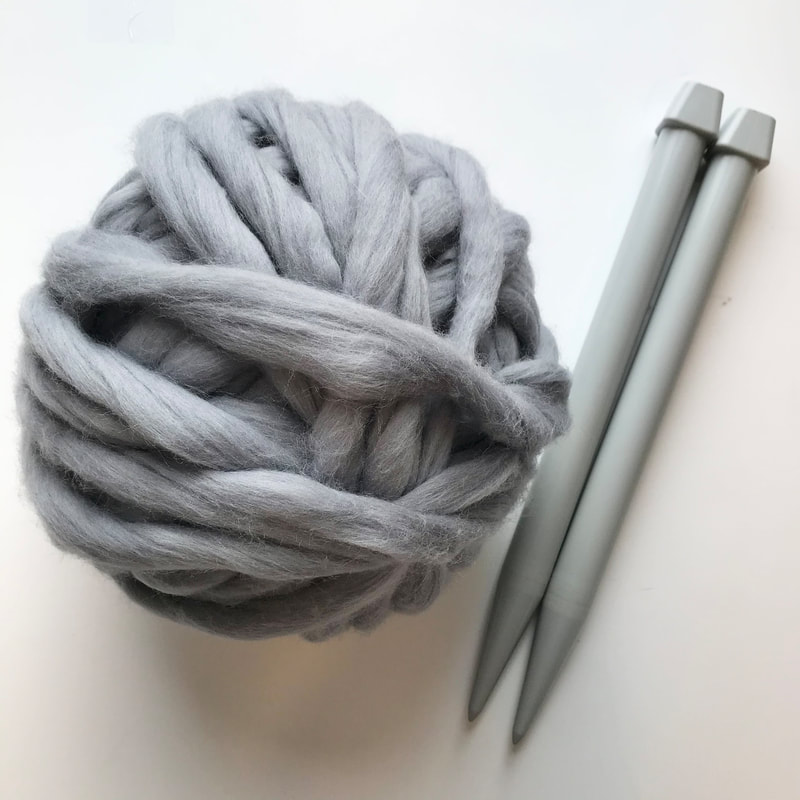
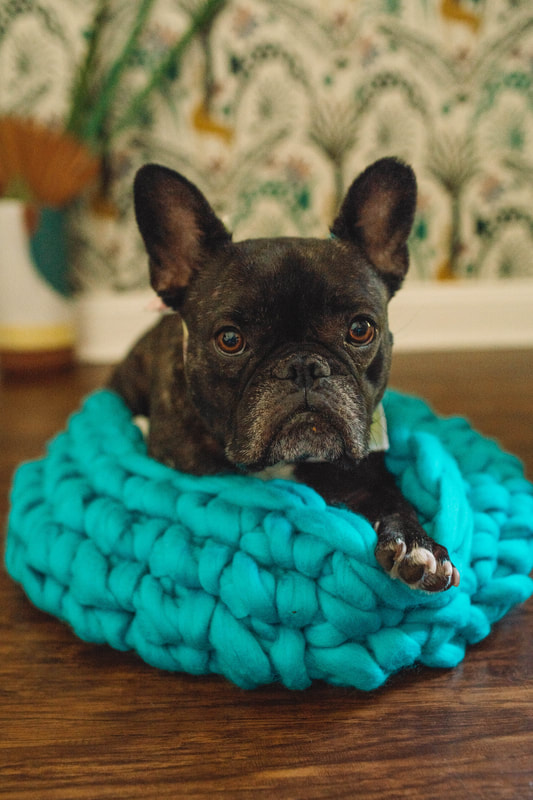
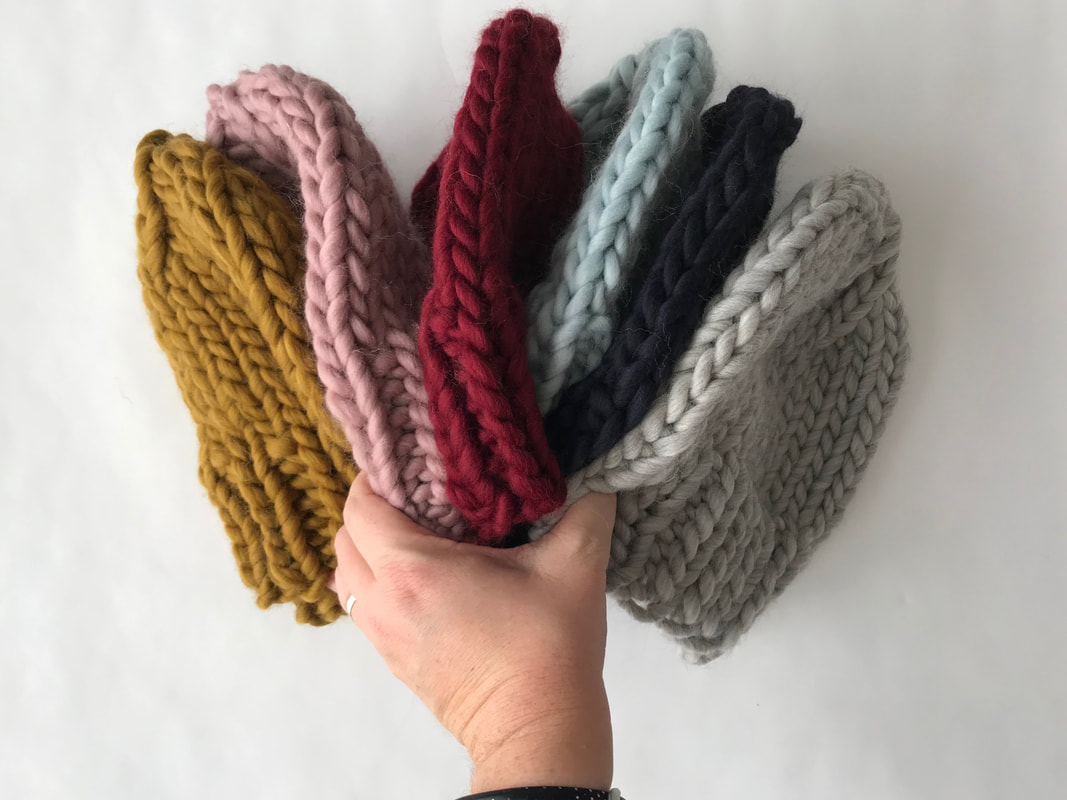
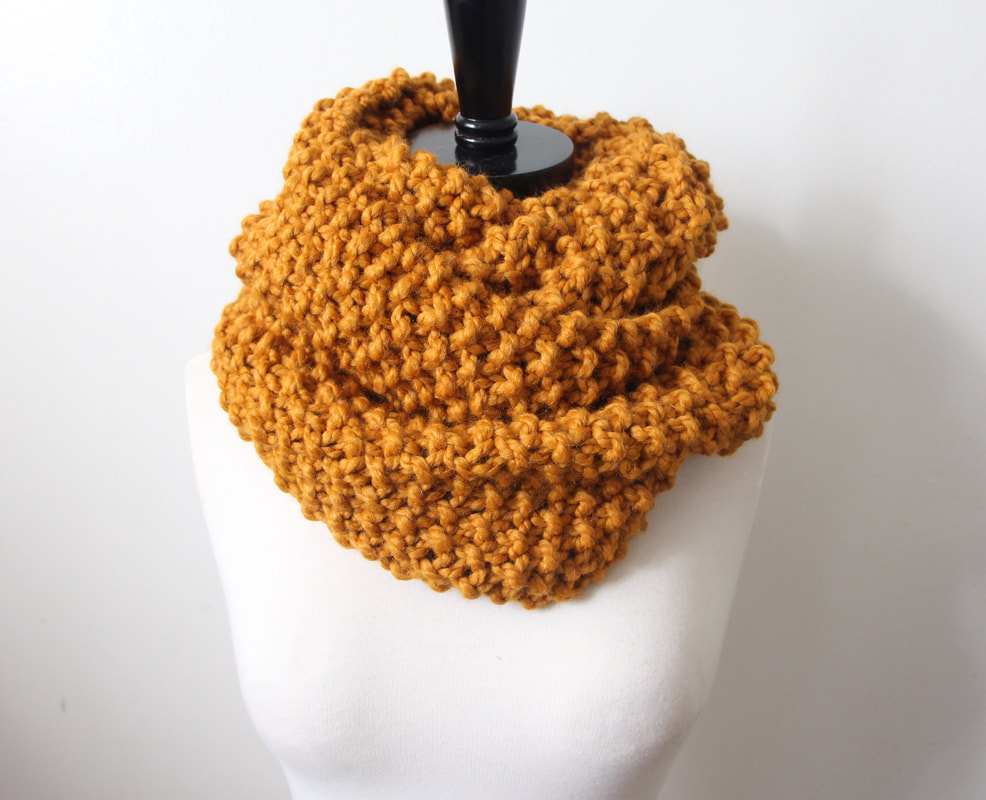
Favorite chunky knits

Get in touchIf you have any questions about my classes, products, or patterns or would like to start a conversation about how we can work together, please fill out the contact form. I will be in touch soon. I am based in St. Paul, Minnesota, but I love to travel and I can teach remotely over Zoom.
|
|