|
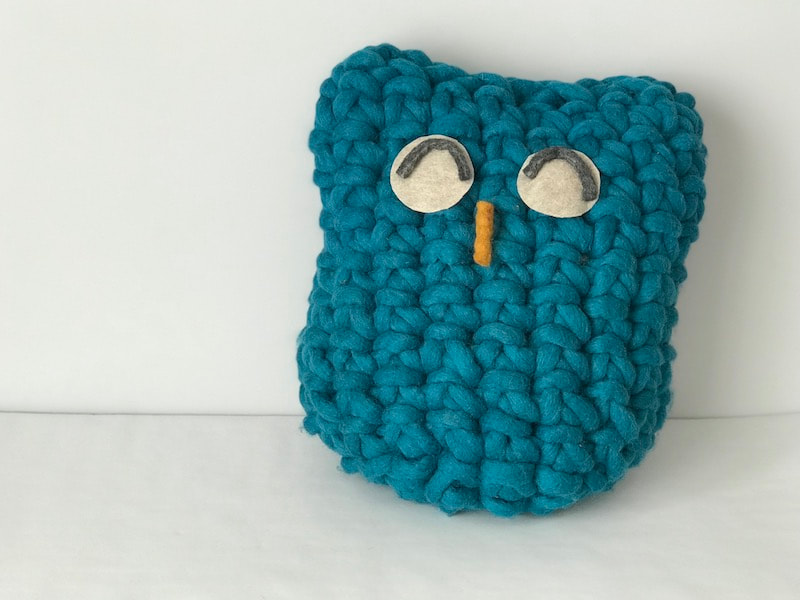
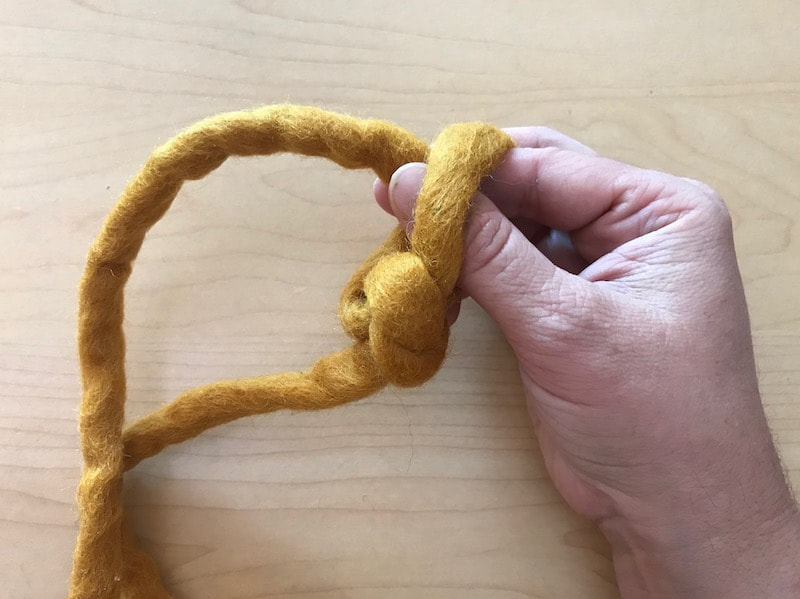
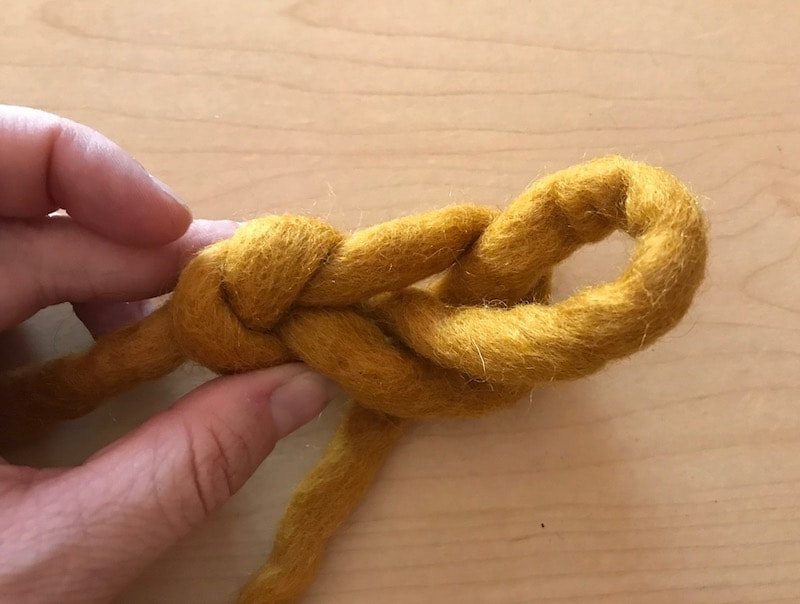
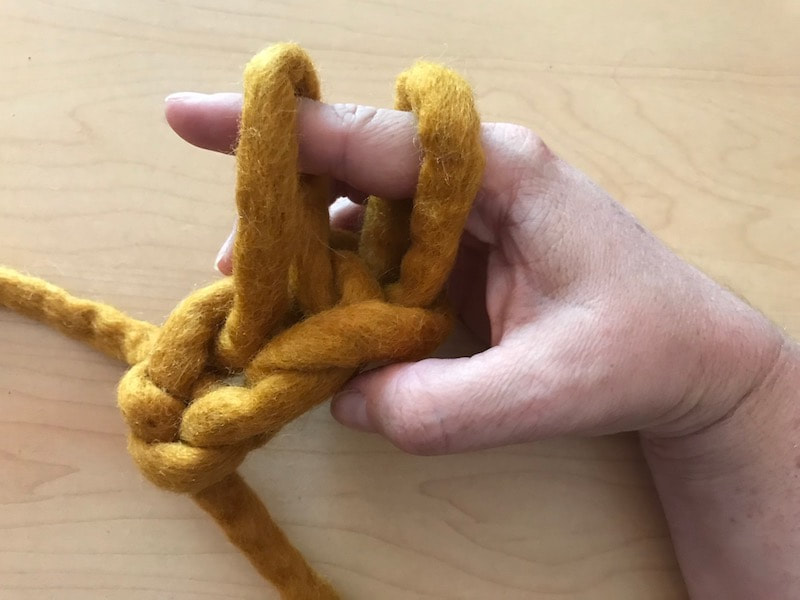
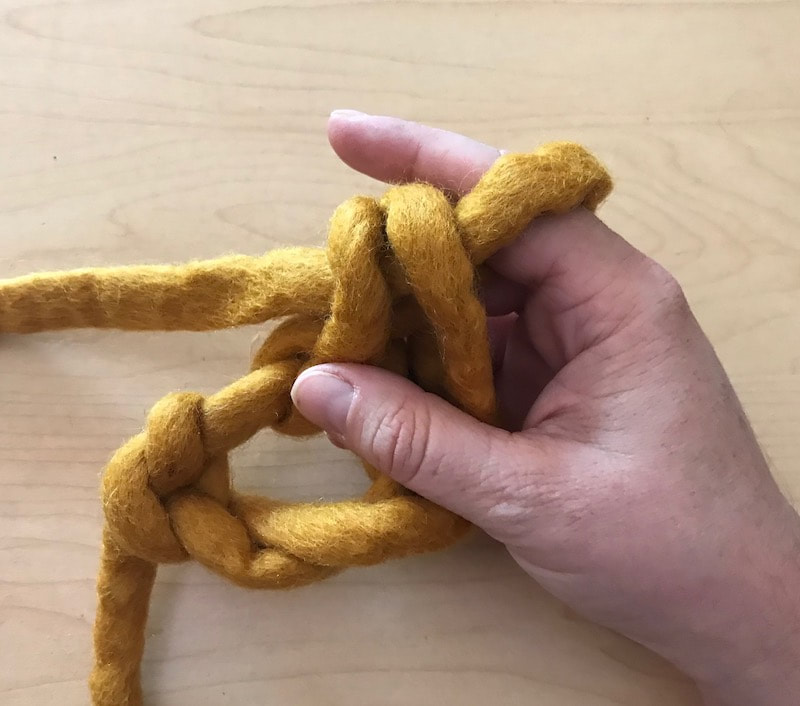
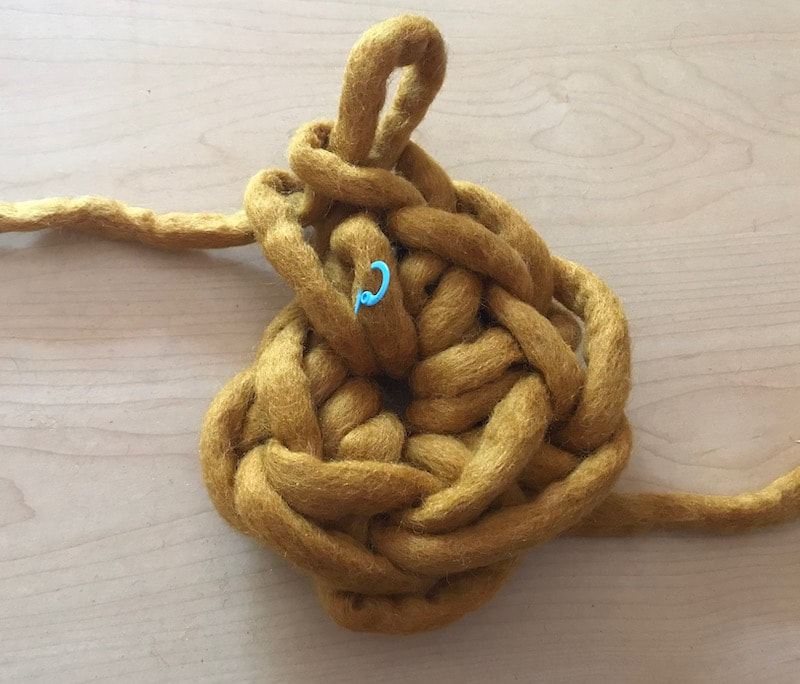
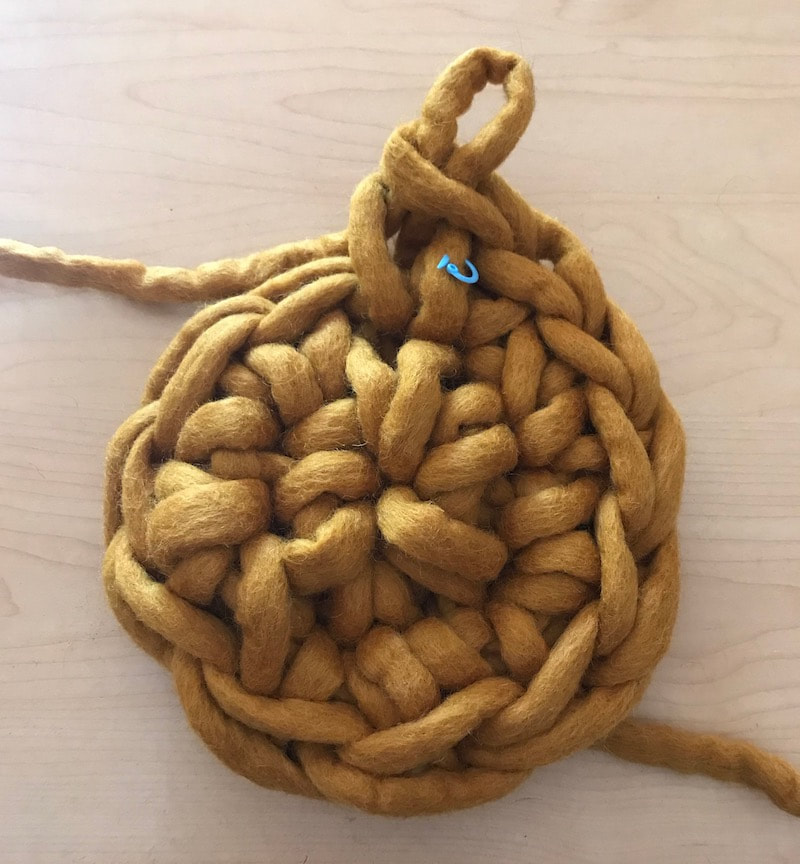
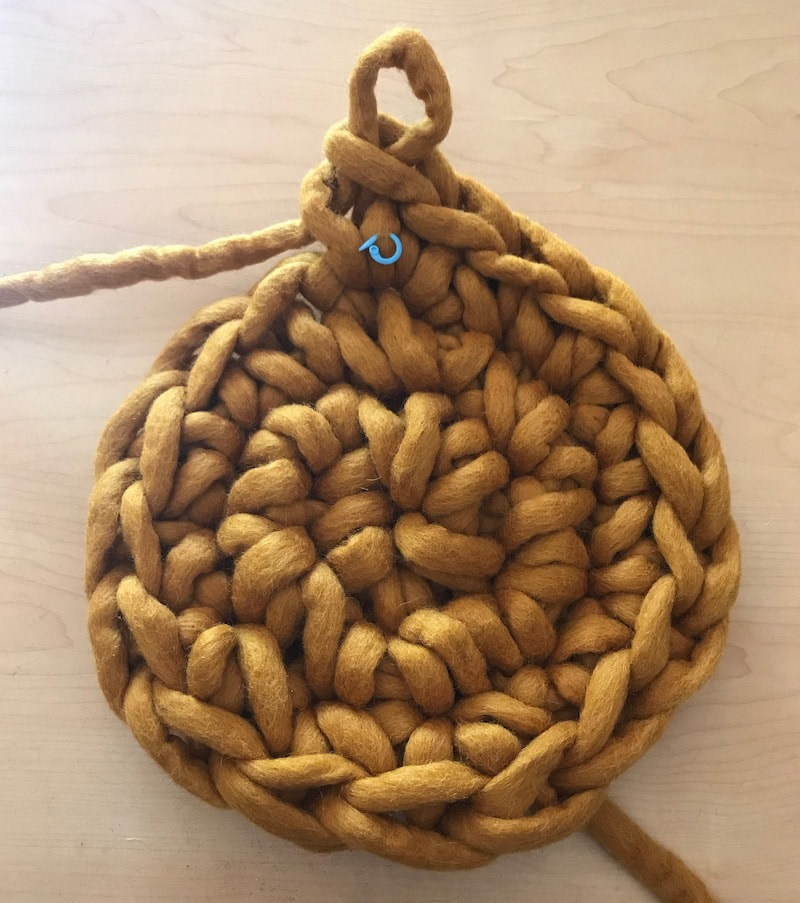
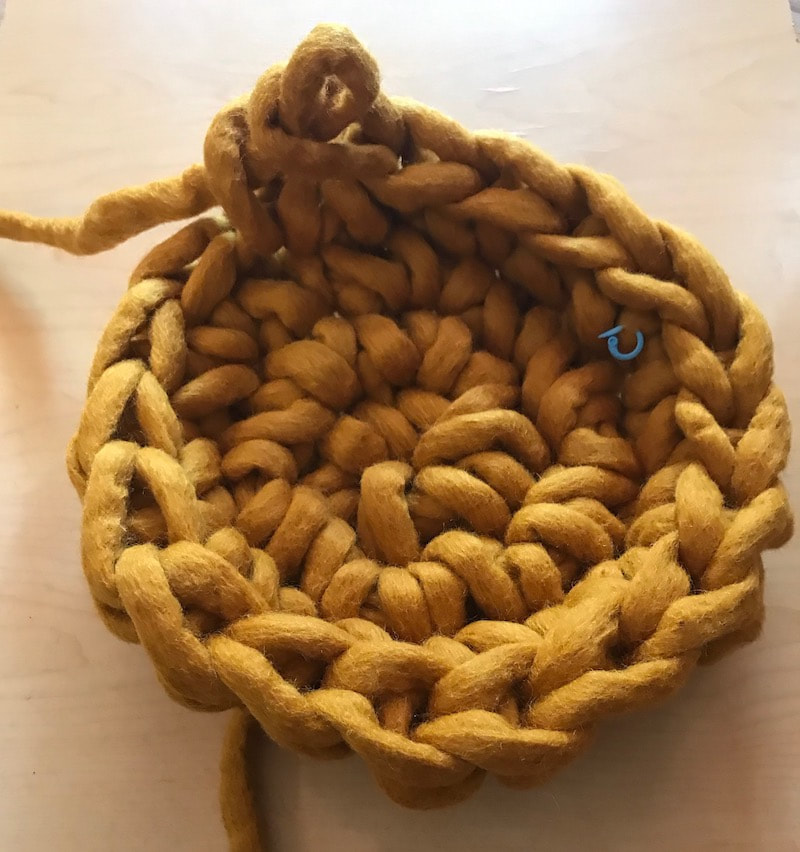
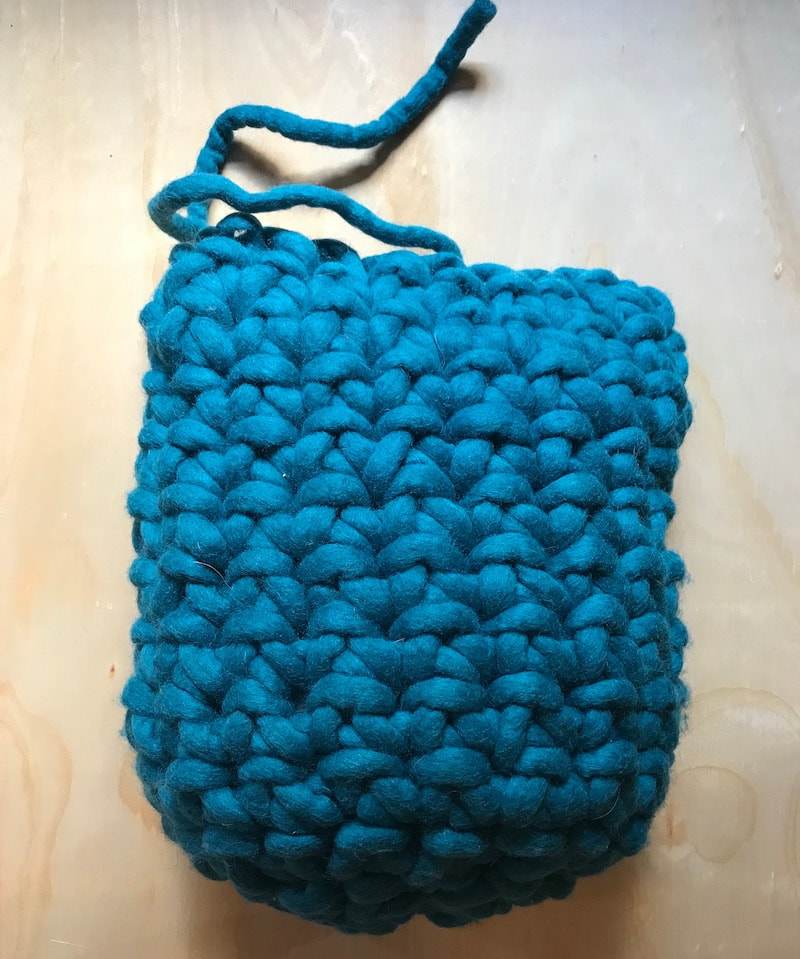
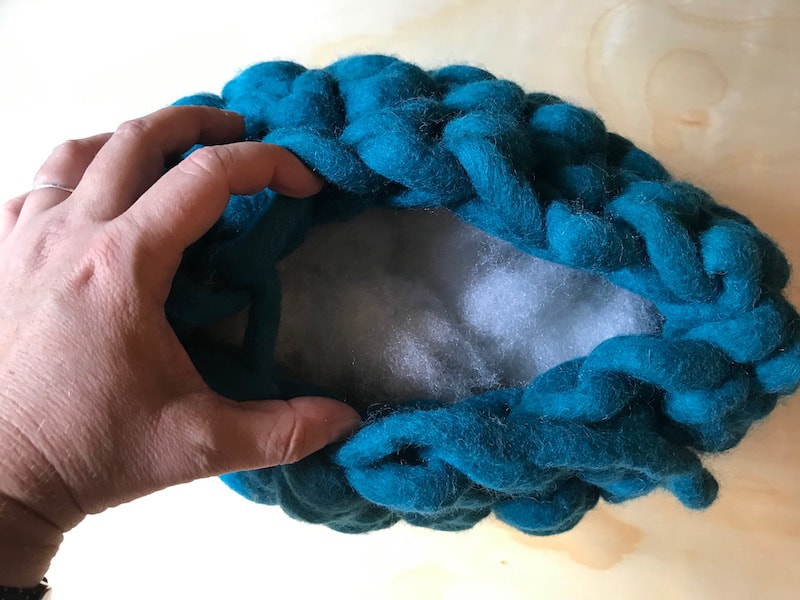
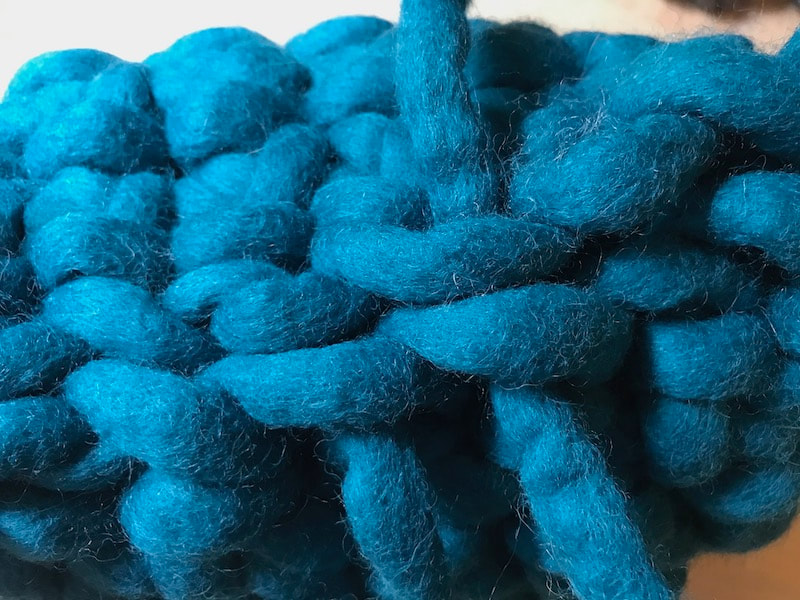
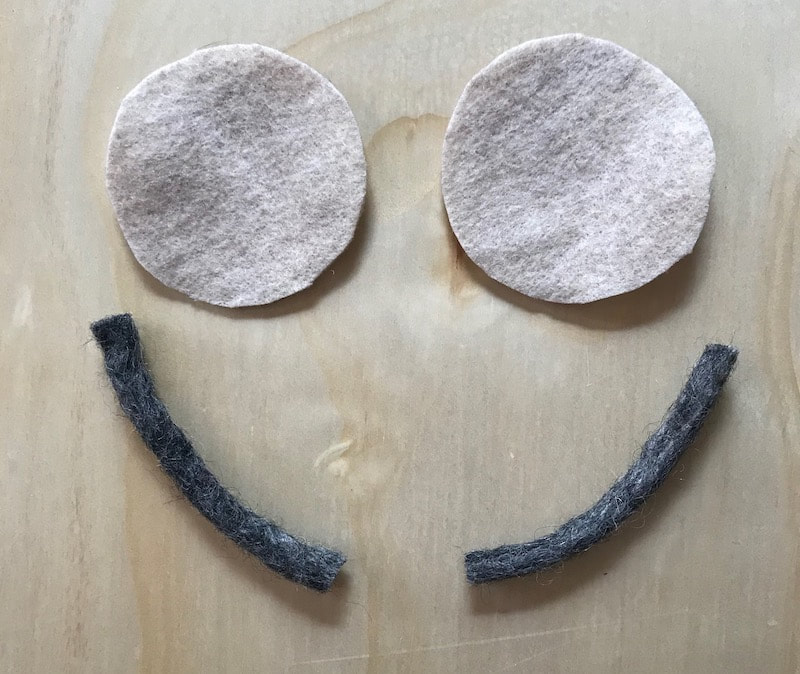
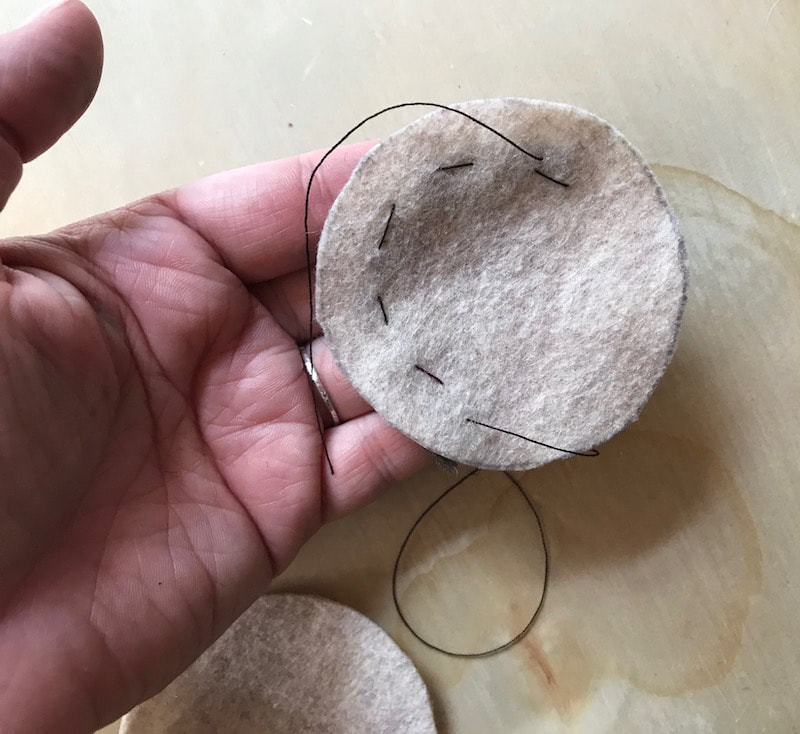
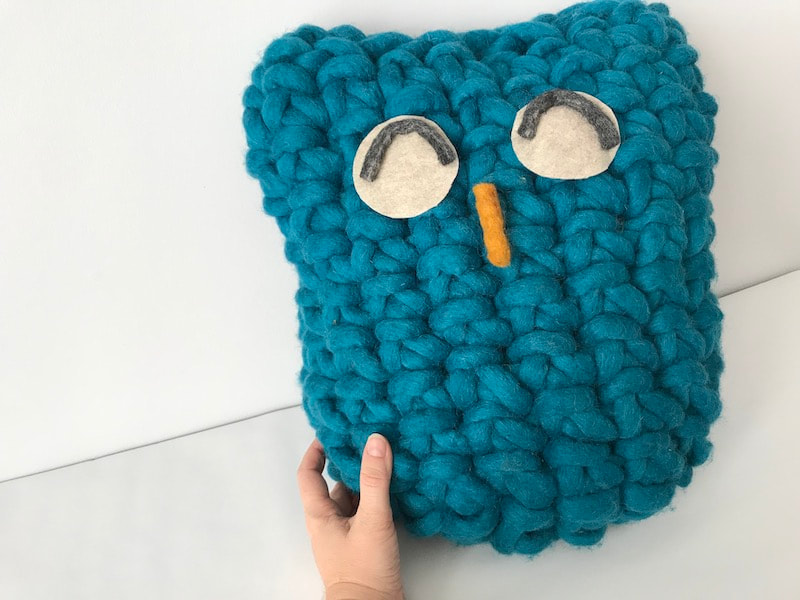
I used to make tiny owlies to sell at craft fairs and I always wondered, what if I made one that was really big instead? It seemed like the perfect project for Tough Love yarn (my favorite wool yarn for poufs), although you could use any jumbo yarn, wool roving, or multiple strands of bulky yarn held together instead. The Tough Love will hold up to a lot of use. I used my fingers to make the stitches, but you could use a jumbo crochet hook if you wanted (size U/25 mm). They are much easier to find at craft stores than they used to be. The stuffing is also up to you – you won’t see it so feel free to recycle old fabric or anything soft and pillow-like. Crocheted owl pillowMaterials • 2 balls of Tough Love felted wool yarn (approx. 50 yards each) (I used the teal and turmeric colors) • Small piece of white or beige felt for the eyes • Black and orange yarn pieces for the eyes and mouth (I used a small piece of turmeric Tough Love with the bottom snipped into a V for the beak and two little pieces of Tough Love Tiny for the eyes. A black piece of Tough Love split down the middle to make 2 skinny pieces would work for this as well.) • Polyester fiberfill stuffing (or stuffing of your choice) • Stitch marker • Fabric glue or needle and thread to attach the eyes/mouth Instructions *If you already know how to crochet, you can Ch2, make 6 SC into the first chain and skip to the second row. * First row. Start by making a slip knot. Leave a short tail (6-8 inches) of yarn, which you will tuck inside later. Reach two fingers into the loop and pull another loop of yarn through there. That makes your first chain. Pull another loop through the last loop to make a second chain. Pulling the first loop through the slip knot to make a chain. First chain complete. You’ll make 2. Place the last loop on your finger. You are now going to put 6 single crochet stitches (SC) into the first chain you made. (You might need to use your fingers to open that space a little wider). Reach under the top of the first chain and pull up a loop so that you now have 2 loops on your finger. Now reach through both of those loops and pull a new loop through them. That’s a single crochet! Two loops on your finger – now pull a new loop through these. SC stitch complete. Notice the space for the next 5 stitches. Now you are going to repeat that five times until you have a total of six single crochet stitches in the same chain stitch. By the time you finish, you should have made a circle shape. Place a stitch marker on your very last stitch. (Every time you complete a row, you will move this marker up to the next row). For the second row, you’re going to put two SC into each of the six stitches for a total of 12 stitches in that row. The top of each crochet stitch looks kind of like a V. You’ll reach under both sides of that V to pull the new loop for the next stitch through. For the third row, you will put 1 SC in the first stitch and 2 SC into the second stitch and repeat that pattern for a total of 18 stitches. This is where you will stop increasing. For the fourth row and every row after, you will put 1 SC in each stitch, staying with 18 stitches per row. This will make your piece start going up into sort of a basket shape. Stop at the end of 12 rows. Finishing When you reach your last stitch, pull the remaining yarn through the middle of the stitch and tighten it. You will use the yarn tail to stitch the top of the pillow closed. The finished piece looks like this. First, you need to add stuffing. Place enough stuffing inside the pillow so that it will stand up, but it’s not bursting out the top. Once you’re happy with it, you can start sewing top closed. (You can also tuck the tail from the beginning of your work inside the pillow). I like to hold one loop from each side of the seam together and then weave the yarn through both loops, side to side until I reach the end. Then tie a knot and tuck the rest of the yarn inside the pillow. If there’s too much, cut it off to about 6 inches long, then tuck that inside. Pinching one stitch from each side together, then weaving the yarn tail through. Now you can add the eyes and mouth. Cut out two felt circles – I like to draw around the bottom of a glass to get perfect circles. Then add the black pieces in a U-shape to look like eyes. They are about 3 inches long. You can attach them with a few stitches or some fabric glue, like Fabri-Tac. For the nose, I cut a piece of Tough Love about 2 inches long and then snipped off the bottom in a V-shape. But you could also use another type of yarn or felt and glue it on. That’s it! You could make one, or a whole bunch of owls, maybe with different-sized yarns. I think they would be so cute in a kids room.
0 Comments
Leave a Reply. |
by CaraNeed a quick and easy project? These beginner-friendly patterns work up in no time. ArchivesCategories |

 RSS Feed