|
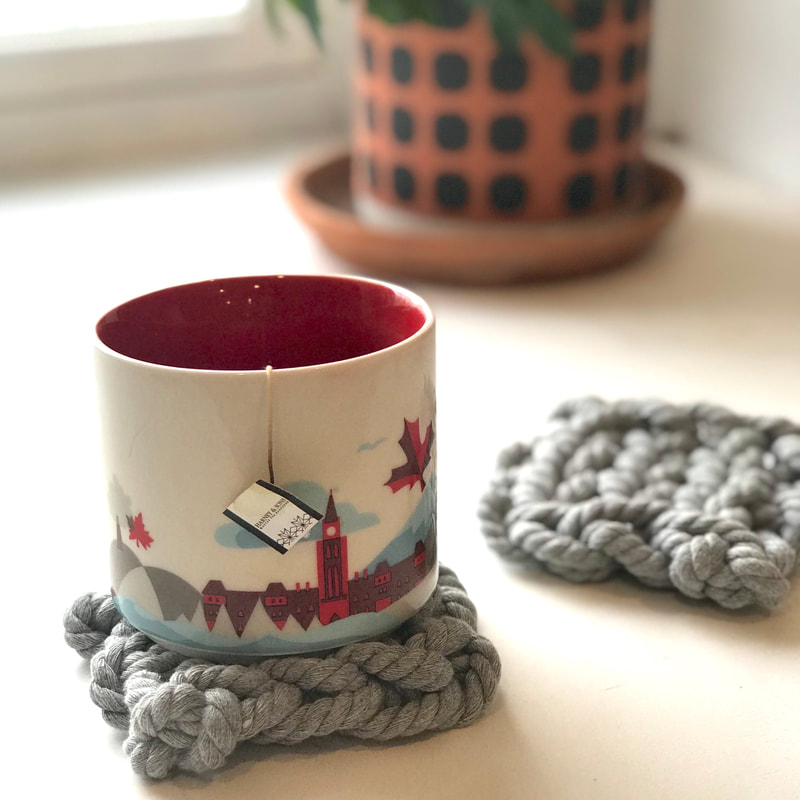
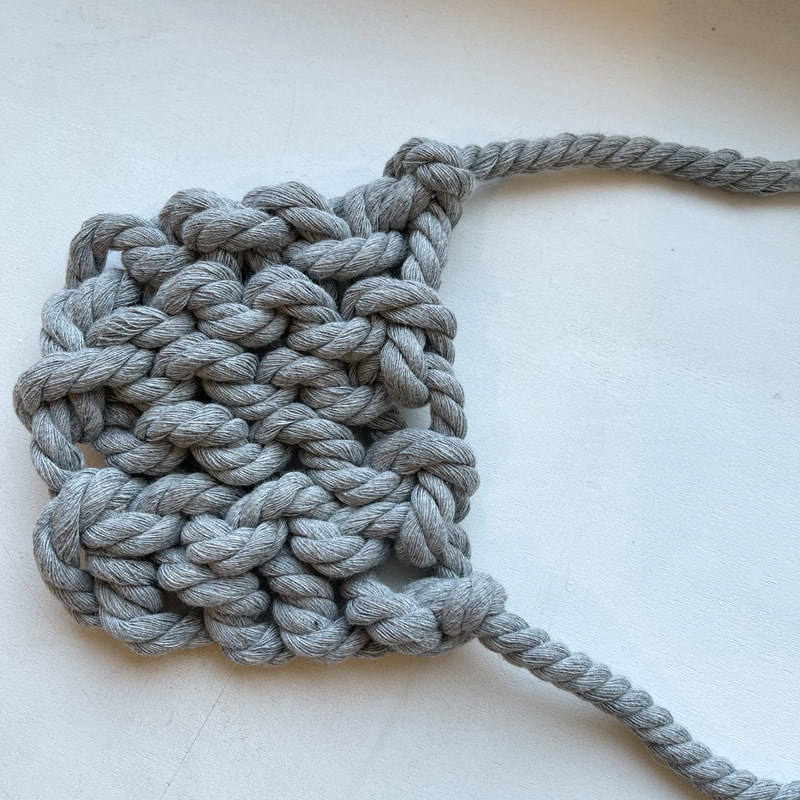
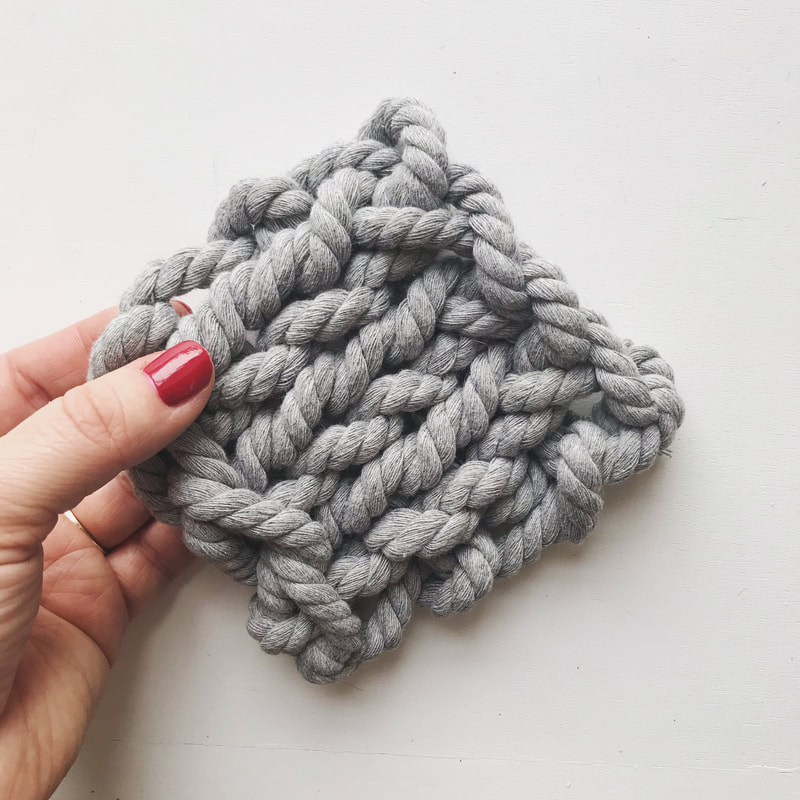
These adorable rope coasters work up in no time. You make the stitches with your fingers, so you don't even need knitting needles! This is a great project for kids as well. One hank of macrame cord will make 4 coasters.
Materials
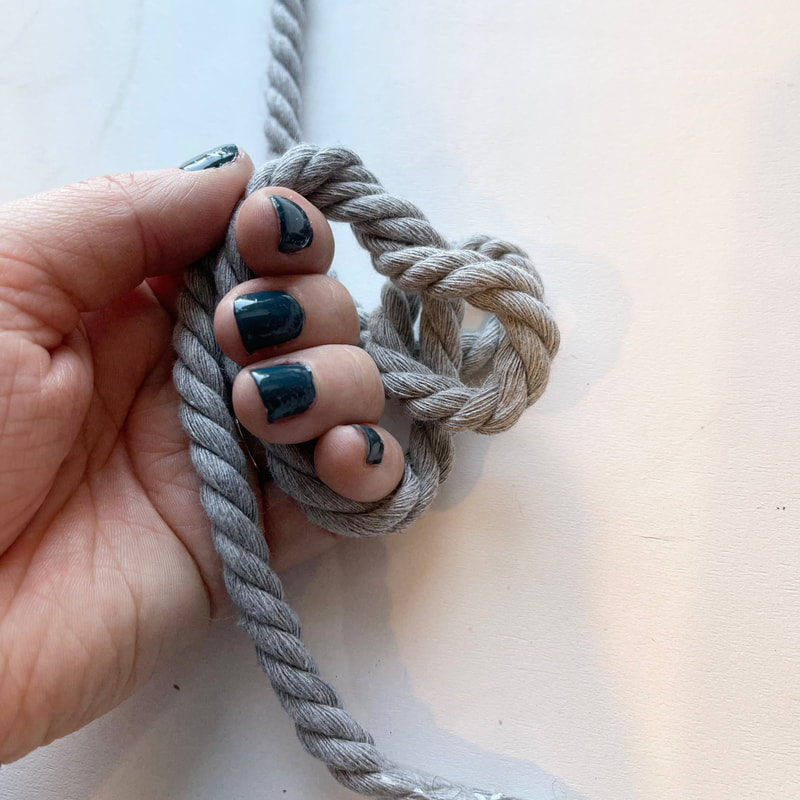
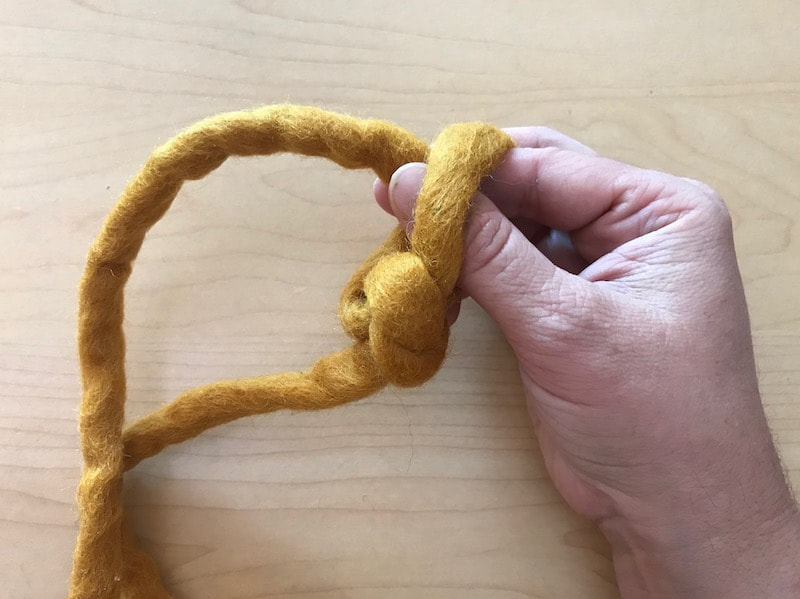
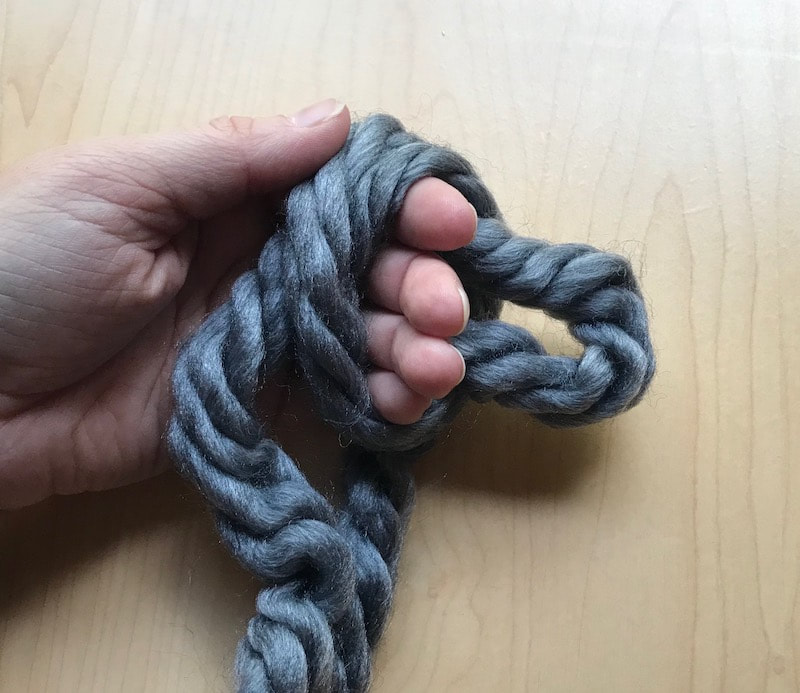
• 50 feet of 6 mm macrame cord (I used Cora's cotton craft cord) • Scissors • Clear tape Instructions Start by leaving a tail about 6 inches long and make a slip knot. A slip knot is an adjustable knot - there are many ways to make one, but I wrap the yarn around my palm until it crosses over and then and I push up a loop of yarn behind my hand. Then you can let your hand slip out and tighten the knot.
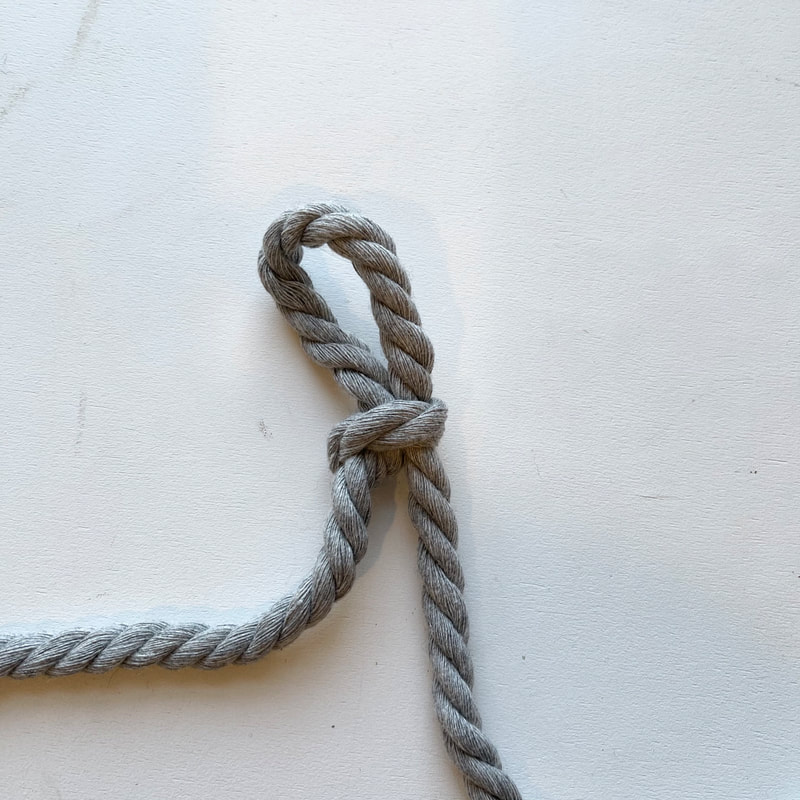
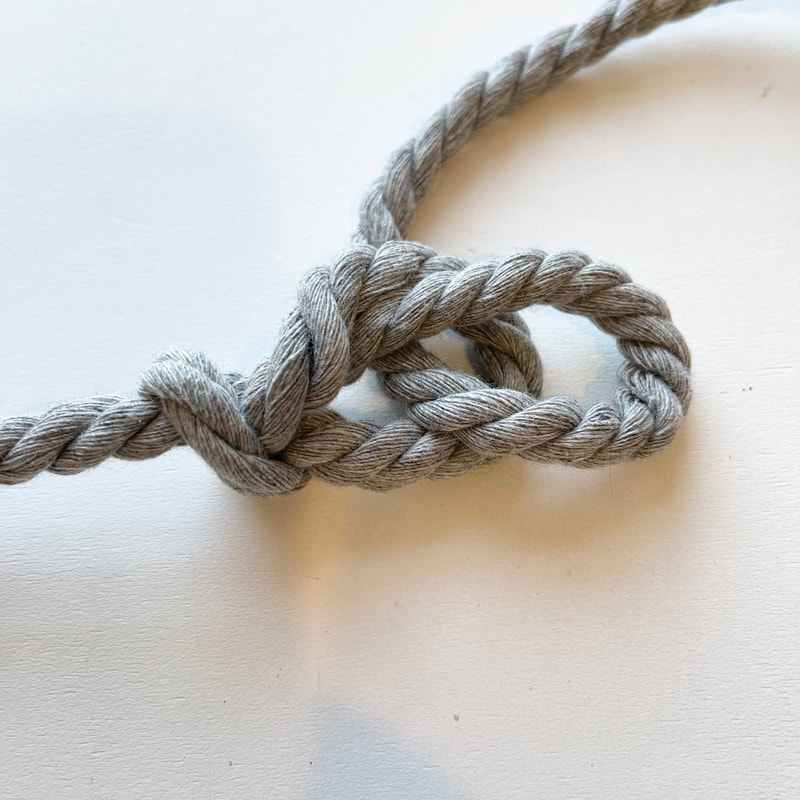
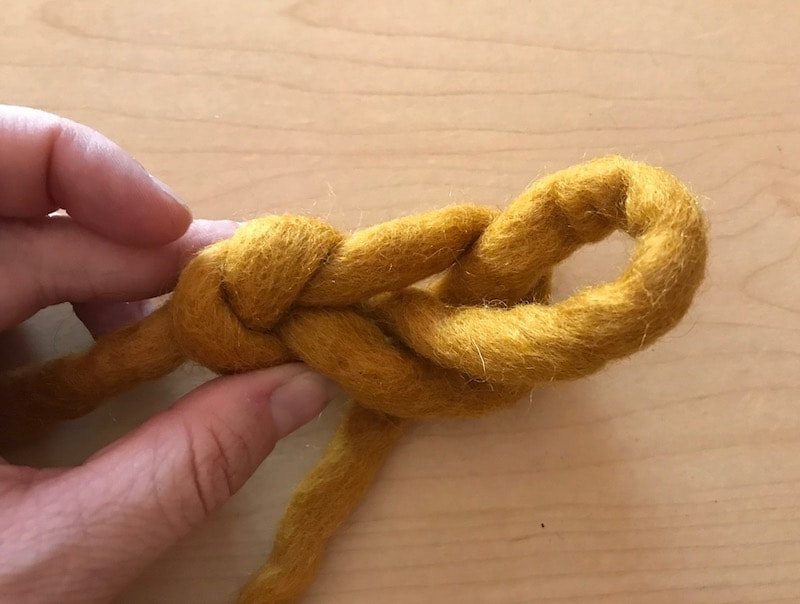
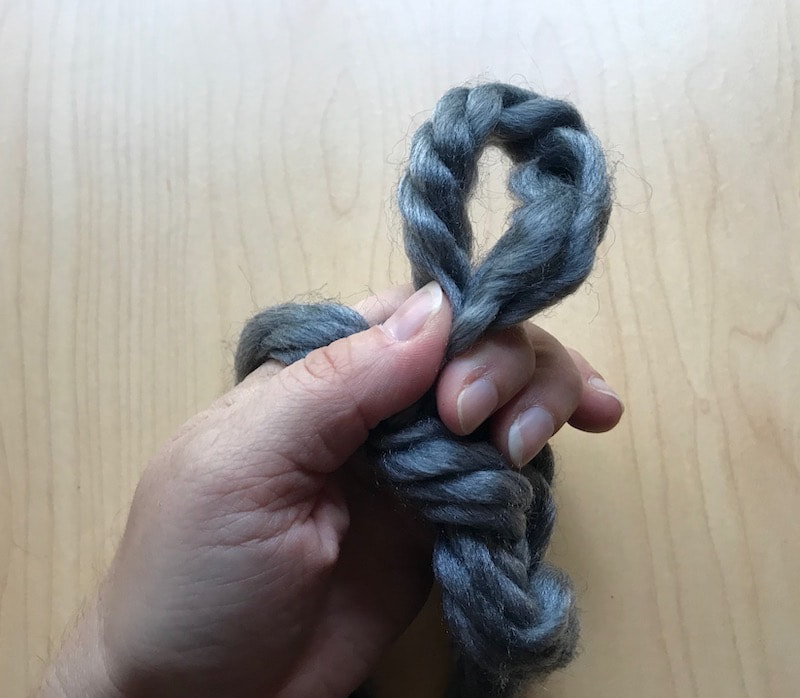
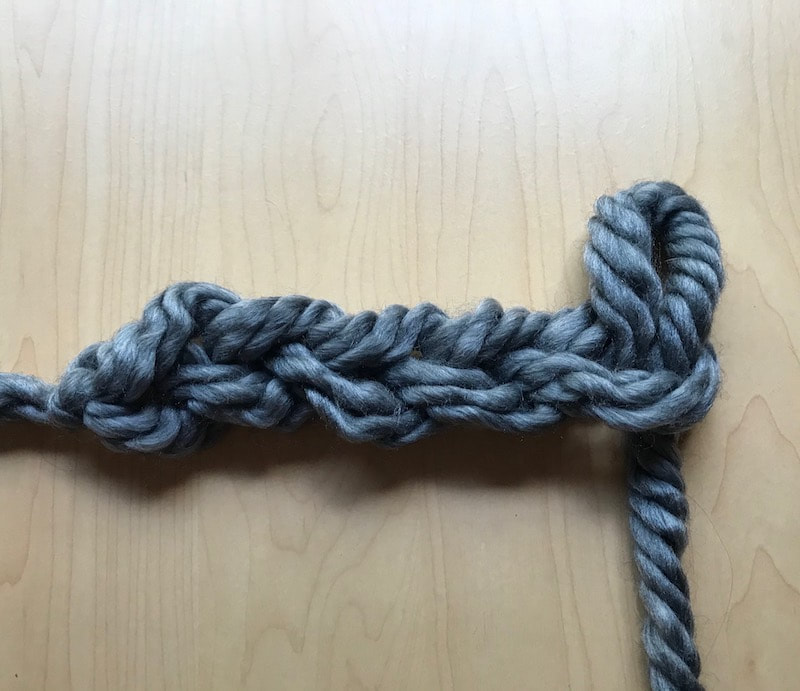
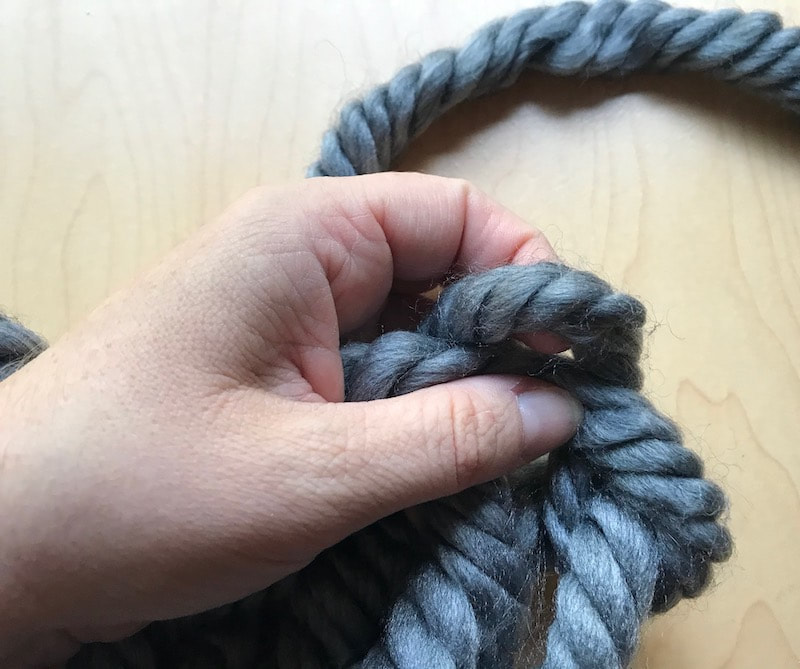
Since you don't have knitting needles, you need to make a chain of loops for the base of the coaster. Coming from behind, pull the cord through the loop to create a new loop. It should be about the same size - big enough to fit 2 fingers through it. That is your first chain (see below).
Making sure you don't tighten the previous chain into a knot, pull another loop through that one. You are going to make a total of 4 chains, plus you will have an extra loop sticking out.
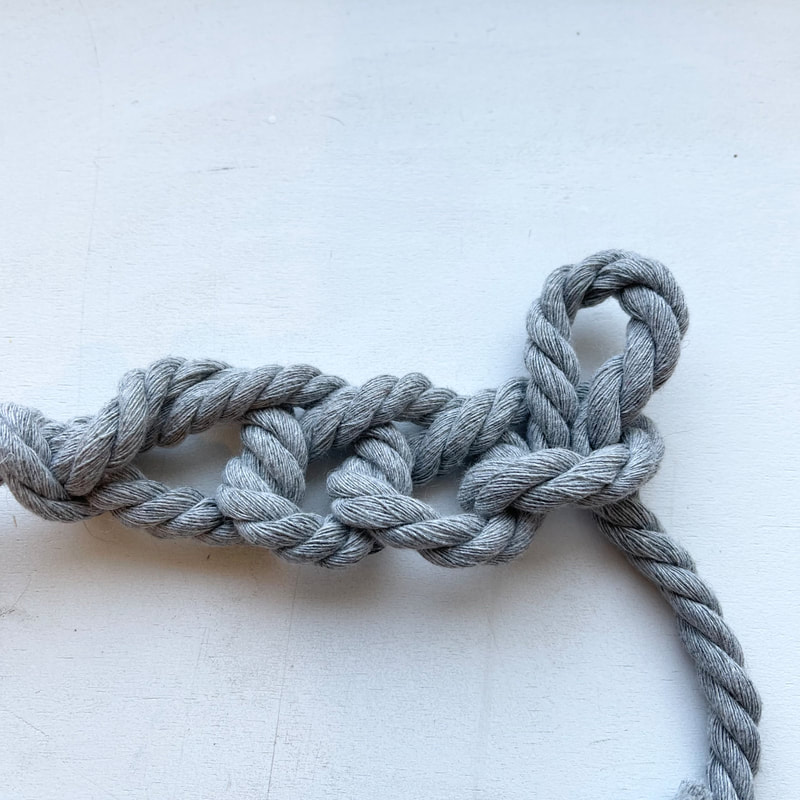
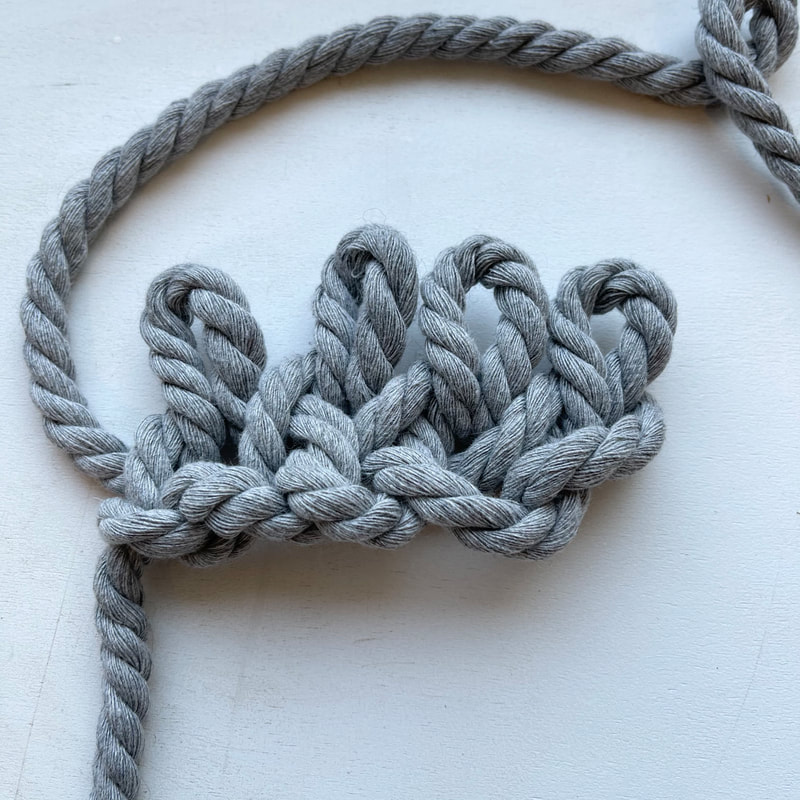
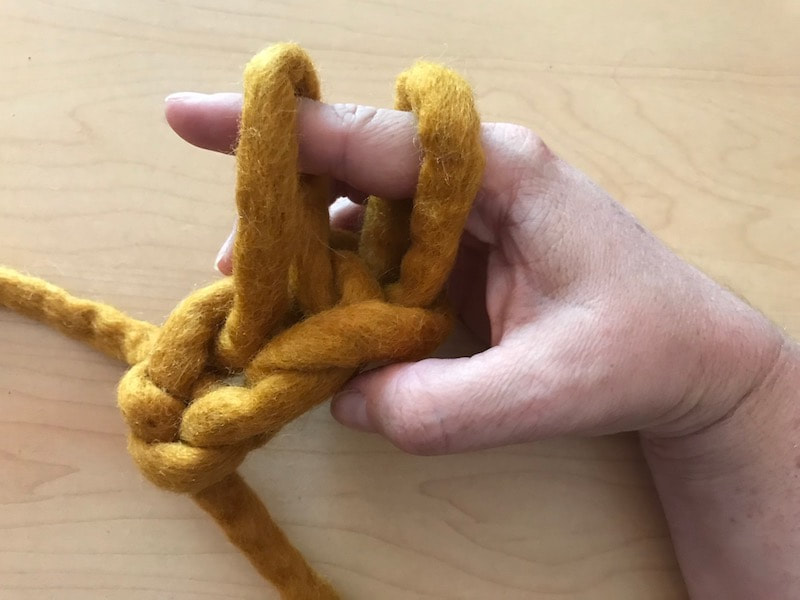
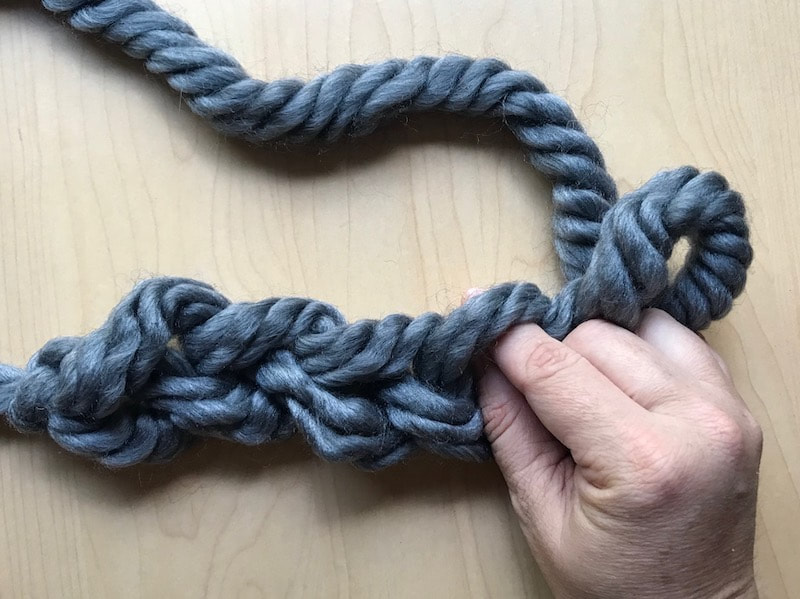
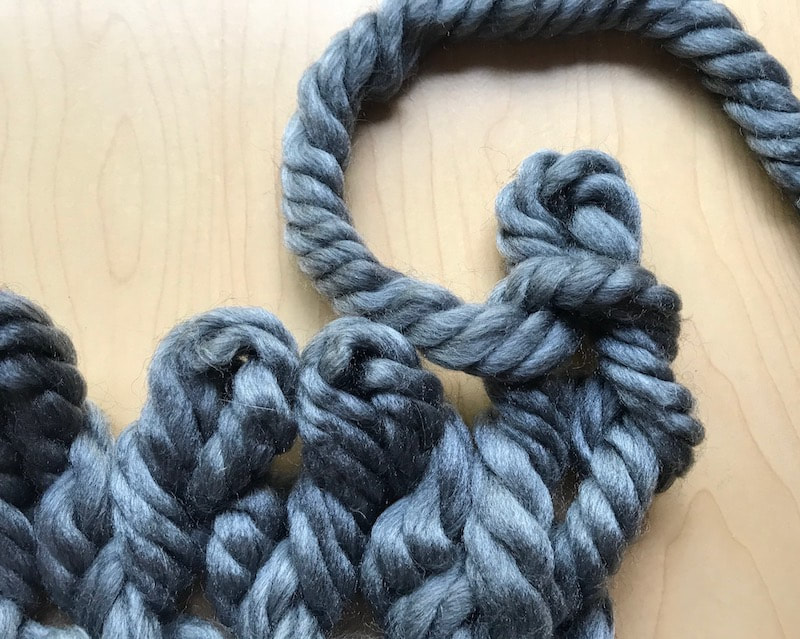
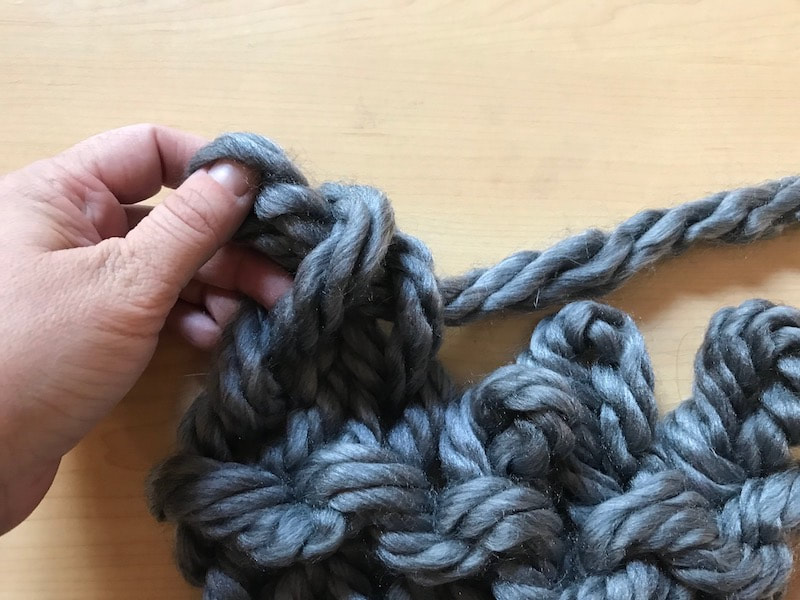
Now you're going to take the extra loop sticking out to the right, and stand it up. Make sure it's flat and not twisted. This is now the first loop of your new row.
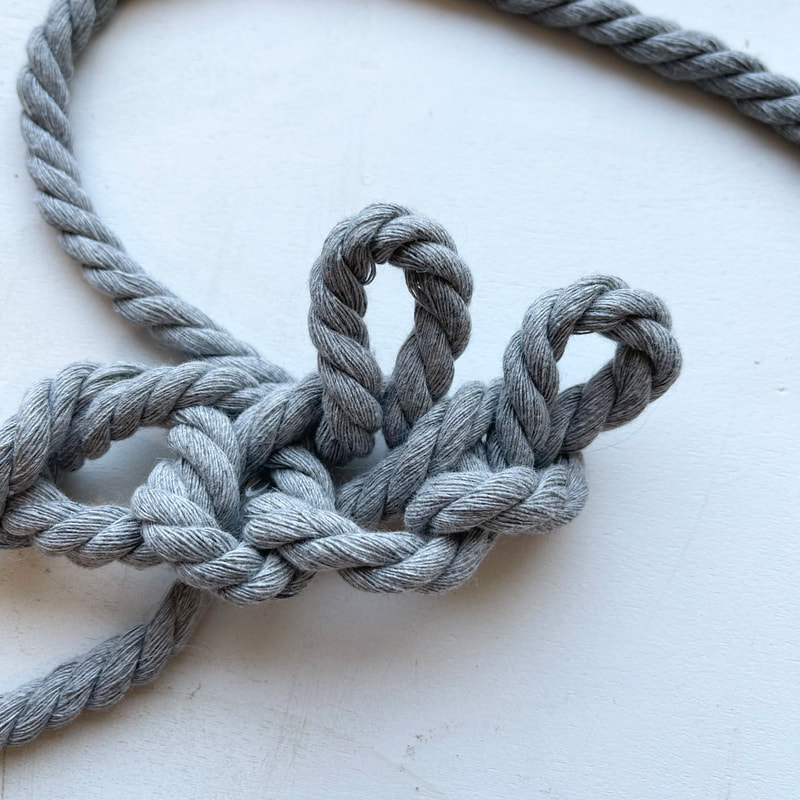
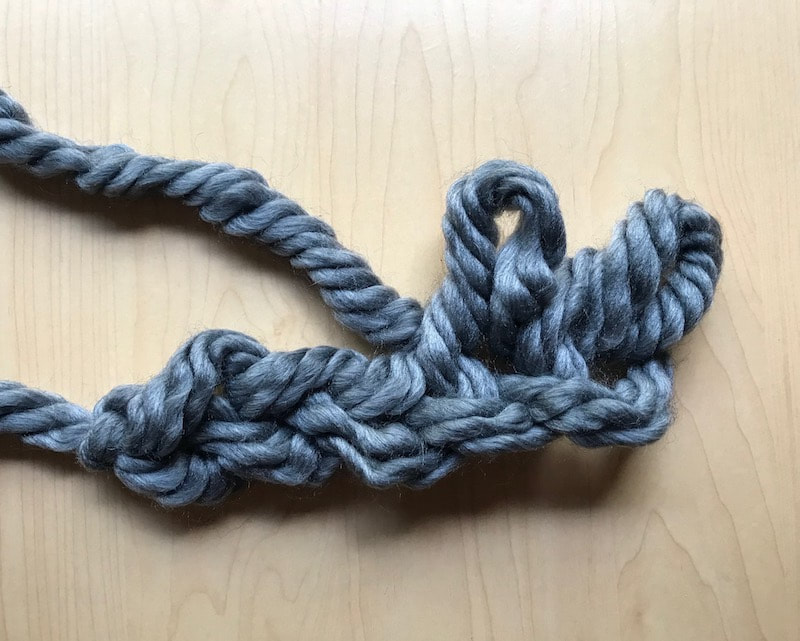
Now you're going to move left to the next chain. (If you're not sure where to go, look at where the first loop is coming out and go one left of that). Coming from behind, you will pull a new loop through just the top of the chain. Try to match the size to the first loop.
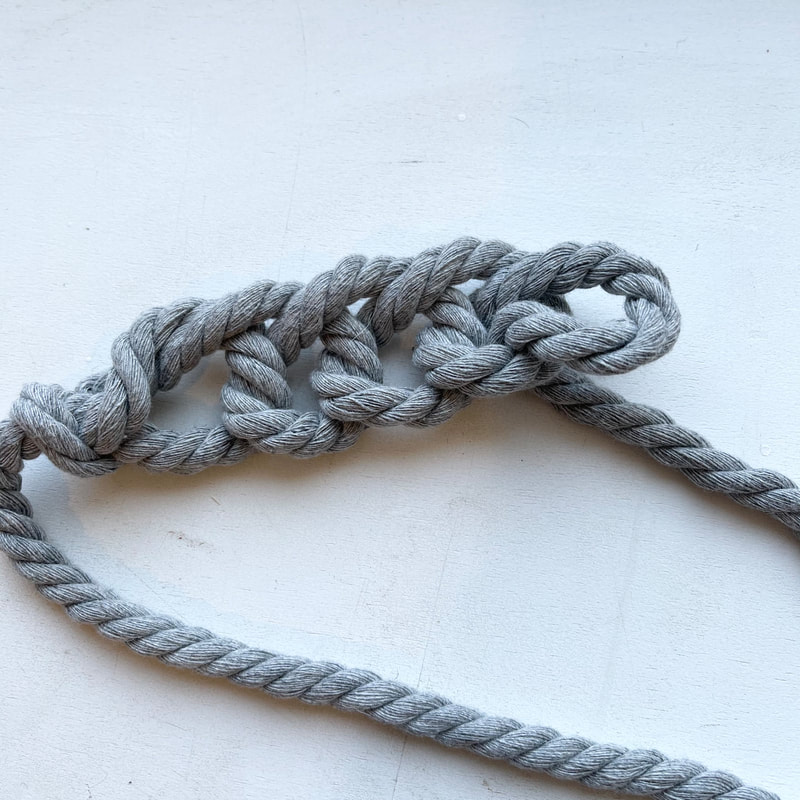
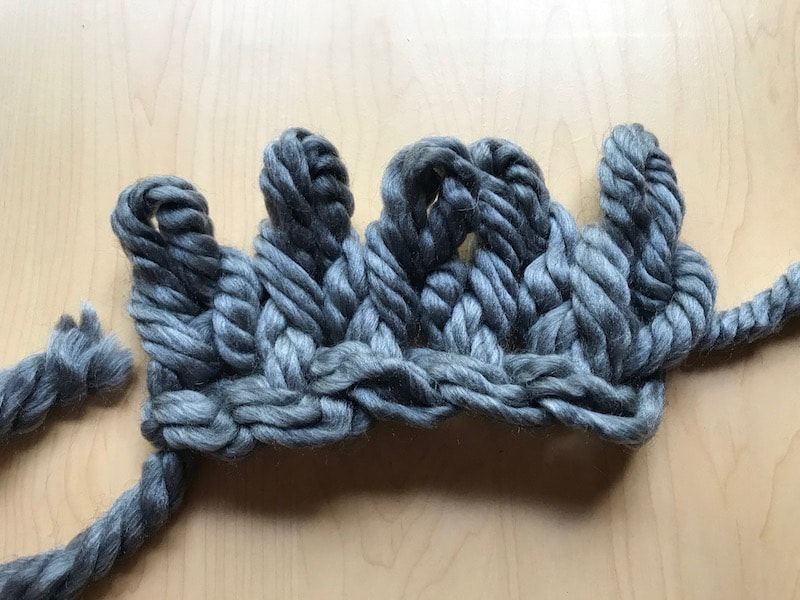
Now you will do this two more times for a total of four loops. Sometimes, the first chain gets a little squished by the time you reach it. So you might need to stretch your chain out a little bit to see them more clearly.
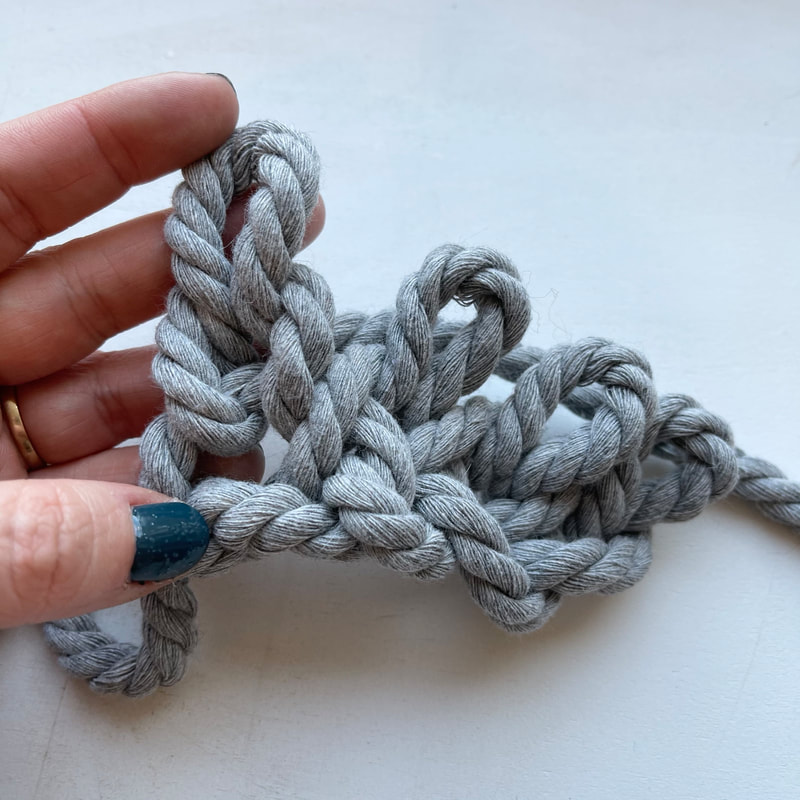
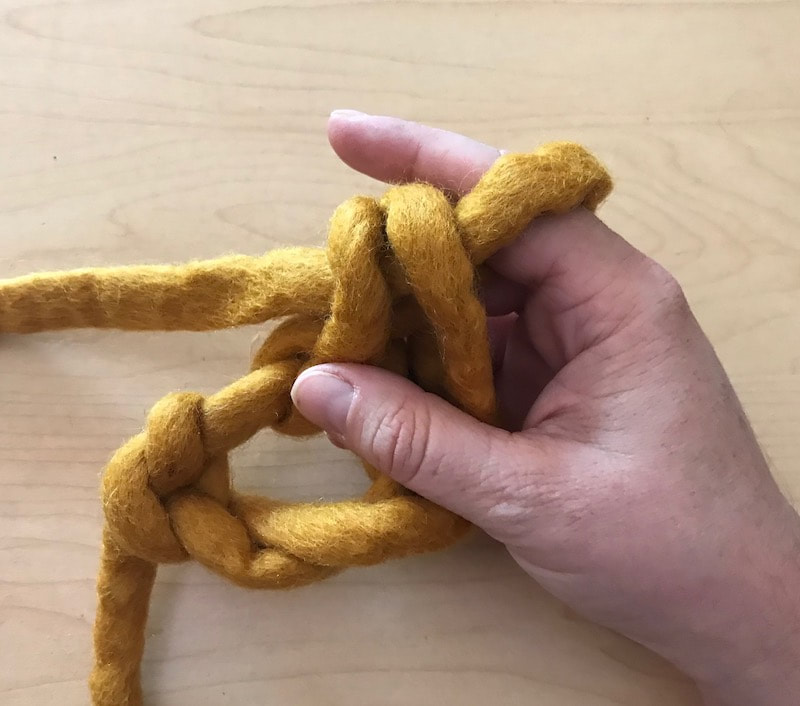
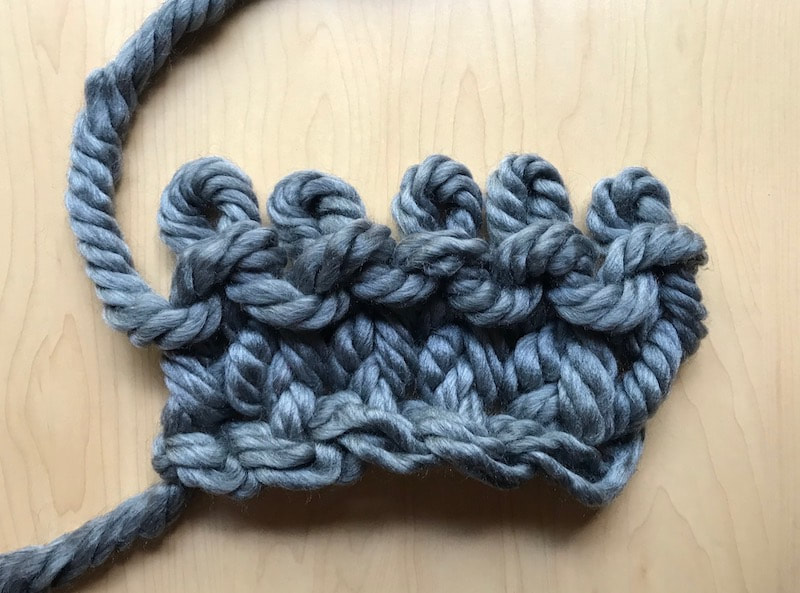
Now things get a little big easier. You will just be putting loops into other loops. Coming from behind and starting from the left most loop, pull a new loop through that one. Just make sure you are matching the size as best you can.
Continue across the row, pulling loops through the rest of the loops.
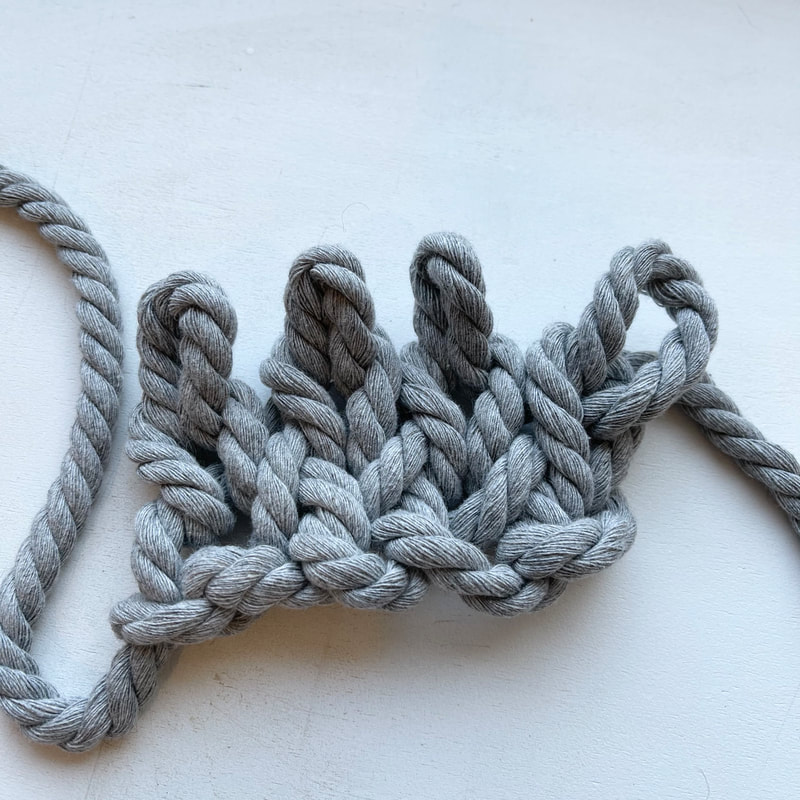
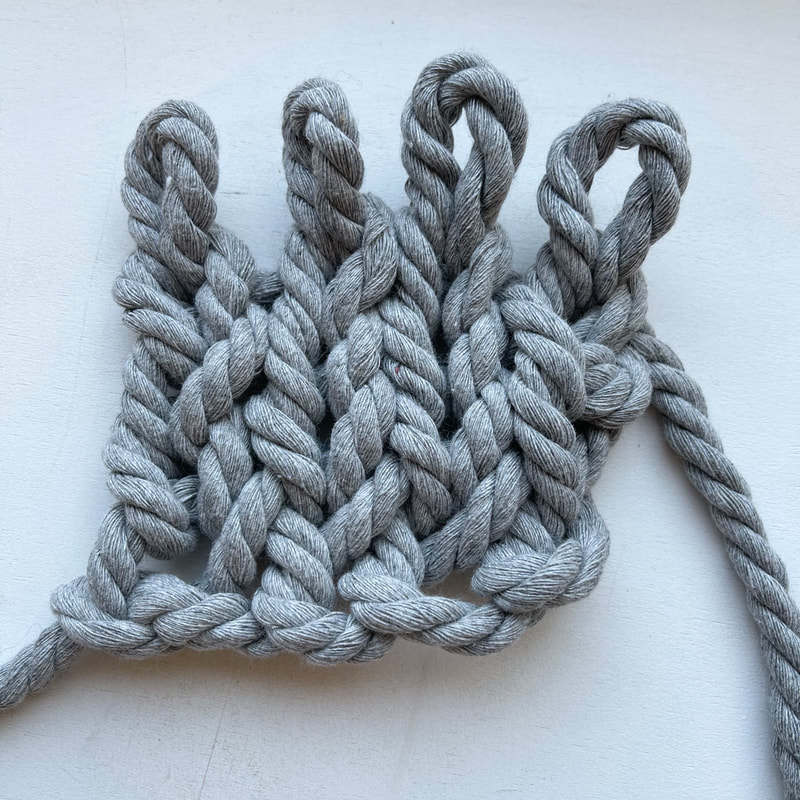
Now you have two full rows of knit stitches. Make two more rows, for a total of four.
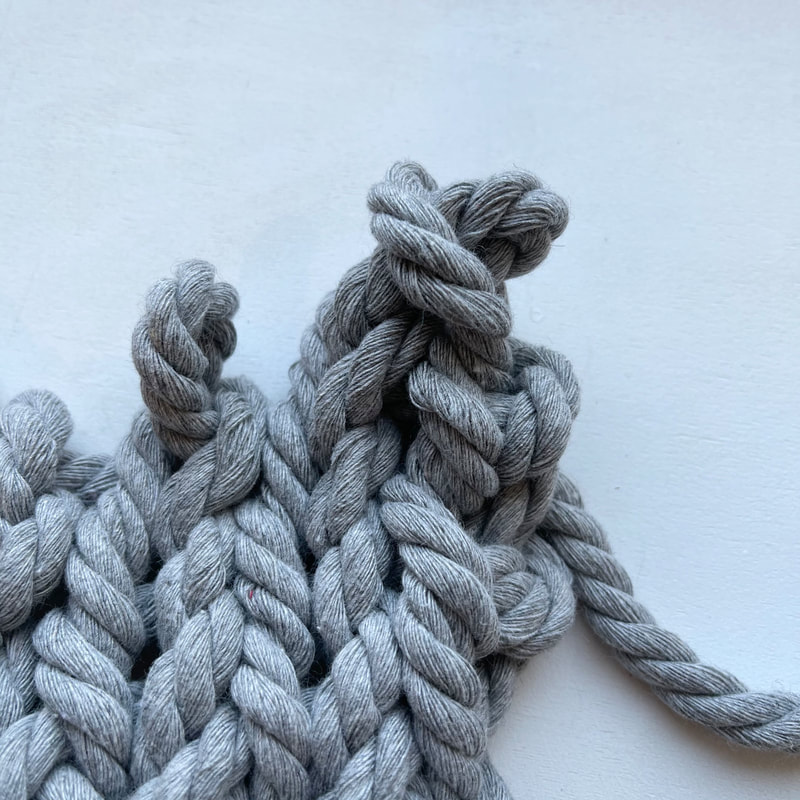
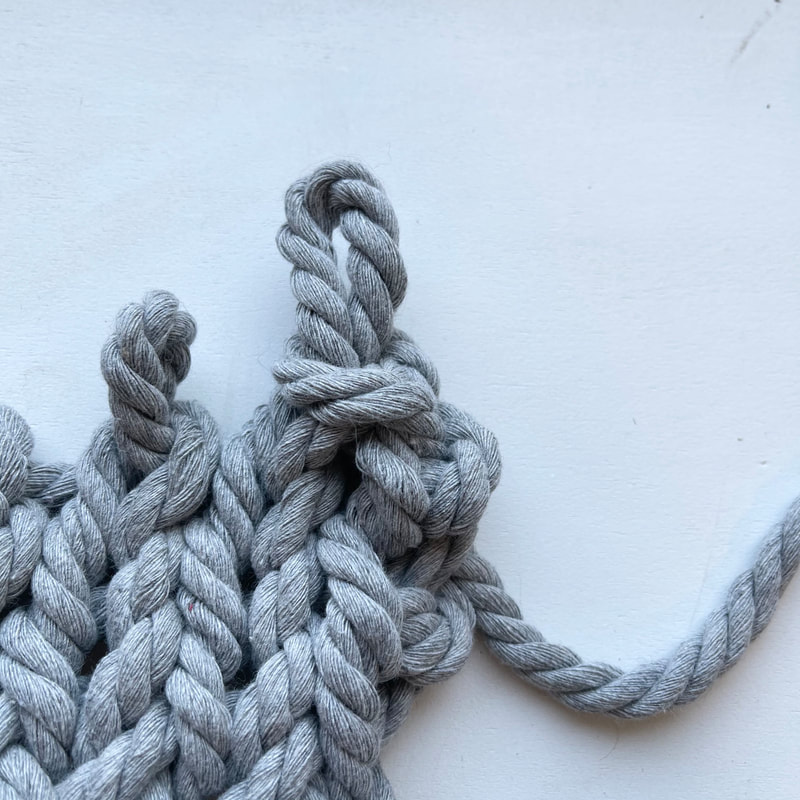
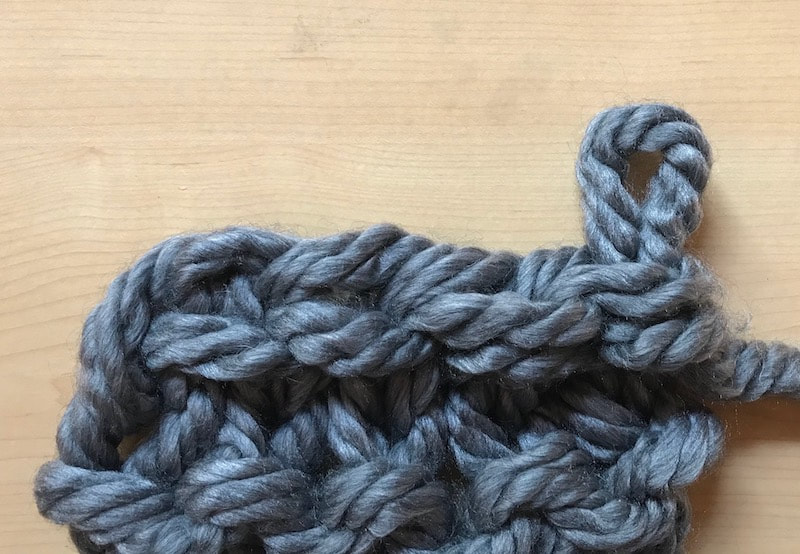
Now you are going to bind off your stitches. You start knitting as if it's a normal row and make your first two loops. Now you will take the second loop you made and thread it through the center of the first loop. That binds it off.
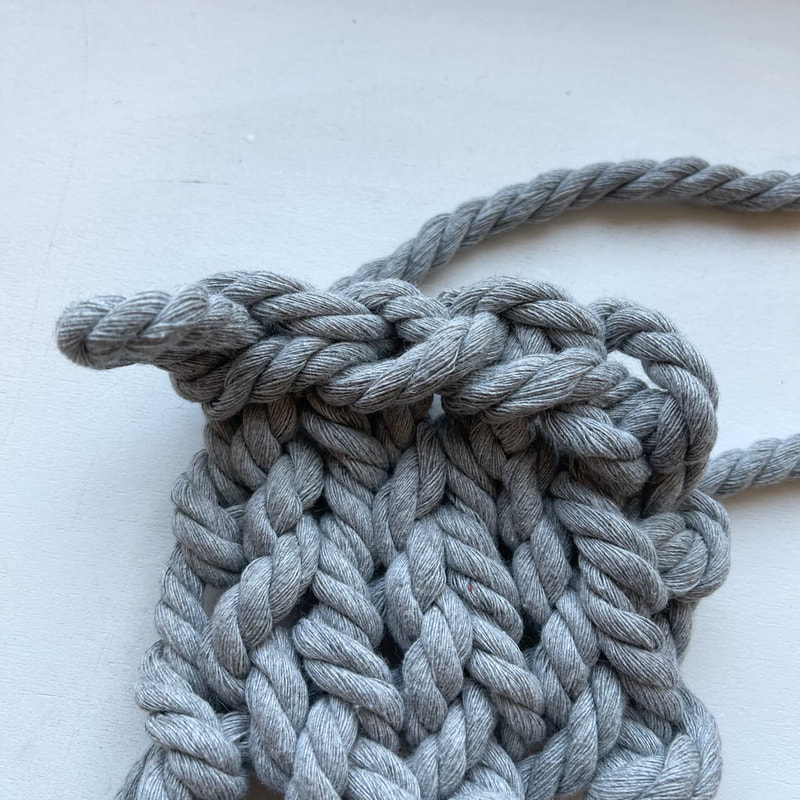
Now move to the next stitch and knit one. Thread this loop through the previous loop. Now you have two stitches bound off and you should start to see an edge forming. Continue down the row until you have one loop left.
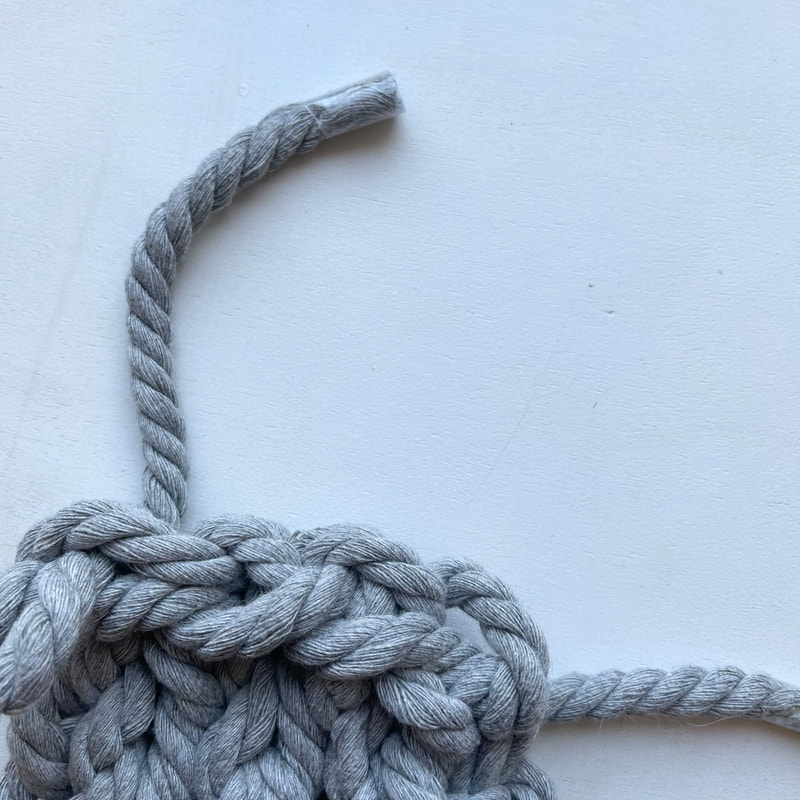
Now you just have to do the finishing. You can cut off the yarn with about 6 inches left. Wrap a little clear tape around the end so it doesn't fray. Then thread this tail through the last loop and tighten it into a knot.
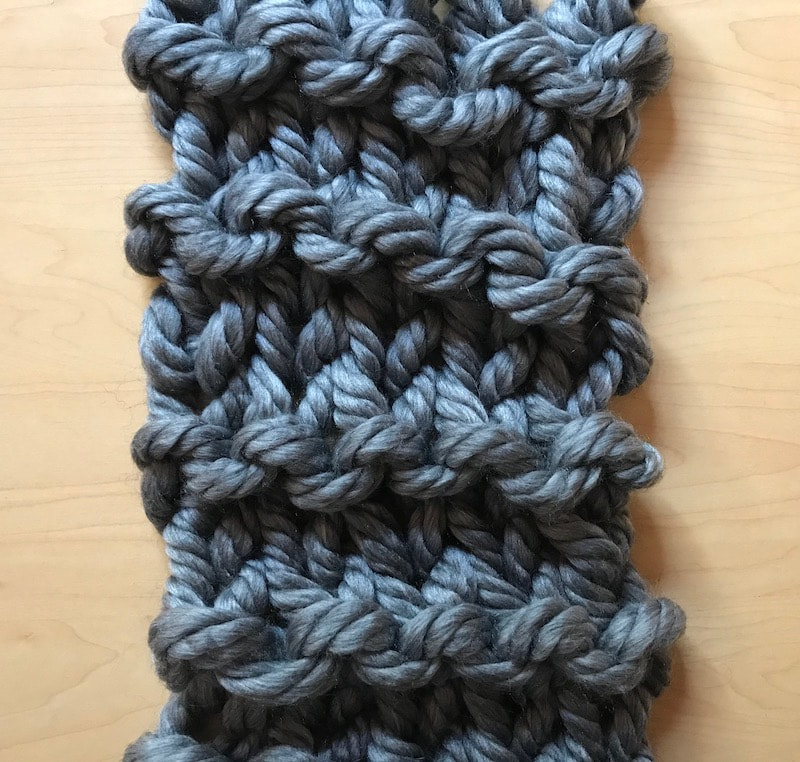
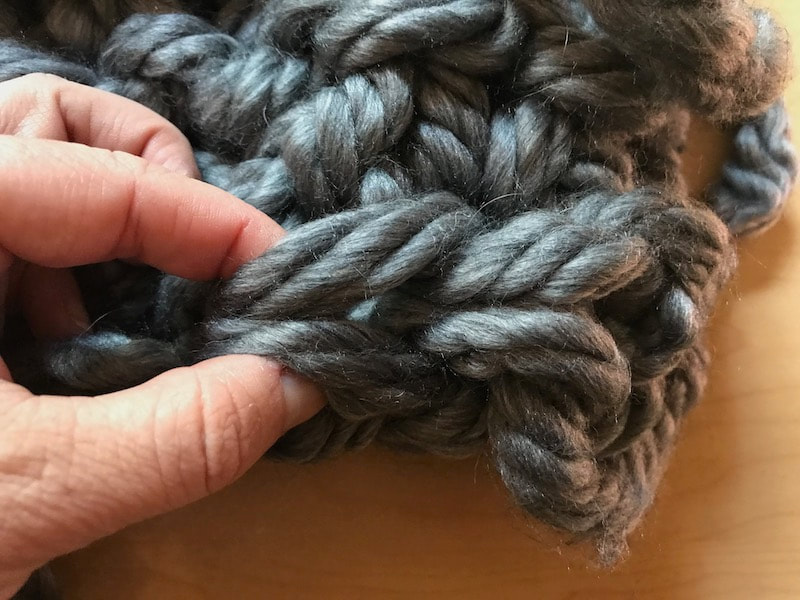
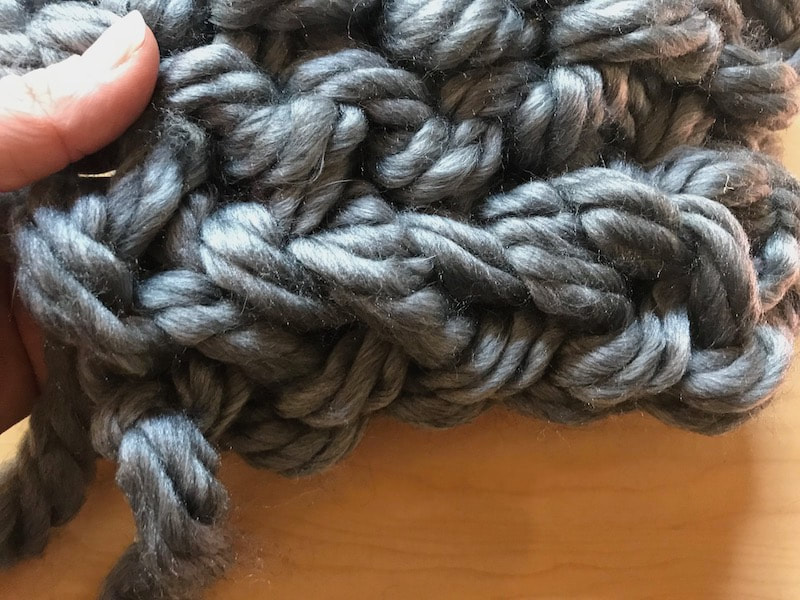
Now turn your coaster over to the other side. You'll notice the stitches are more bumpy. This is a good place to hide your yarn tails. Just lift up some of the stitches (I like to go in a line down the side) and tuck the yarn tail underneath.
If you end up with too much extra yarn, you can cut it off and just tape the end again. Repeat this weaving in process with the other tail.
Another option would be to just cut off the tails next to the knots at the beginning and end of your work. Then you could put a dab of hot glue or fabric glue on the knot to keep it from unraveling. A full set of 4 coasters would make a great gift for a friend!
1 Comment
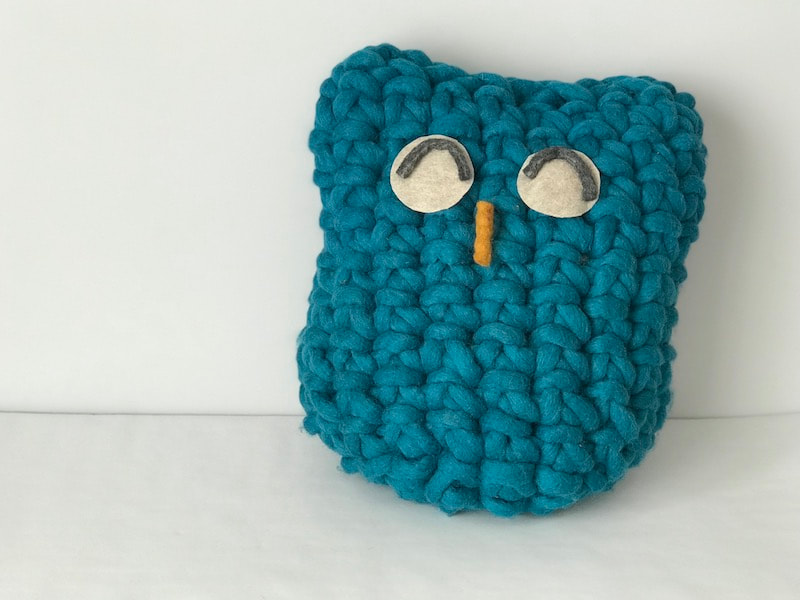
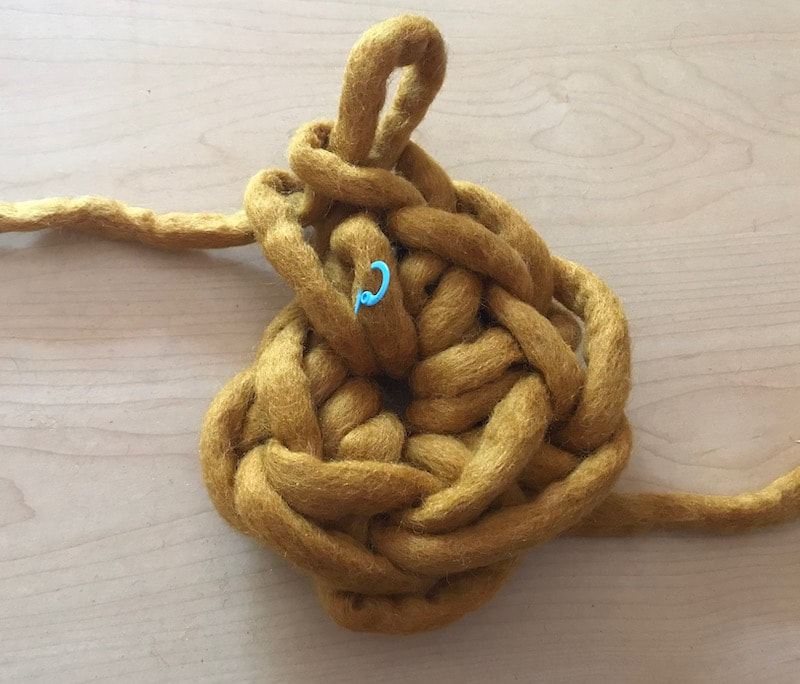
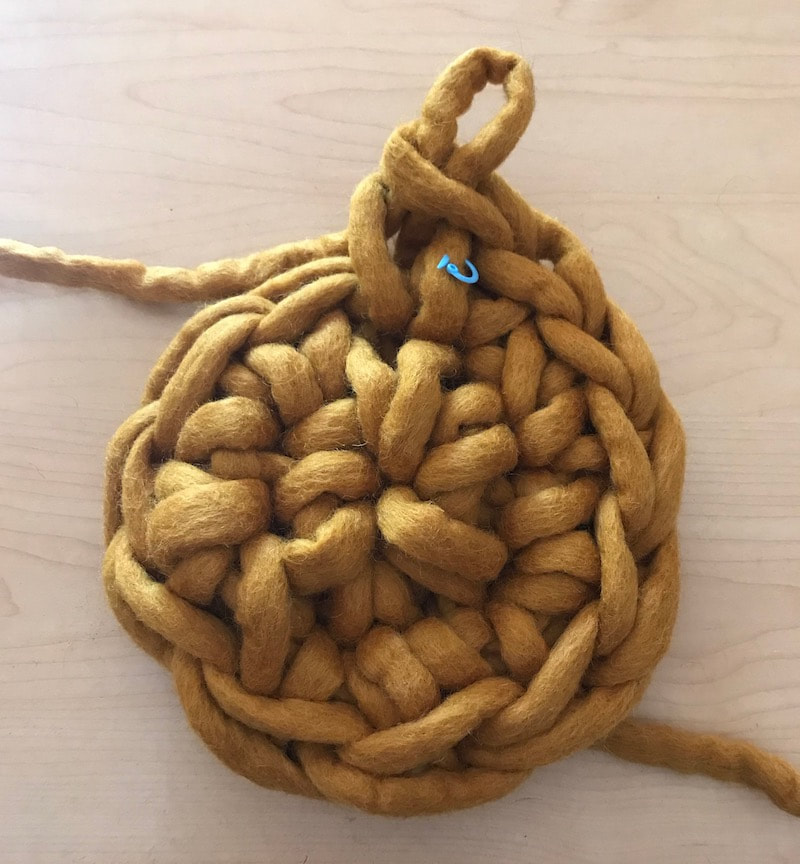
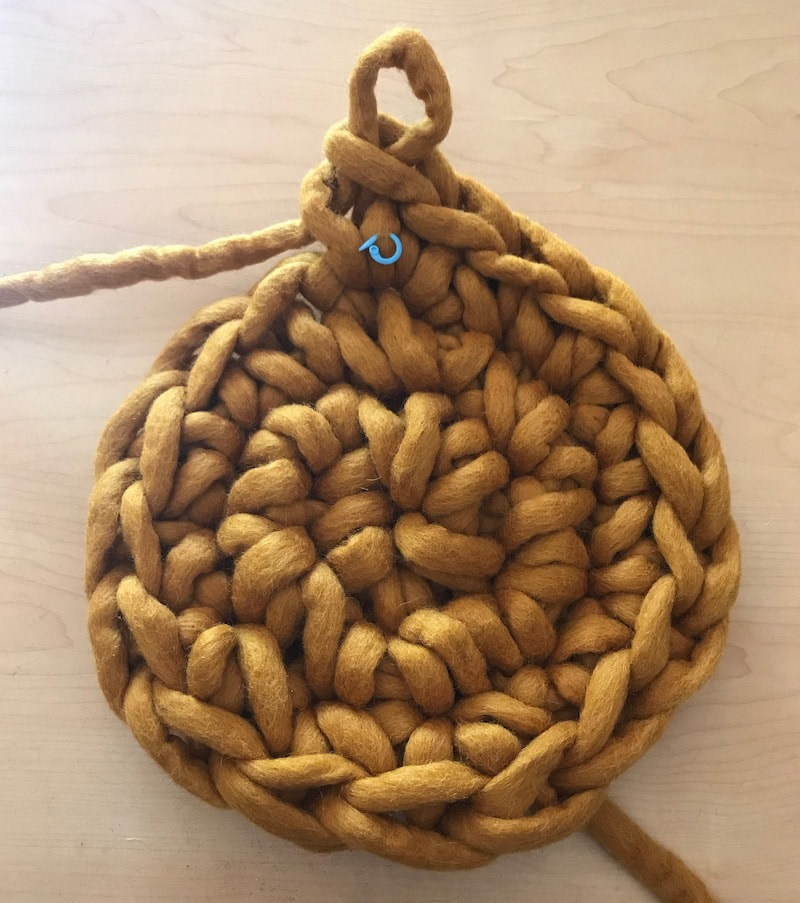
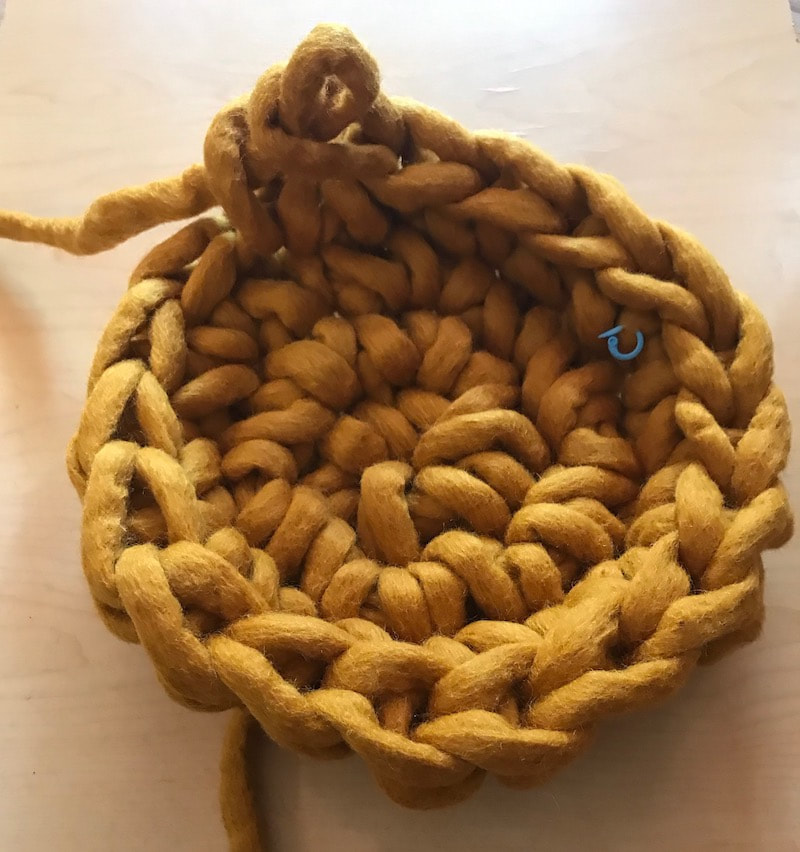
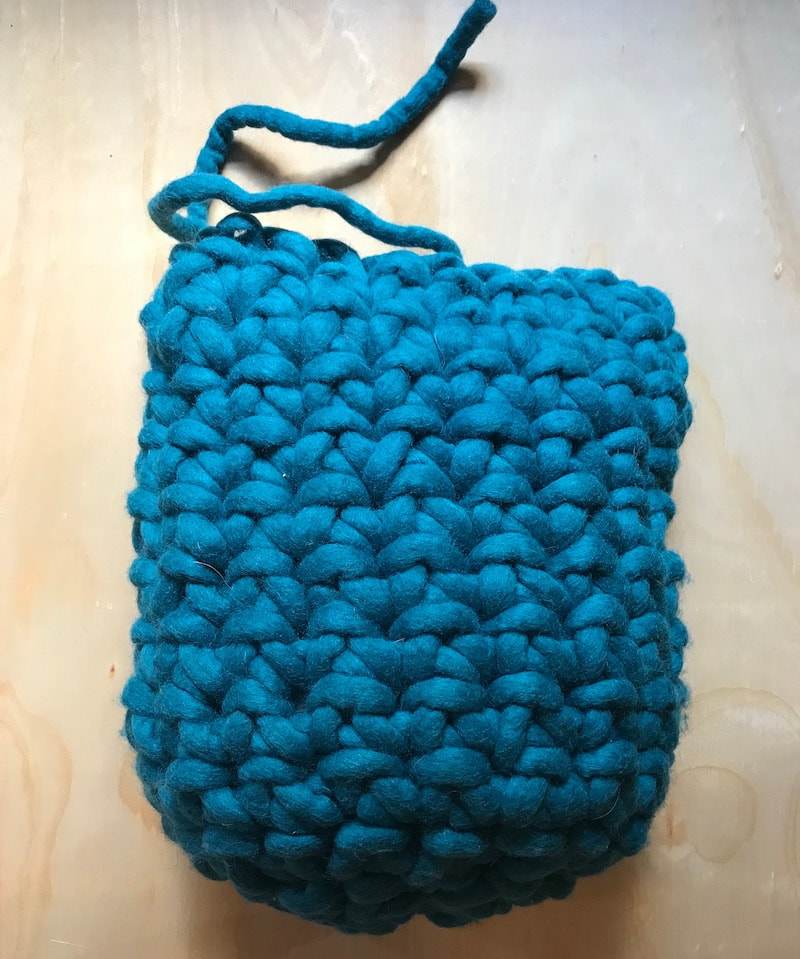
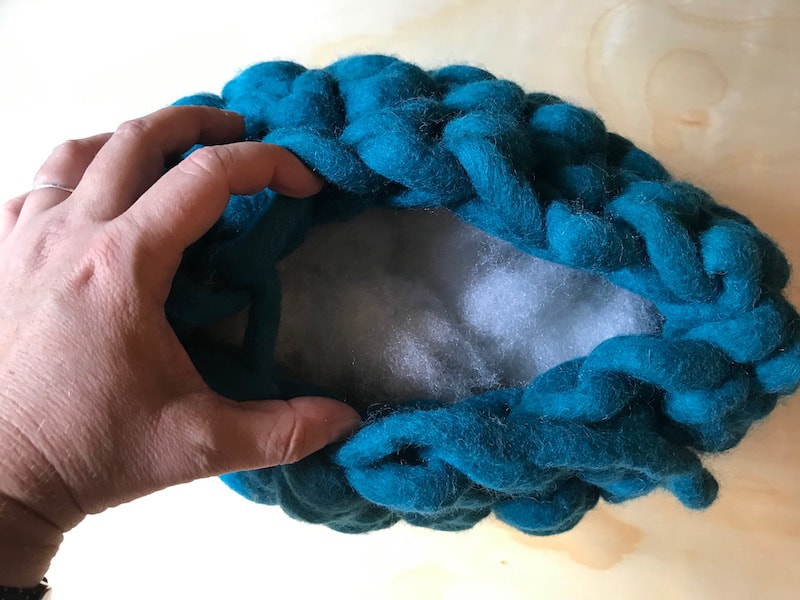
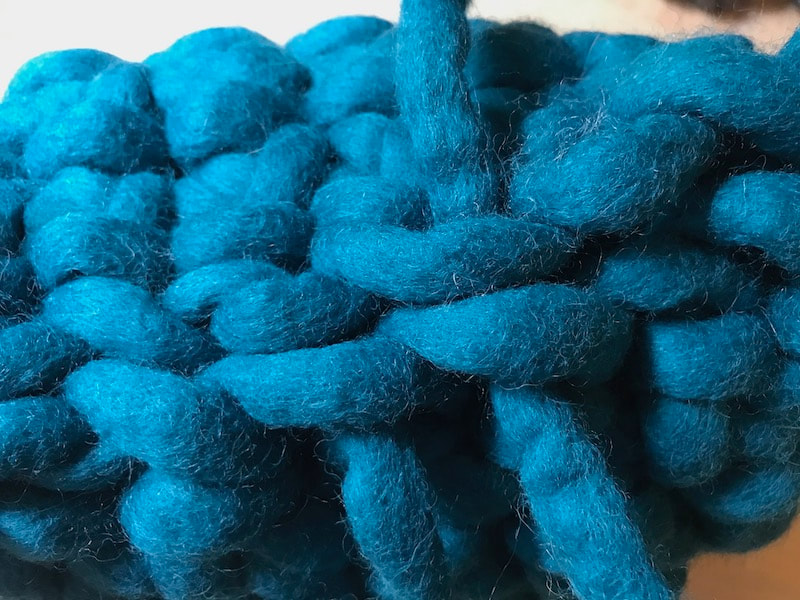
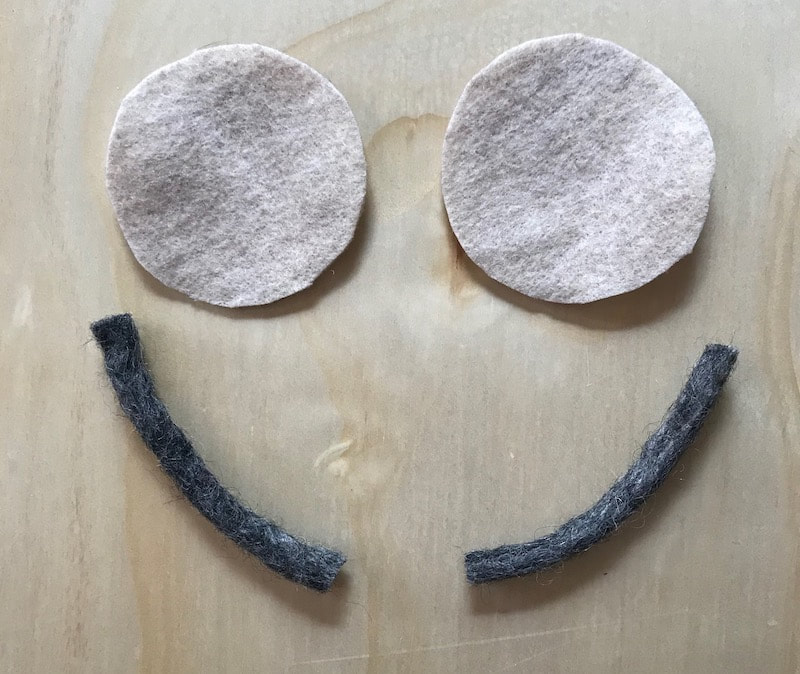
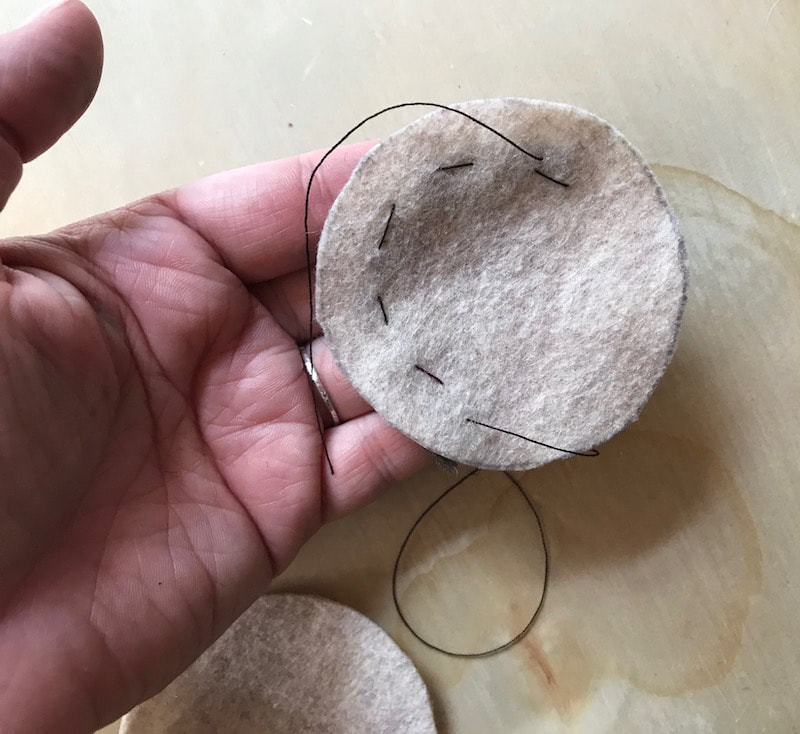
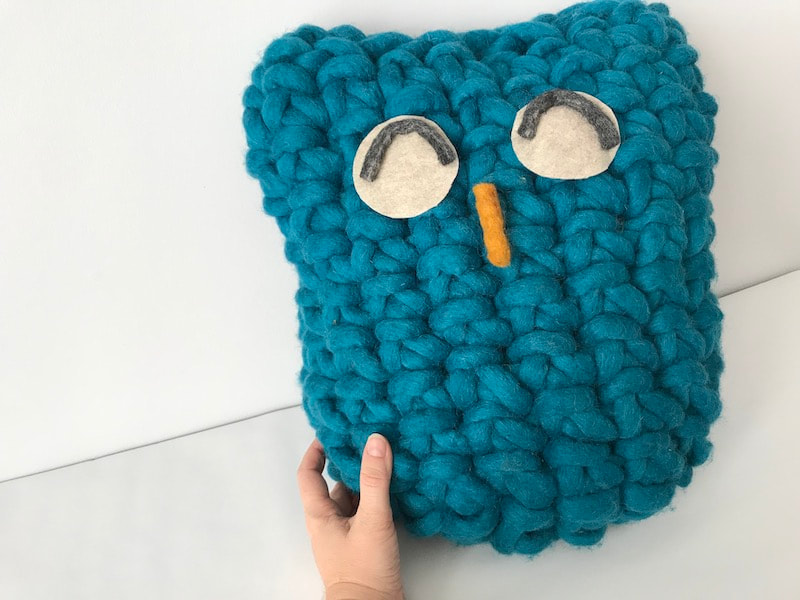
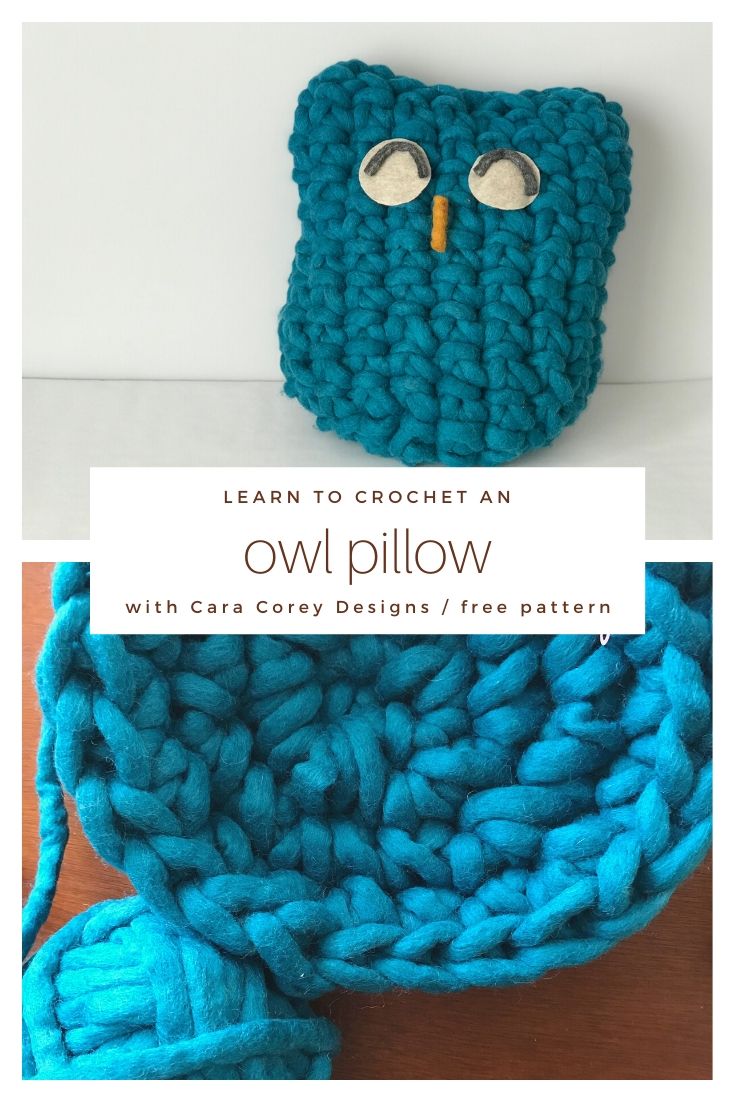
I used to make tiny owlies to sell at craft fairs and I always wondered, what if I made one that was really big instead? It seemed like the perfect project for Tough Love yarn (my favorite wool yarn for poufs), although you could use any jumbo yarn, wool roving, or multiple strands of bulky yarn held together instead. The Tough Love will hold up to a lot of use. I used my fingers to make the stitches, but you could use a jumbo crochet hook if you wanted (size U/25 mm). They are much easier to find at craft stores than they used to be. The stuffing is also up to you – you won’t see it so feel free to recycle old fabric or anything soft and pillow-like. Crocheted owl pillowMaterials • 2 balls of Tough Love felted wool yarn (approx. 50 yards each) (I used the teal and turmeric colors) • Small piece of white or beige felt for the eyes • Black and orange yarn pieces for the eyes and mouth (I used a small piece of turmeric Tough Love with the bottom snipped into a V for the beak and two little pieces of Tough Love Tiny for the eyes. A black piece of Tough Love split down the middle to make 2 skinny pieces would work for this as well.) • Polyester fiberfill stuffing (or stuffing of your choice) • Stitch marker • Fabric glue or needle and thread to attach the eyes/mouth Instructions *If you already know how to crochet, you can Ch2, make 6 SC into the first chain and skip to the second row. * First row. Start by making a slip knot. Leave a short tail (6-8 inches) of yarn, which you will tuck inside later. Reach two fingers into the loop and pull another loop of yarn through there. That makes your first chain. Pull another loop through the last loop to make a second chain. Pulling the first loop through the slip knot to make a chain. First chain complete. You’ll make 2. Place the last loop on your finger. You are now going to put 6 single crochet stitches (SC) into the first chain you made. (You might need to use your fingers to open that space a little wider). Reach under the top of the first chain and pull up a loop so that you now have 2 loops on your finger. Now reach through both of those loops and pull a new loop through them. That’s a single crochet! Two loops on your finger – now pull a new loop through these. SC stitch complete. Notice the space for the next 5 stitches. Now you are going to repeat that five times until you have a total of six single crochet stitches in the same chain stitch. By the time you finish, you should have made a circle shape. Place a stitch marker on your very last stitch. (Every time you complete a row, you will move this marker up to the next row). For the second row, you’re going to put two SC into each of the six stitches for a total of 12 stitches in that row. The top of each crochet stitch looks kind of like a V. You’ll reach under both sides of that V to pull the new loop for the next stitch through. For the third row, you will put 1 SC in the first stitch and 2 SC into the second stitch and repeat that pattern for a total of 18 stitches. This is where you will stop increasing. For the fourth row and every row after, you will put 1 SC in each stitch, staying with 18 stitches per row. This will make your piece start going up into sort of a basket shape. Stop at the end of 12 rows. Finishing When you reach your last stitch, pull the remaining yarn through the middle of the stitch and tighten it. You will use the yarn tail to stitch the top of the pillow closed. The finished piece looks like this. First, you need to add stuffing. Place enough stuffing inside the pillow so that it will stand up, but it’s not bursting out the top. Once you’re happy with it, you can start sewing top closed. (You can also tuck the tail from the beginning of your work inside the pillow). I like to hold one loop from each side of the seam together and then weave the yarn through both loops, side to side until I reach the end. Then tie a knot and tuck the rest of the yarn inside the pillow. If there’s too much, cut it off to about 6 inches long, then tuck that inside. Pinching one stitch from each side together, then weaving the yarn tail through. Now you can add the eyes and mouth. Cut out two felt circles – I like to draw around the bottom of a glass to get perfect circles. Then add the black pieces in a U-shape to look like eyes. They are about 3 inches long. You can attach them with a few stitches or some fabric glue, like Fabri-Tac. For the nose, I cut a piece of Tough Love about 2 inches long and then snipped off the bottom in a V-shape. But you could also use another type of yarn or felt and glue it on. That’s it! You could make one, or a whole bunch of owls, maybe with different-sized yarns. I think they would be so cute in a kids room.
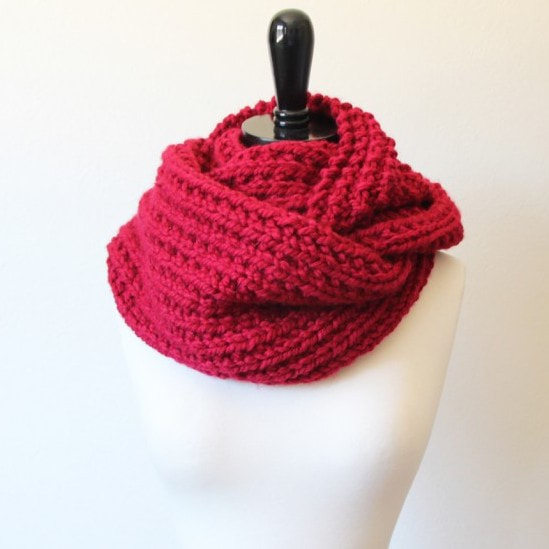
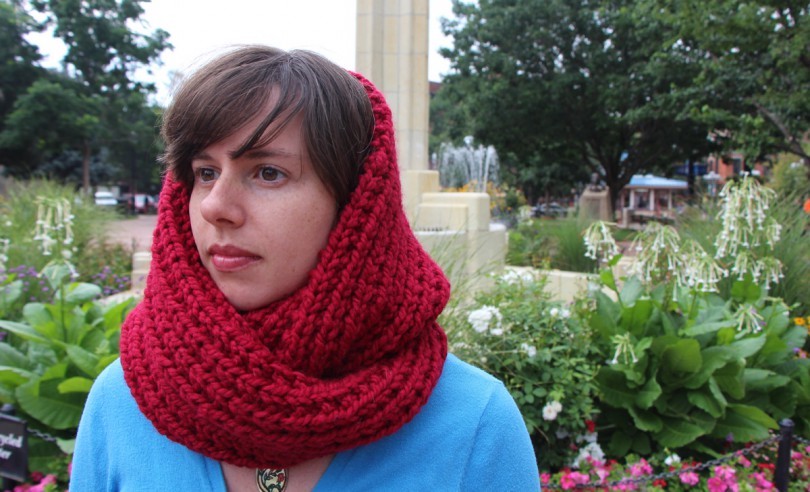
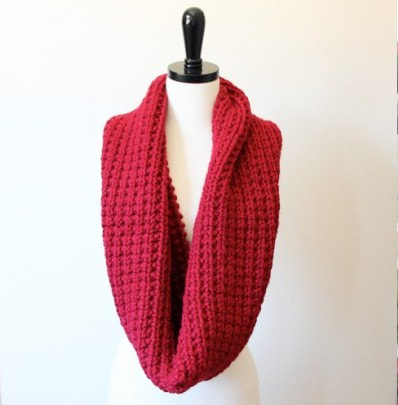
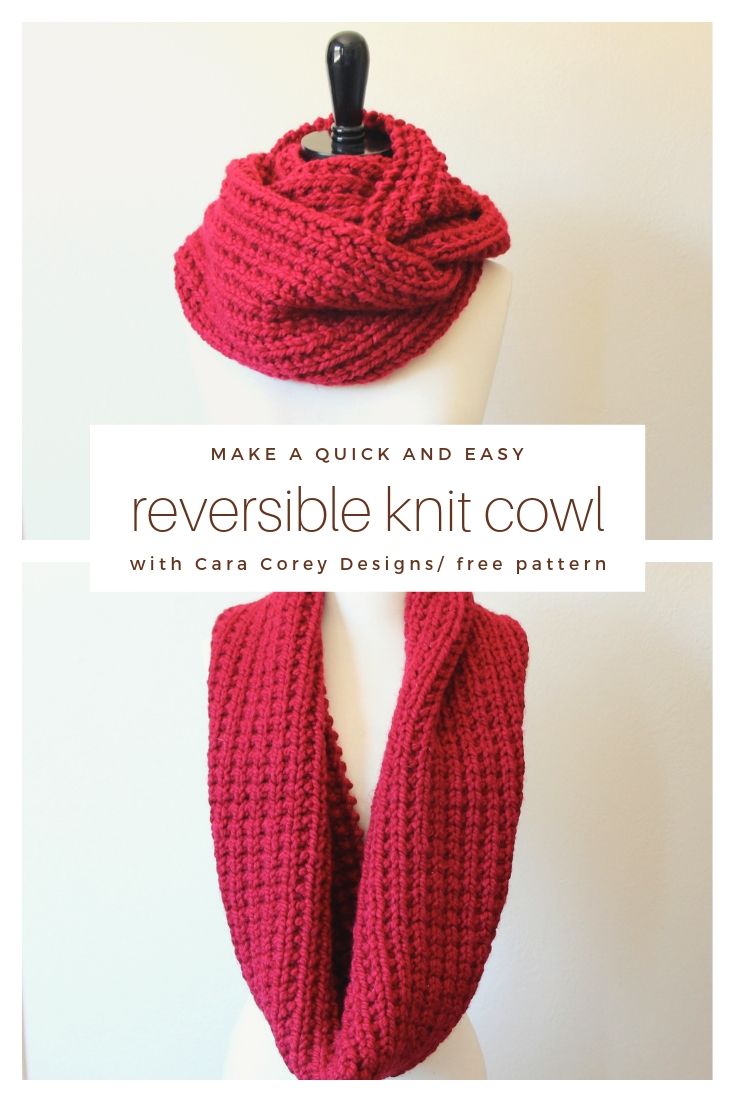
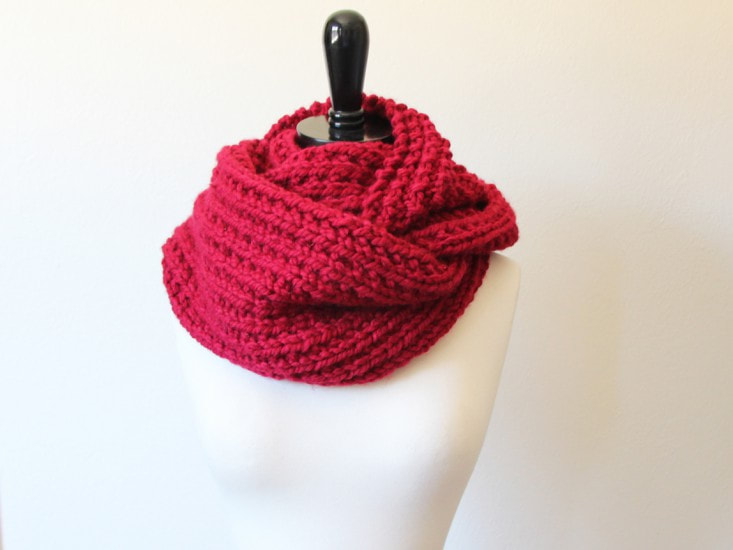
Here’s another freebie pattern that I absolutely love for fall and winter. This cowl is super warm and cozy, and the bonus is that it is ribbed on one side and bobbly on the other. You can wear it long like a scarf, or doubled up around your neck. Or you can even pull it over your head like a hood or lower on your shoulders like a shawl. Cozy knit reversible cowlMaterials • 3 skeins Lion Brand Wool-Ease Thick and Quick yarn in cranberry (or your favorite color) Other super bulky yarns would work great for this, too. • Size US 15/10 mm straight knitting needles • Yarn needle to sew up the seam Instructions Cast on 32 stitches. Row 1: K1P1 across. Row 2: Knit. Repeat these two rows until the piece measures 52 inches. Bind off on last knit row, leaving a long tail to sew up the seam. With right sides facing and using the long tail of yarn, sew up the seam using mattress stitch or your favorite seaming stitch. Weave in any ends and turn the piece right-side-out. *You could also just leave the piece as a scarf and make it longer or shorter. Up to you!
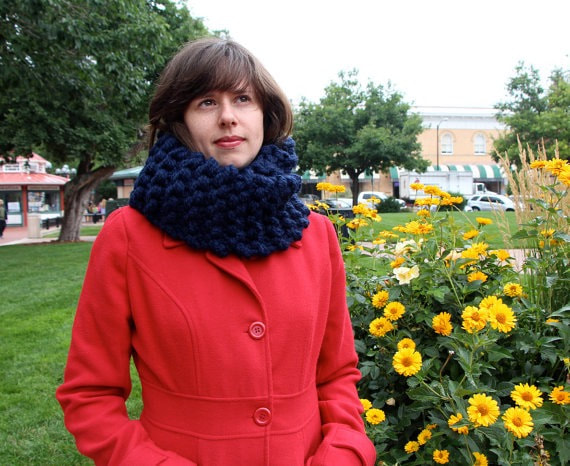
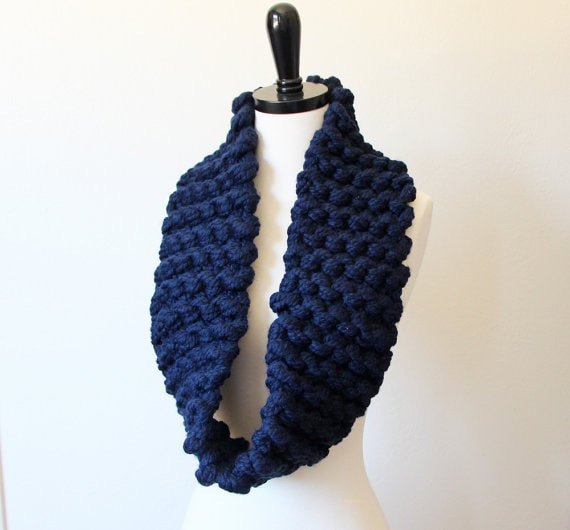
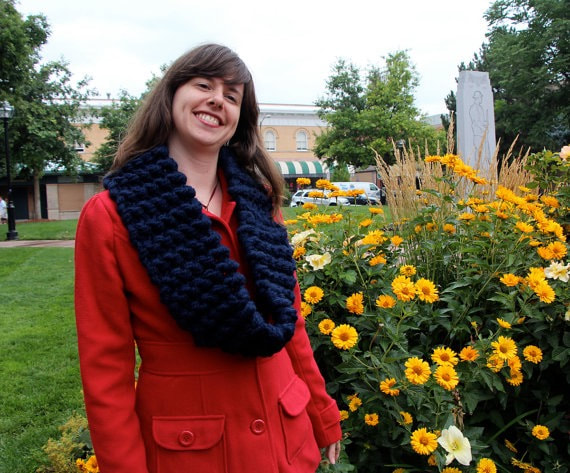
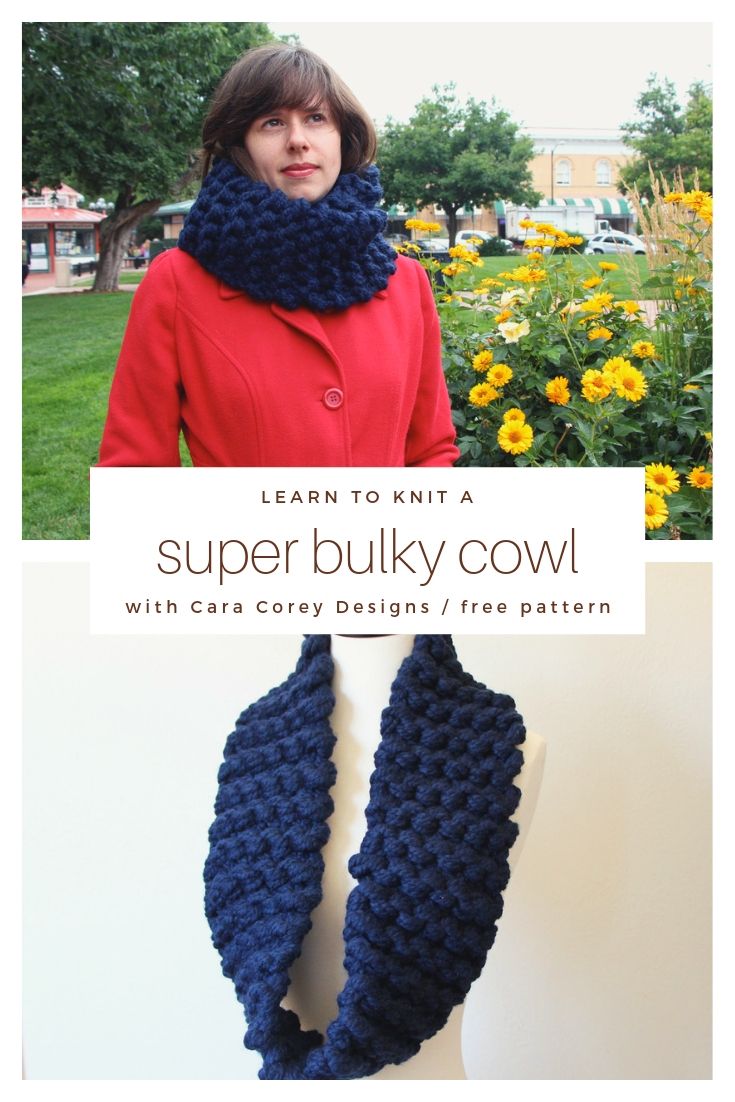
If you’re looking for a project that works up quickly (a la the arm-knit cowl), try this one. I can have one of these babies finished in half an hour! At first this project came up out of necessity — my other cowl patterns were just taking too long to make, especially when I needed to make lots of them for shows. But now I think I would make this cowl anyway, just because it is so cute and so warm. Super bulky cowlMaterials • 4 skeins Lion Brand wool-ease thick and quick yarn in navy (or your favorite color). *Note: 2 skeins is actually just the right amount for this cowl, but you will have to separate them into 4 equal parts to make the cowl. Other super bulky weight yarns would also work great for this. • Size US 50/25 mm knitting needles • yarn needle to weave in ends Instructions Start by holding 4 strands of yarn together and tying a knot in the end. Leave a few inches of tail and then cast on 6 stitches. Work in garter stitch (knitting every row) until the piece measures approximately 48 inches. Bind off, leaving about 12 inches of tail to sew up the seam. Tie another knot on the end of the tail and then use it to seam the two ends of the cowl together (I like a whip stitch). I usually just do this part with my hands. When you’re done, you can cut off the knots from both tails and then use the yarn needle to weave any remaining ends into the cowl. I usually make a few knots just so the seam is nice and secure. Then snip off any extra yarn. The garter stitch pattern makes this cowl nice and stretchy, so you can wear it doubled up or let it hang longer like a scarf.
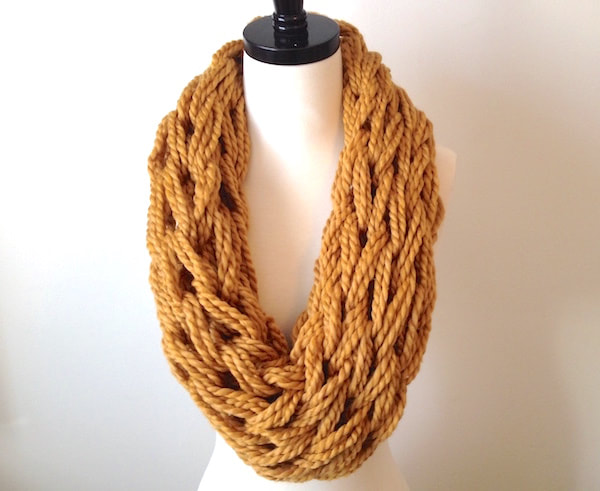
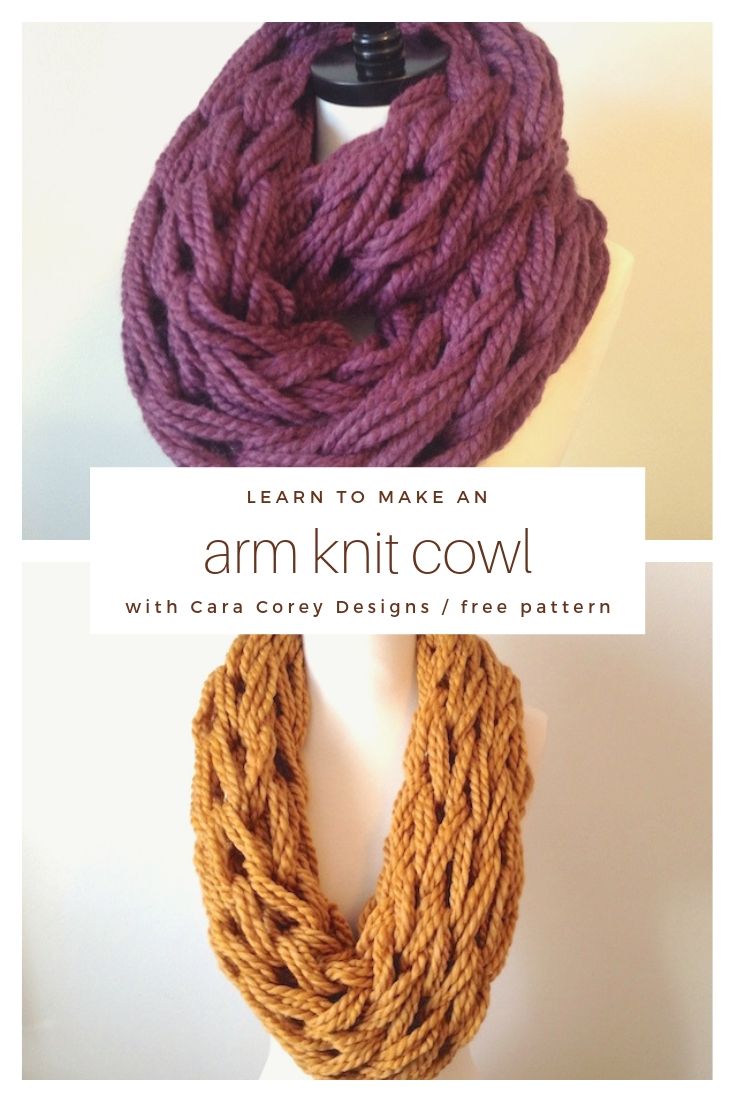
The fastest way to knit yourself a cozy scarf or cowl is to put a few strands of chunky yarn together and arm knit it. It can be tricky at first to knit the stitches back and forth across your arms. But once you get the hang of it, the rows work up almost instantly. I wrote up the pattern, which you can download for free at this link: Download PDF I like to use Lion Brand Wool-Ease Thick ‘n Quick yarn for these, but pretty much any super bulky yarn will also work. There are more giant chunky yarns available than ever, so you may also be able to knit a cowl with just one strand. You can decide if you want to make a single loop cowl that drapes somewhat loosely, or a longer double-loop cowl that stays warm around your neck.
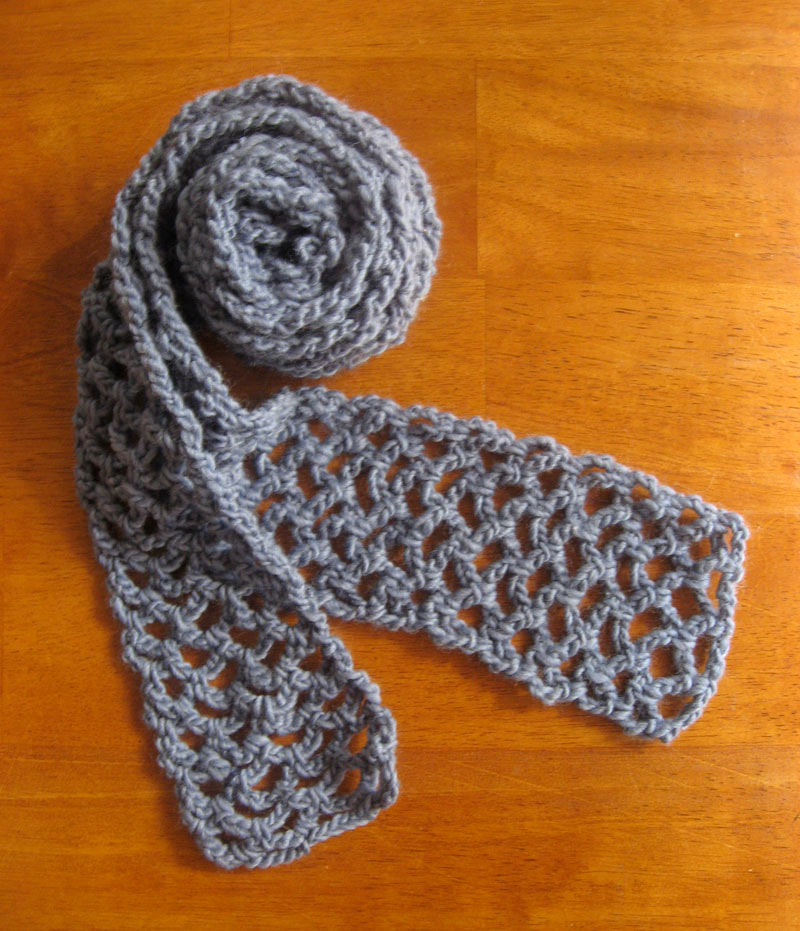
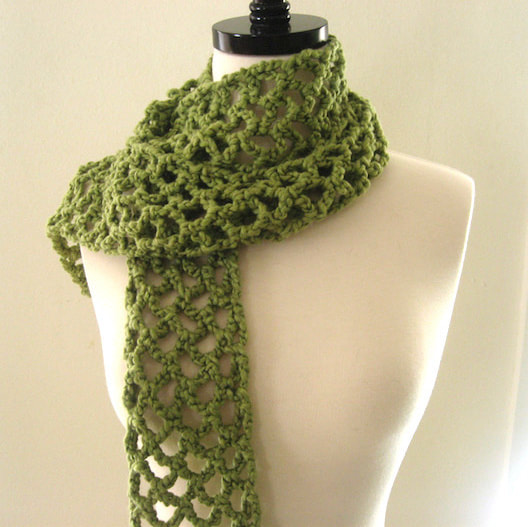
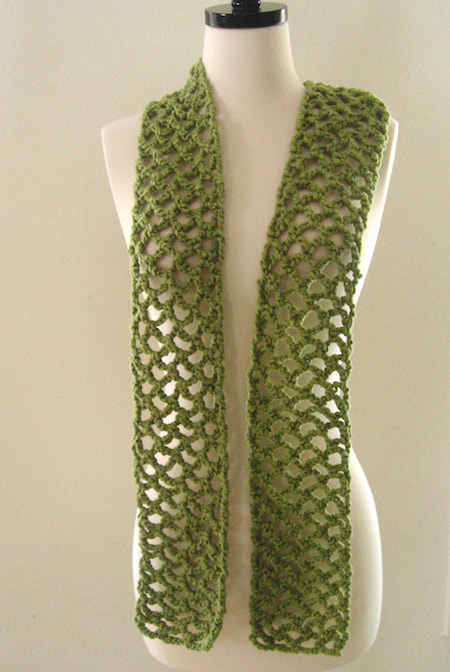
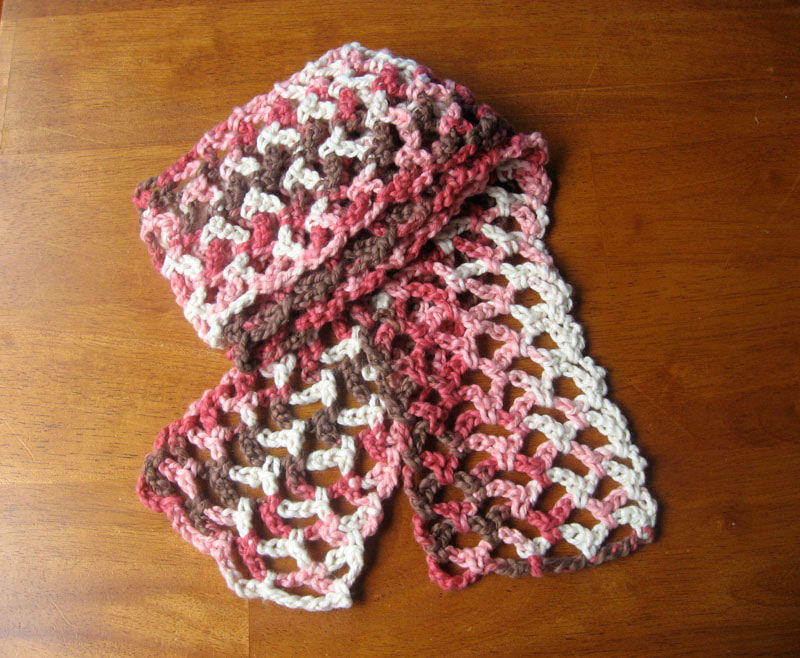
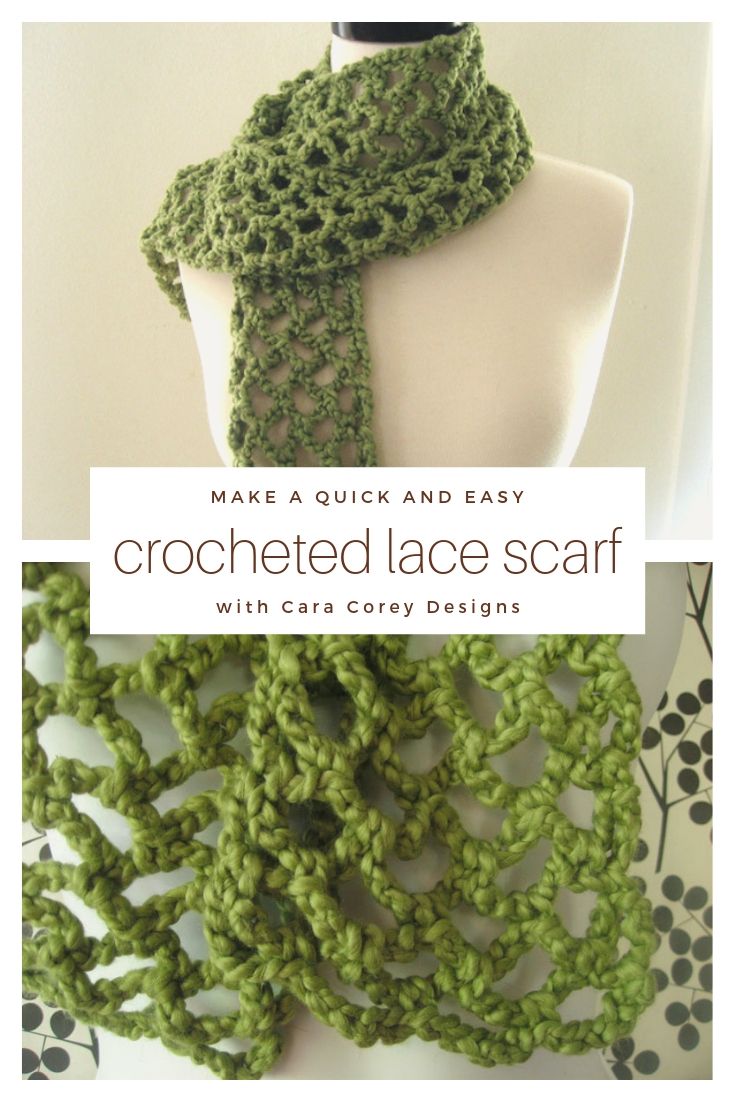
If the PDF instructions aren’t enough to get you knitting, you can also enroll in my Skillshare video class. Fall’s in-between-y weather calls for a scarf that’s cozy but not so stifling that you have to take it off the minute you get indoors. This lacy lightweight scarf can be made with just about any yarn you like (and it’s a great way to use up your stash), but I used super soft organic merino wool. Lightweight lace scarfMaterials 1 skein Sublime organic merino wool DK Size J/10 crochet hook Scissors Tapestry needle Instructions Chain 20. Single crochet into the 8th chain from the hook. Chain 5. Skip 3 stitches and single crochet into the 4th stitch over. Repeat ch 5 and SC into 4th stitch until you reach the end. Chain 5, turn. Row 2: SC into the middle of the loop you just made. Chain 5 and SC into the next loop. Repeat until the end of the row, ch 5 and turn. Repeat the pattern across every row until piece measures 60 inches. Cut yarn and weave in ends. I’ve made this scarf with a lot of different yarns. I really liked the softness and extra bulk of Lion Brand’s organic cotton yarn, which is discontinued now, but there are a lot of similar cotton yarns out there. Hobby Lobby’s Cotton XXL yarn is almost identical and comes in great colors. This pattern is really adaptable to whatever yarn you want to use and whatever length and width you want the scarf to be. You could even add fringe! It’s been really fun seeing all the different versions on Ravelry. You gotta love a pattern that works up this quickly and easily!
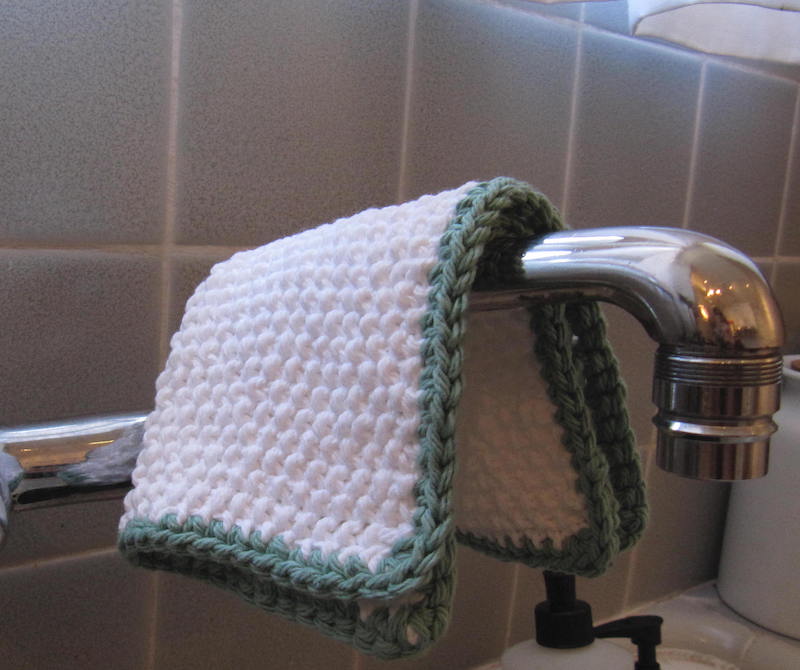
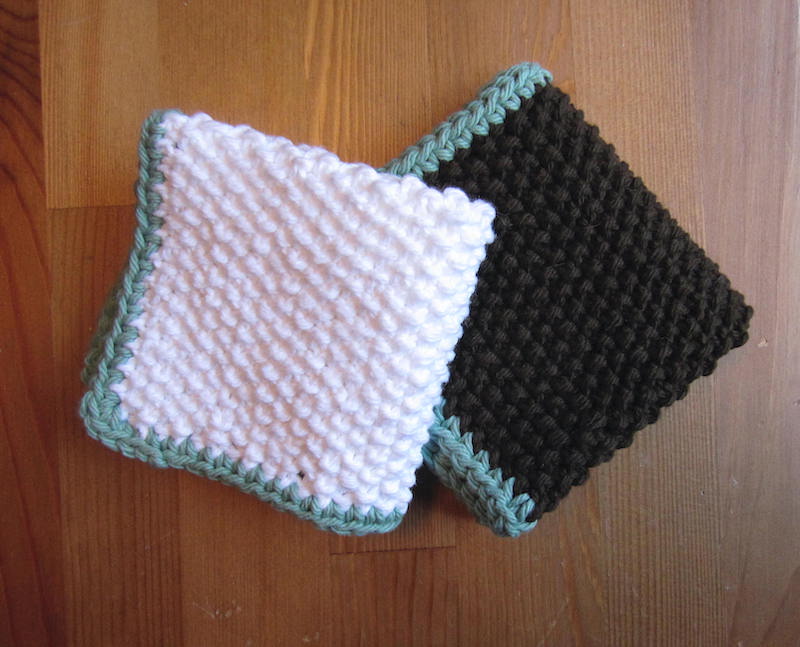
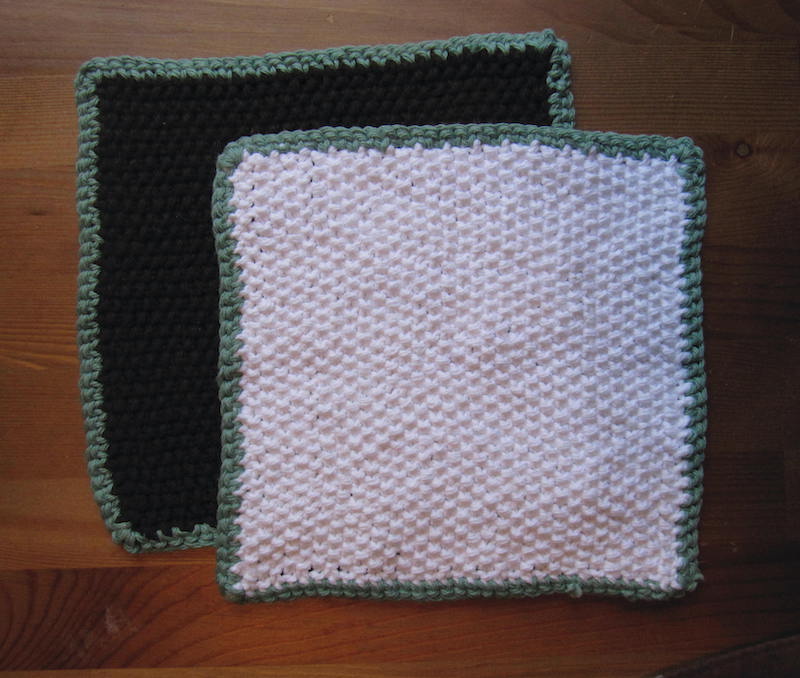
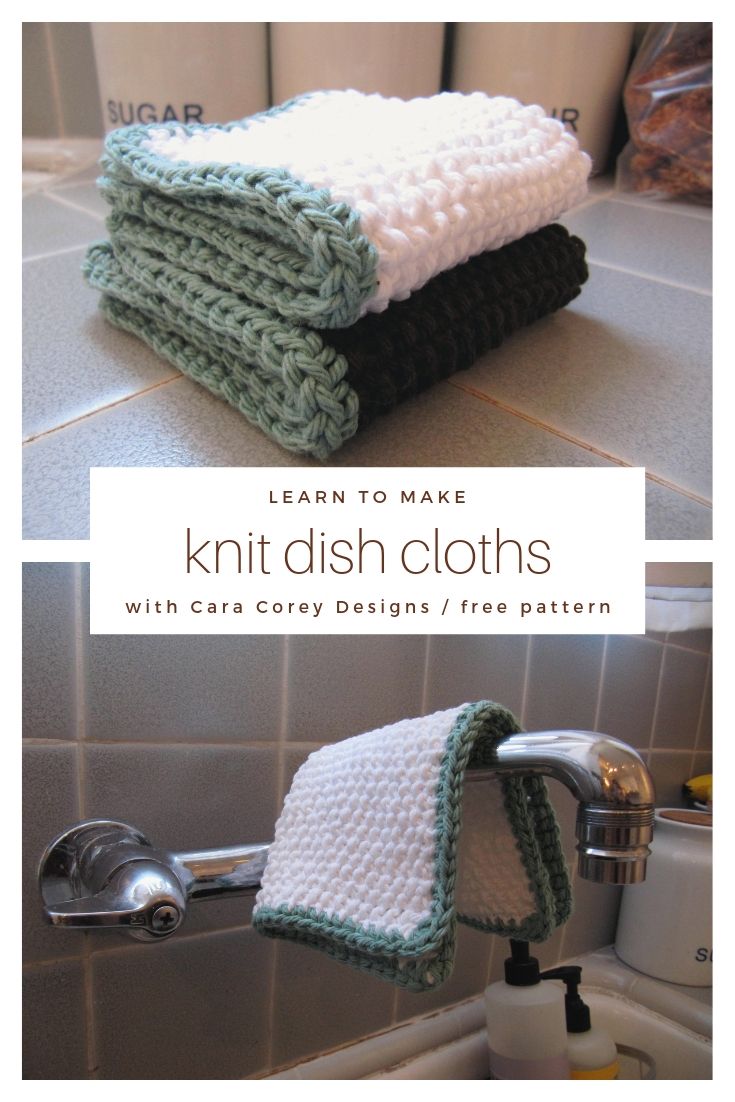
I discovered a few years ago that the world’s best dish scrubbers are handmade with inexpensive cotton yarn. But I’d always thought it was the bobbled crochet stitch that made them so great. Not so! I actually think that a seed stitch works even better for creating a grime-fighting texture. And I love the way my dish cloths look, with a neat crochet trim in a coordinating color. They’re like tiny versions of the baby blankets I used to sell. Seed stitch dish clothsMaterials Worsted weight cotton yarn in two colors Size 7 knitting needles Size G/6 crochet hook Yarn needle Instructions With the knitting needles, CO 33 stitches with the main color. Work in seed stitch pattern (K1, P1) across the first row, and all subsequent rows until piece measures as tall as it is wide (should be about 7.5 inches). Bind off in pattern. Starting on the right side of the BO row, insert the crochet hook into the top of any stitch and pull the second color through. Begin to SC a border around the entire edge of the piece, putting 3 SC into each corner. When you reach the stitch where you started, slip stitch through it, and then snip off the yarn. Weave in ends. You’ll definitely want to block these to make sure they come out nice and square.
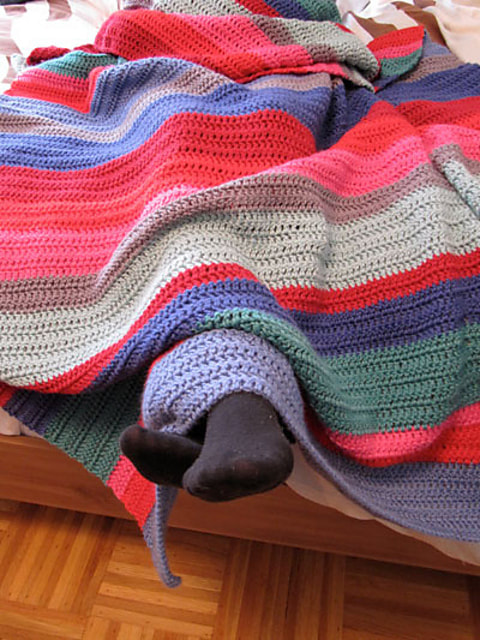
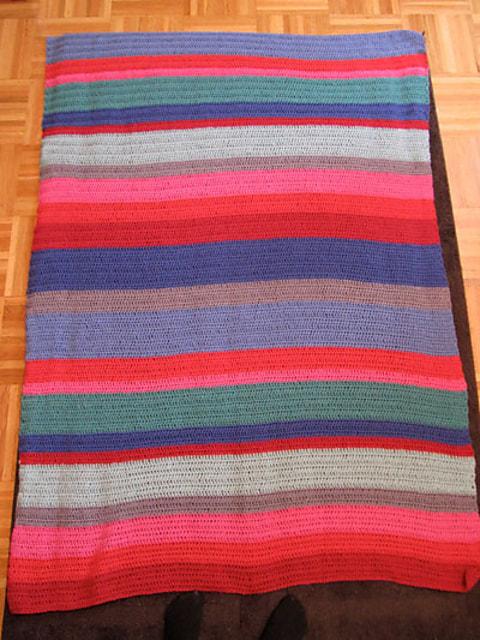
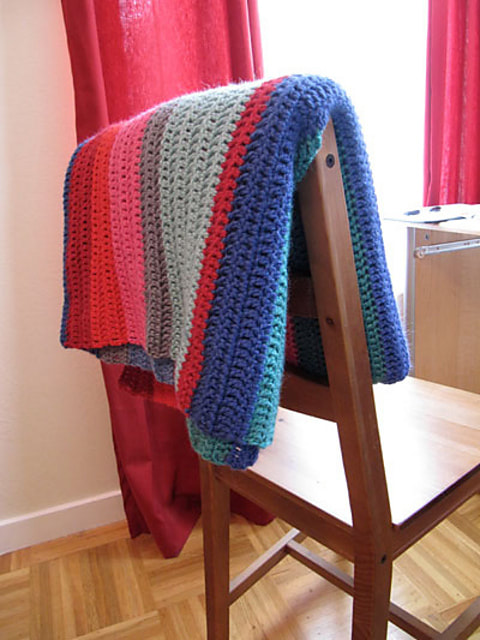
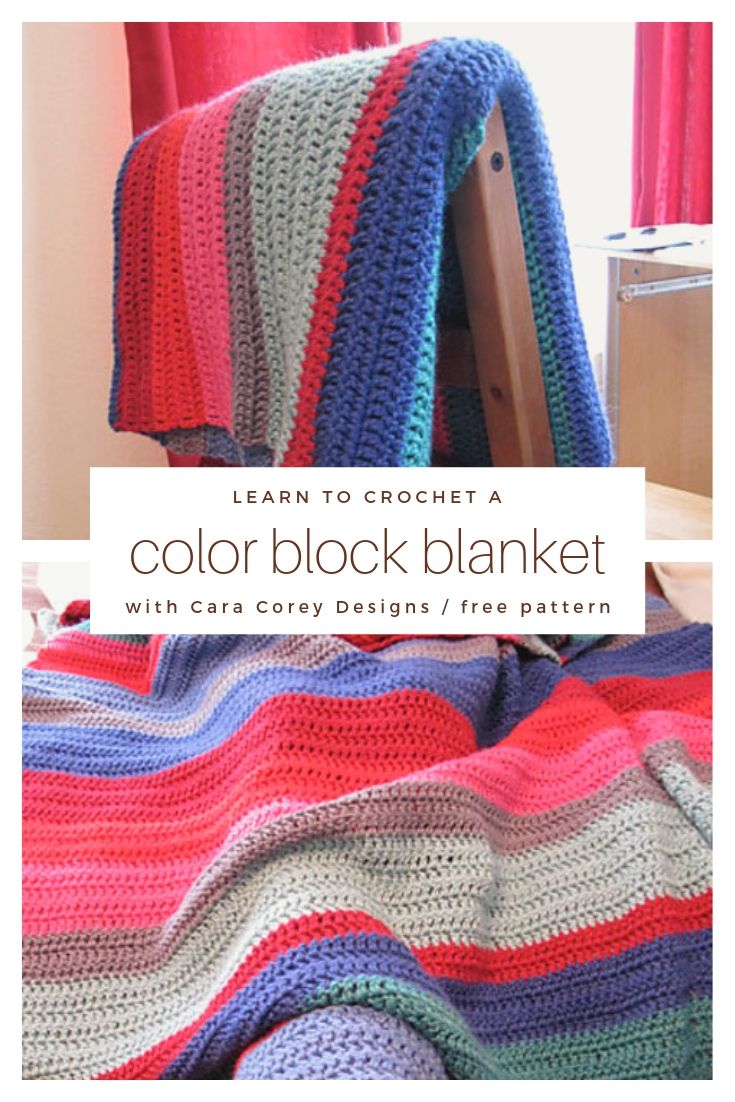
I made this blanket years ago, and even though the yarn has been discontinued, I still think it’s a great project that you can make with any worsted weight yarn that comes in 8 colors. Use the color block sequence to help you decide how many rows of each color to do. Here is the original post: I had a bunch of leftover yarn from a secret project, so I got to thinking it would make an adorable blanket with blocks of bright colors. The final version was just about big enough to cover my 4’x6′ rug. Since I was using my leftovers, but also had to buy some new yarn, my blanket isn’t exactly perfect. But I’m pretty sure, putting this into a pattern, that you can make it with two skeins each of these: Stitch Nation Bamboo Ewe (55 percent bamboo, 45 percent wool) – Periwinkle (A), Geranium (B), Snapdragon (C), Mermaid (D), Twilight (E), Lipstick (F), Beach Glass (G), Mercury (H) *I’m sorry to say that this yarn has been discontinued, but you can use the pattern to create a stripe sequence with any worsted weight yarn that comes in 8 colors. You need a J/10 size crochet hook. Ch 152. DC across for a total of 150 stitches. (Here’s a refresher on double crochet.) The stripe sequence: 8 rows A 4 rows B 2 rows C 7 rows D 4 rows E 2 rows F 7 rows G 3 rows H 5 rows C 4 rows B 5 rows F Repeat once. (In between I added 8 rows E plus 4 rows H, but that is optional). I love the colors and the soft, fuzzy texture of this yarn. It’s just a happy blanket.
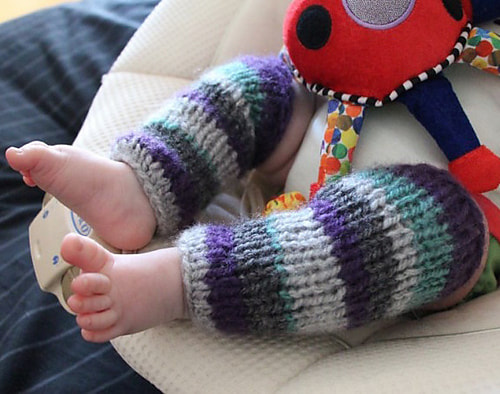
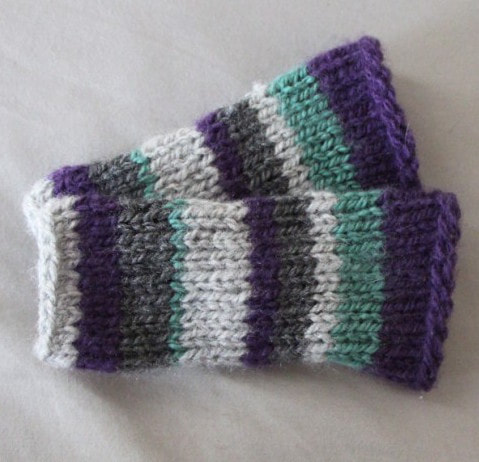
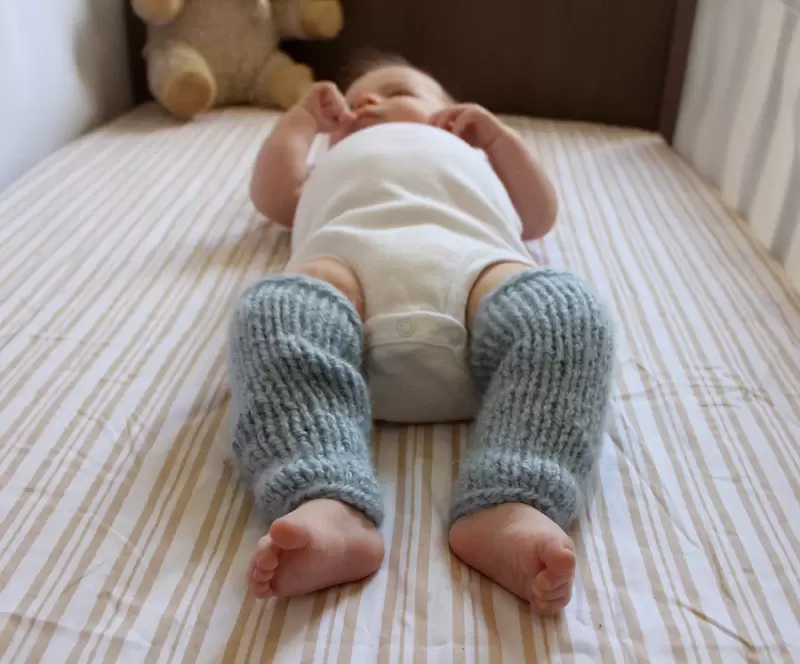
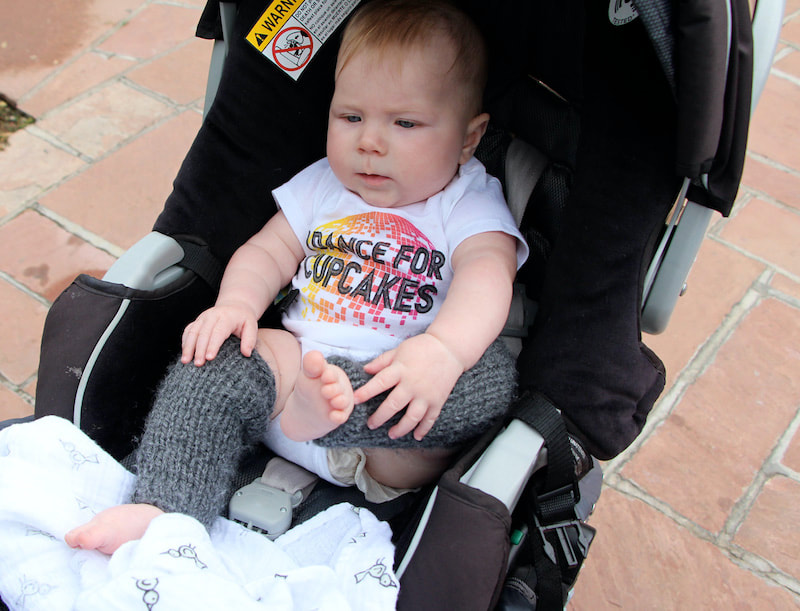
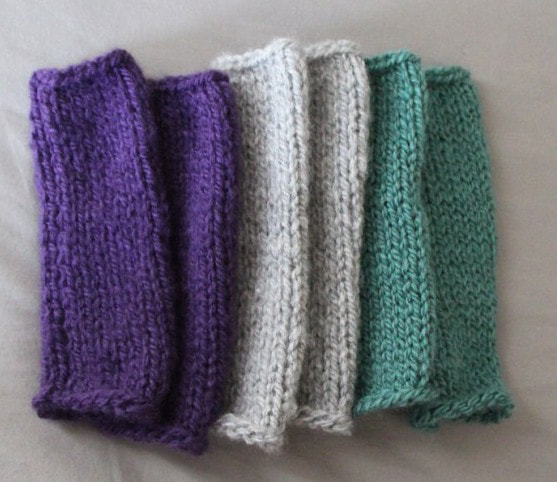
When my daughter Harper was a baby, I loved making legwarmers for her. The weather in northern California was often kind of chilly, so it was nice to have something to dress her in that could stay on while I was changing a diaper. Plus, I got so many compliments on her cute, fuzzy legs! The yarn I originally used was called Jiffy – it was thin but with enough fuzziness to bump it up to more of a bulky size. Sadly, this yarn has been discontinued, but you can substitute another fuzzy yarn or a bulky-weight yarn. Joann Fabrics sells a yarn called Big Twist Rainbow Classic that is quite similar. I’m keeping the pattern up because I think you could use the color block sequence as long as you have 4 colors. Stripey baby legwarmersMaterials • (Formerly) Lion Brand Jiffy yarn in colors: grape (A), country green (B), silver heather (C), and dark grey heather (D), (or any combination of 4 colors you like) *Try Joann Fabrics Big Twist Classic or another similar yarn • Size 10.5 straight knitting needles *If you don’t want a seam, you can always knit with DPNs or a magic loop instead. • Yarn needle to sew up seams Instructions (make 2) Cast on 18 stitches, leaving a 14-inch tail so you can sew up the seam at the end. Using a stockinette pattern (knit one row, purl one row), follow this stripe sequence: 5 rows A 4 rows B 2 rows C 3 rows D 2 rows A 3 rows C 1 row B 4 rows D 3 rows A 2 rows C Bind off on your last row of C. Using your yarn needle, weave in any loose strings to the back side of the piece and snip off the ends. You can actually use these ends to carefully sew up the seam, matching the colors on each side. But if you don’t have the patience for that (half the time I don’t!), you can just use the long tail from the beginning of your work to sew up the seam. To make solid color leg warmers, follow these instructions. You will only need one skein per pair. 0-3 months Cast on 18 stitches. Knit in stockinette pattern until piece measures 7 inches. Bind off. 3-6 months Cast on 20 stitches. Knit in stockinette pattern until piece measures 8 inches. Bind off. 6-12 months Cast on 22 stitches. Knit in stockinette pattern until piece measures 9 inches. Bind off. Finishing
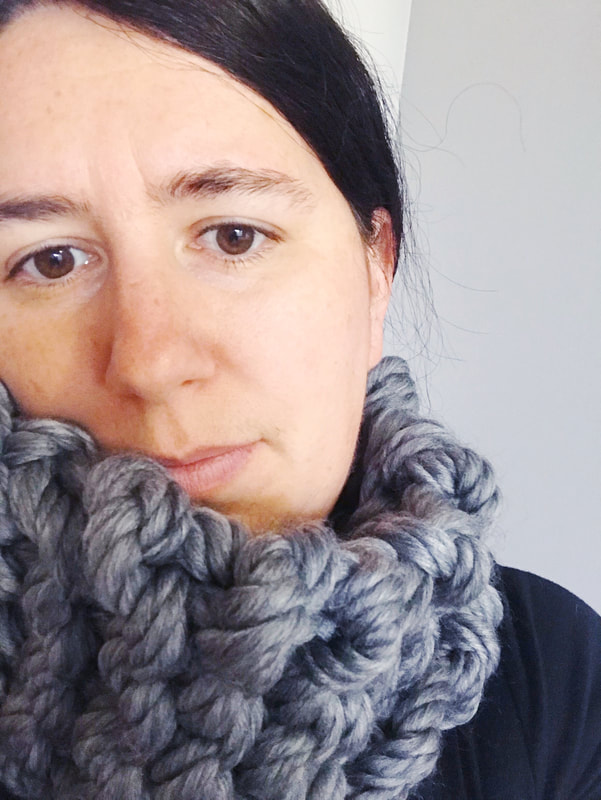
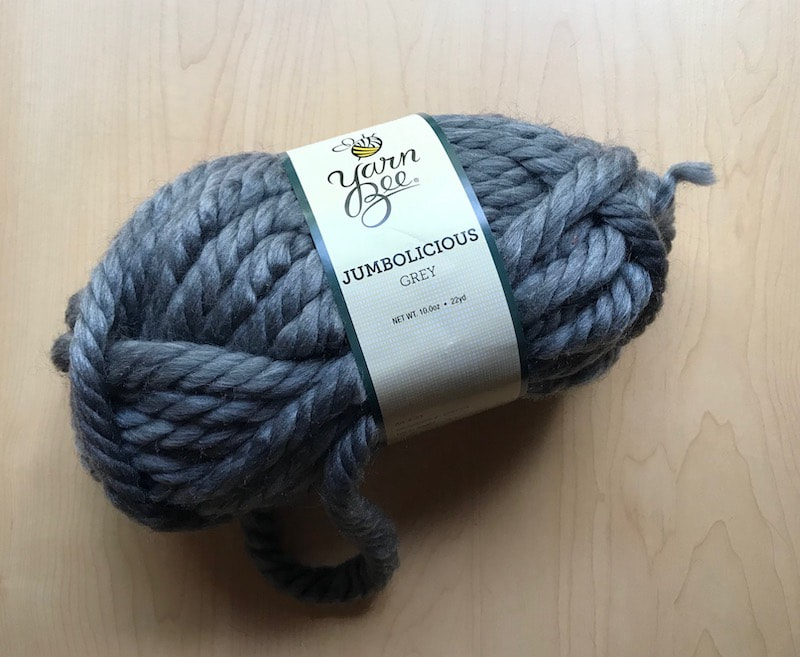
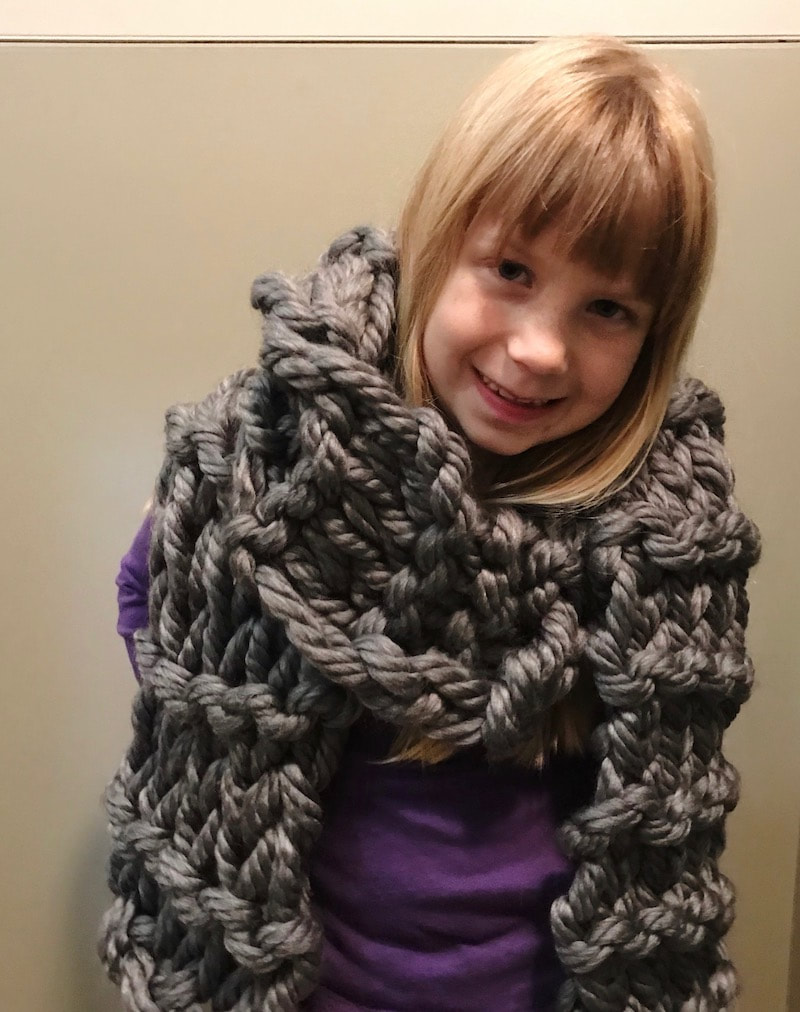
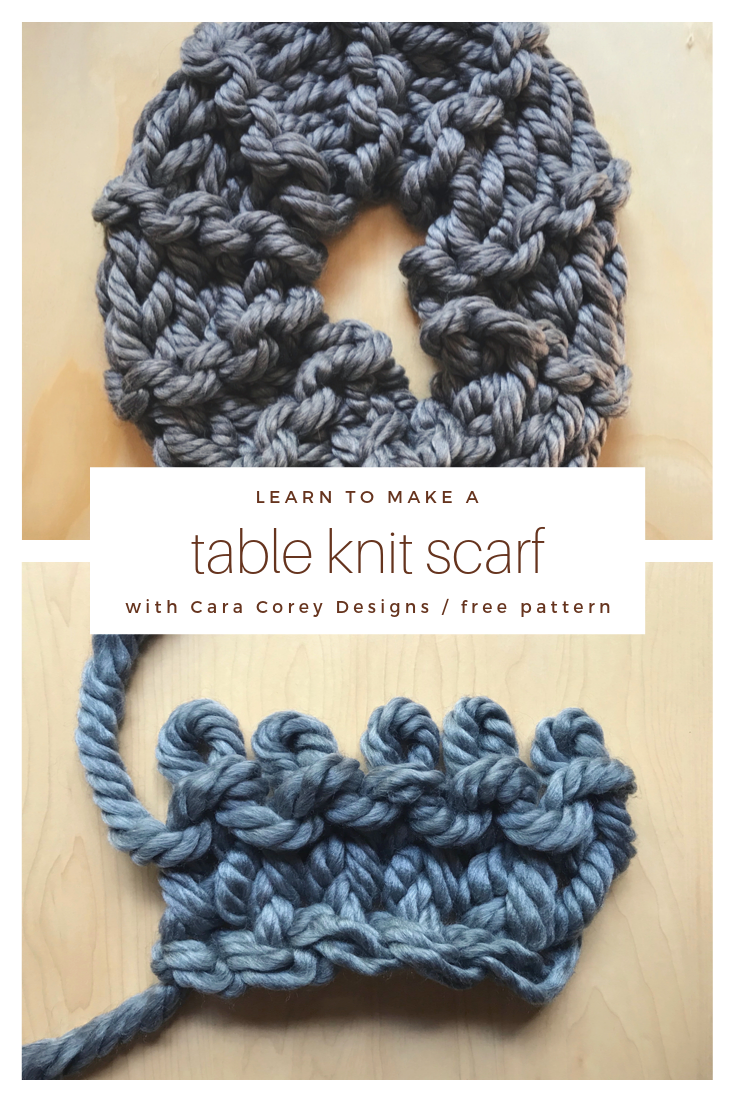
With right sides facing, use the long tail of yarn you left at the beginning of the piece to sew a seam all the way up to the top. You can use mattress stitch, or your favorite seaming stitch. Then snip off any extra yarn and turn the leg warmer right-side-out. Repeat with the second one. I usually use the “table knitting” technique for my giant blanket classes. But you can use it to make a lot of other things, too. The basic idea is that you lay the project flat on a table and make the loops with your fingers so you don’t have to use knitting needles. Since you don’t have to switch hands at the end of every row, the knitting is actually a lot easier. But if your yarn is too thin, your loops will be small and likely come undone. So table knitting is best used for projects with a big, chunky yarn. This pattern uses a super thick and soft jumbo yarn, so it works up very quickly. And instead of doing a flat stockinette stitch, as I traditionally teach, you will use purl stitches to create some ribbing in your scarf. This particular pattern is also different on the front and back sides. If you want to make a small cowl, you will only need 1 skein of yarn. If you’d like to make a double-loop cowl or a long scarf, you’ll need a second skein. If you can’t find this exact yarn, look for another jumbo (size 7) yarn. There are a lot out there now! Table knit cowl or scarfMaterials 1 skein Yarn Bee Jumbolicious yarn (22 yards) for single loop cowl, 2 skeins for double-loop cowl or long scarf – sold at Hobby Lobby stores (other jumbo (size 7) yarns will also work, try Ariel Big or similar from Michaels *If you would like to knit the scarf with needles, you can use a size 50/25 mm set, or even bigger needles if you can find them. Instructions You’re going to start by making a crochet chain. Since you don’t have needles to hold the stitches, you have to create a base. Make a slip knot with enough room in the loop to get two of your fingers through – about 1.5 inches. Now you’re going to pull a loop through your first loop. That makes a chain stitch. Hold the bottom of that stitch tightly so it doesn’t change size and then pull a loop through it to make another chain. Continue until you have five chains plus an extra loop sticking out. Lay the chain flat on the table with the loop sticking out to the right. Then lift the loop so it’s standing up on top of the chain to the left of it. The loop becomes the first stitch of your new row. Now reach under the top of the next chain and pull a loop through. It should be the same size as the first loop (with 1.5 inches of space inside). Continue pulling loops through until you have five new loops. That’s your first row of stitches. For the second row, you are going to do the same thing, but work left to right. Reach into the first loop and pull another loop through. Your main objective is to make sure the loops are all the same size since you don’t have needles to size them for you. Continue down the row until you have five stitches complete. For the third row, you are going to create purl stitches instead of knit stitches. All that means is that instead of reaching through the loops to pull new yarn from the back side, you are going to push a loop through the front side so that the knotty part of the stitch shows in front. Continue down the row making these purl loops. For the rest of your scarf or cowl, you will continue with this pattern of 2 rows regular knitting and 1 row of purl stitches. *If you are using needles, your pattern is different because of the switching needles at the end of every row. It is 3 rows knit, 3 rows purl for the entire scarf. You can decide how long you want your scarf to be. For a one-loop cowl, you will probably want to use the whole skein, so just leave yourself enough yarn to bind off the last row and then seam up the sides. If you’re using two skeins, you can stop when you feel the scarf is long enough. Finishing Binding off is similar to regular knitting. You start your last row by knitting two stitches. Now take the second stitch you knit and push it through the middle of the first stitch. You should be down to one stitch now. Knit another stitch so that you’re back to having two. Stick the second one through the middle of the first. Now that one is bound off and you’re back to one. Continue in this pattern until you have one loop left. Take the remaining yarn and pull it through the middle of that stitch. Pull it until it tightens into a knot. Now it won’t come unraveled. For the scarf, you will just weave in both yarn ends and snip off any remaining yarn. For the cowl, you will use the last bit of yarn to sew a seam. Start by matching up both ends of the cowl making sure you don’t add a twist (unless you want a twist!). Then take a stitch from each side and press them together so that it’s easy to run the yarn through both of them. I like to use a whip stitch, going outside to inside down the row of stitches. It looks kind of like a spiral at the end. But you can use whatever stitch you like. When you reach the end, tie a knot in the yarn to make sure it doesn’t come undone. Then you can snip off any extra yarn. Since the cowl is two-sided, you can decide which side you want to be on the outside. Either way, it’s super warm. By the way, this would be a great project for kids to get started with knitting. They could go down to four stitches and have a kid-sized scarf with just one skein.
|
by CaraNeed a quick and easy project? These beginner-friendly patterns work up in no time. ArchivesCategories |
 RSS Feed