|
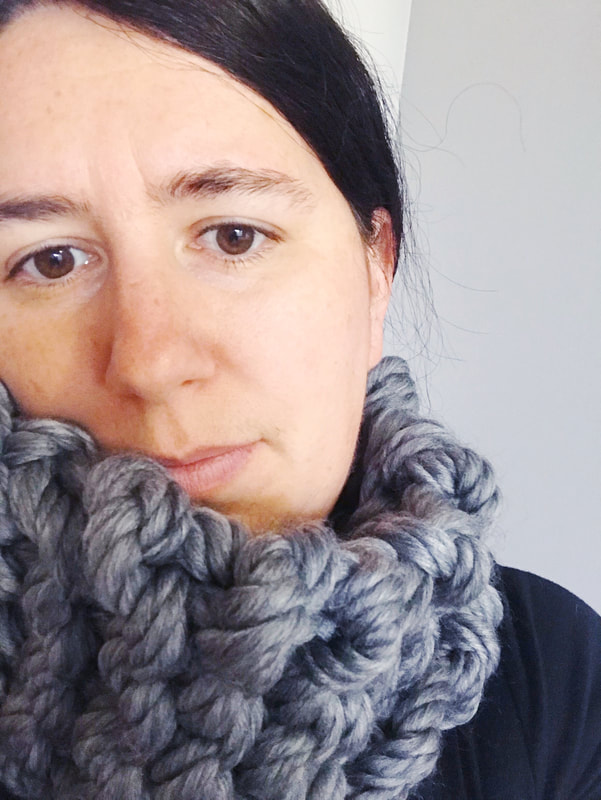
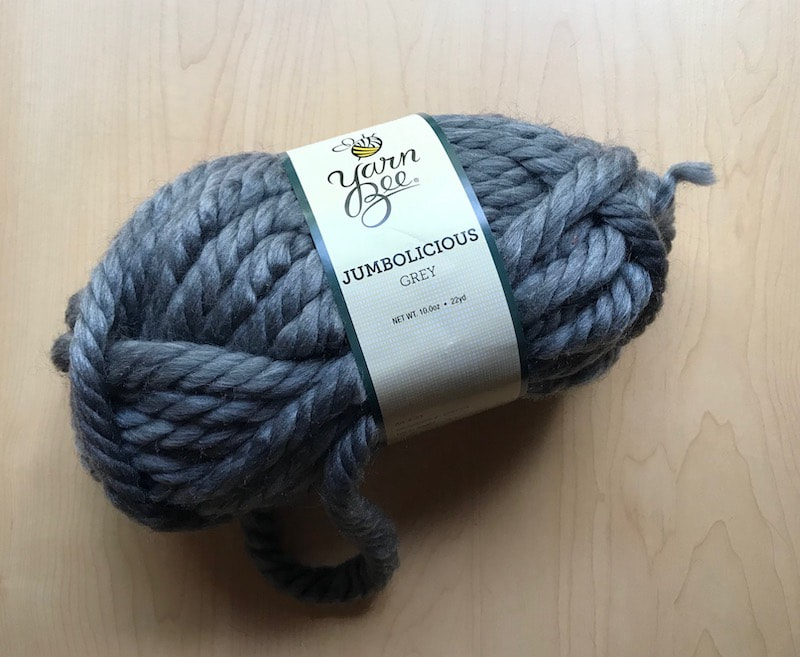
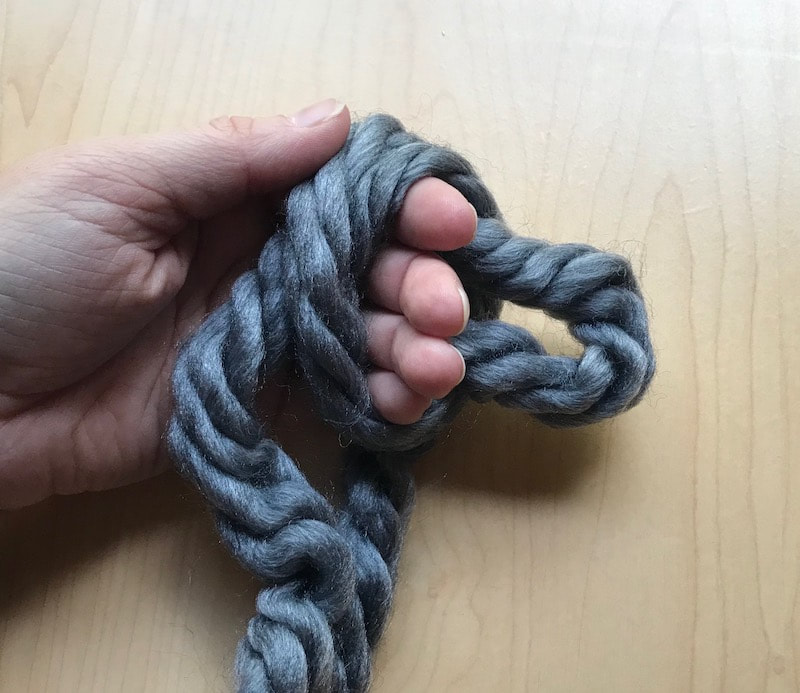
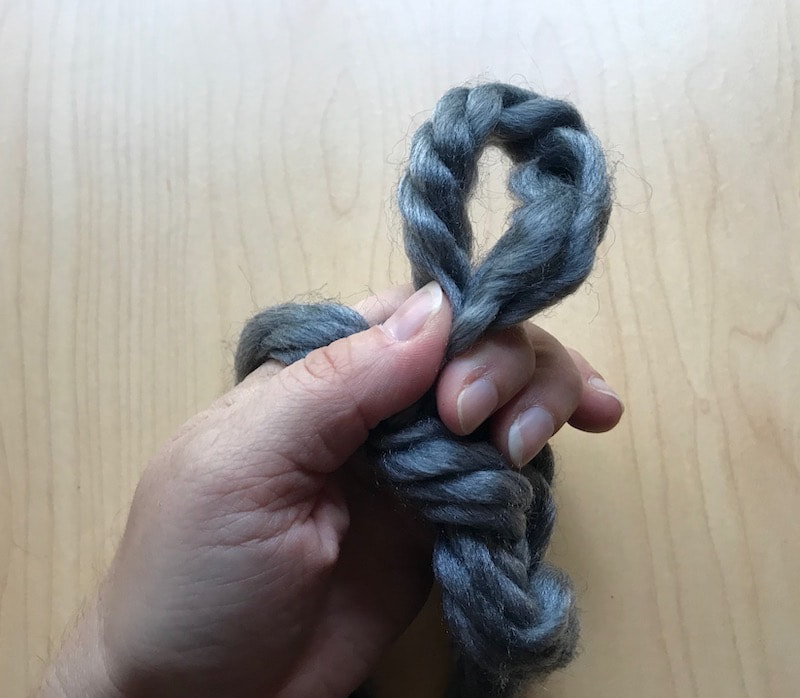
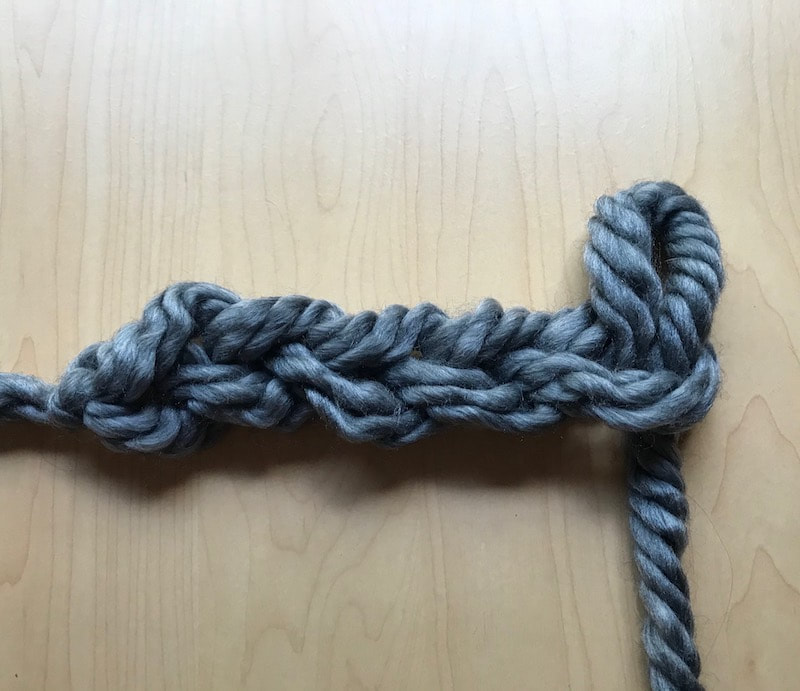
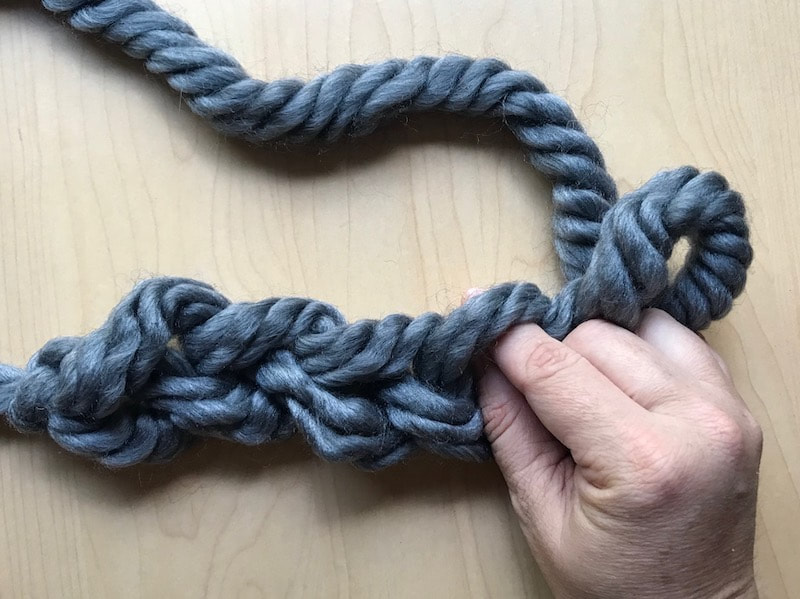
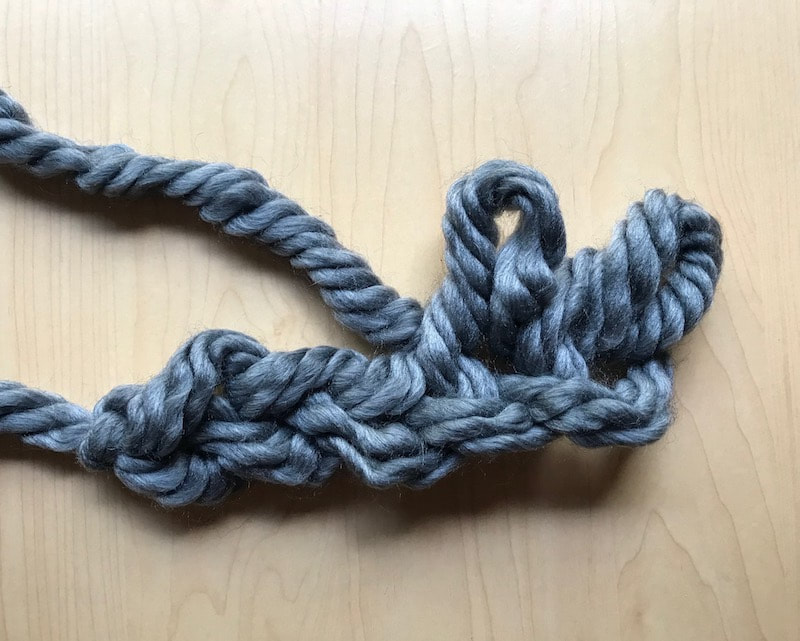
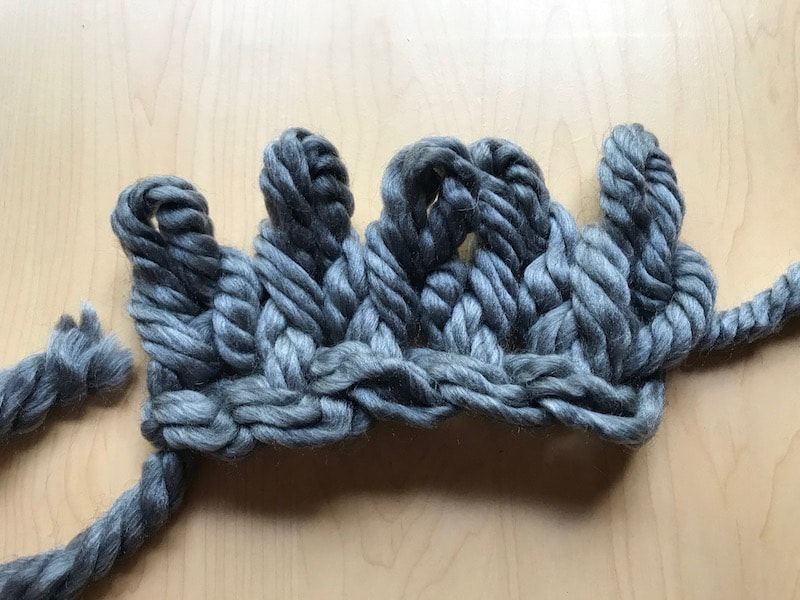
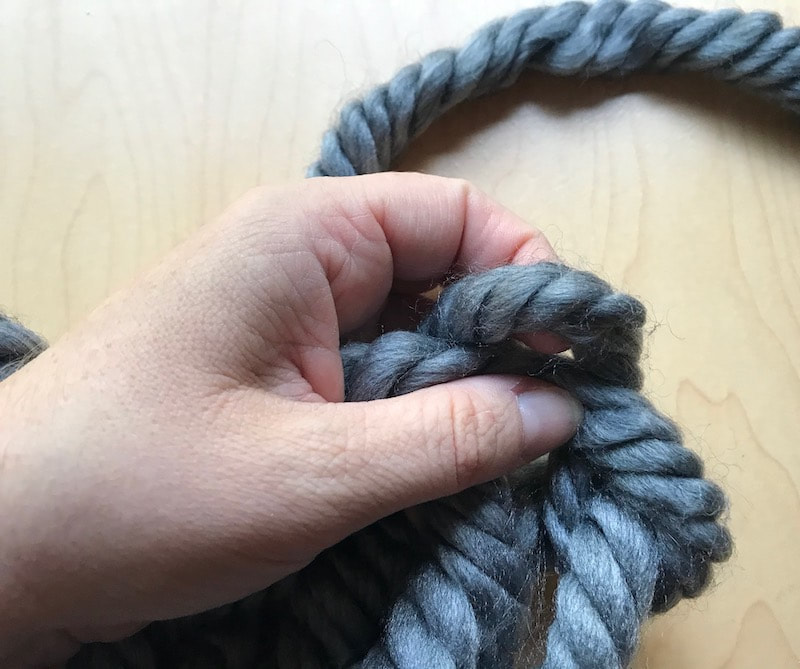
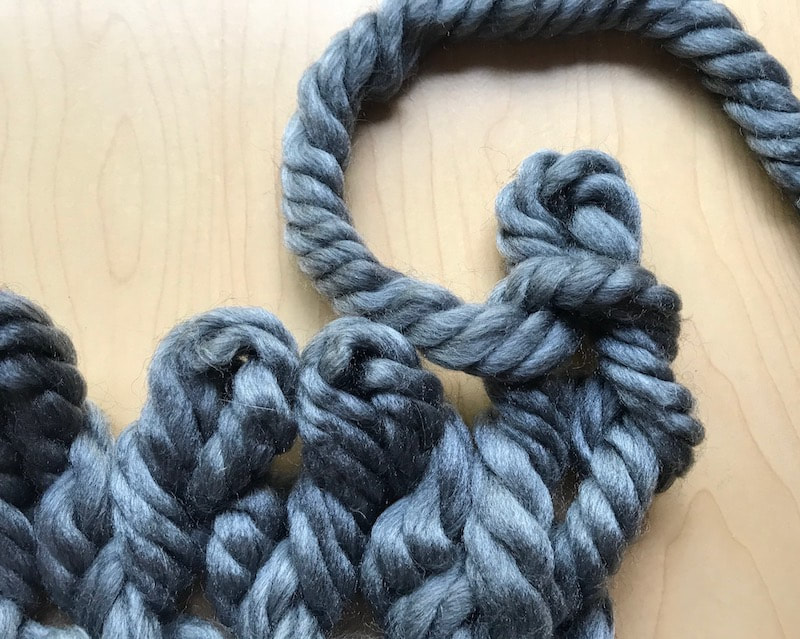
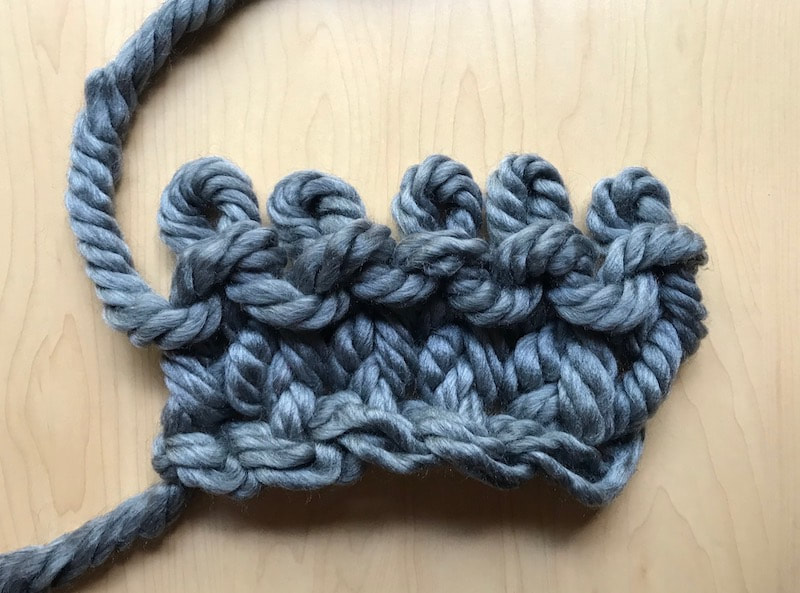
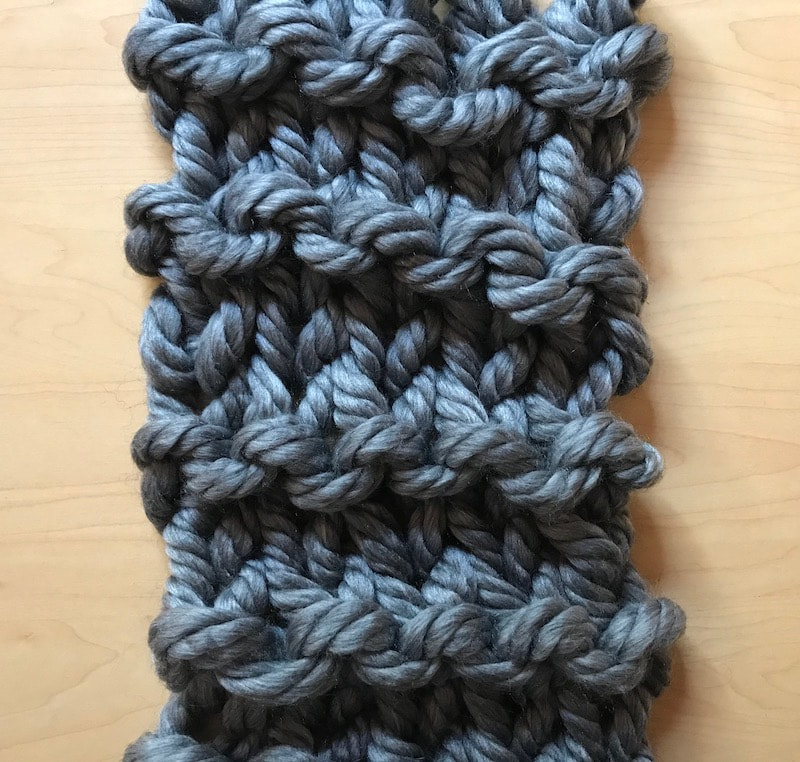
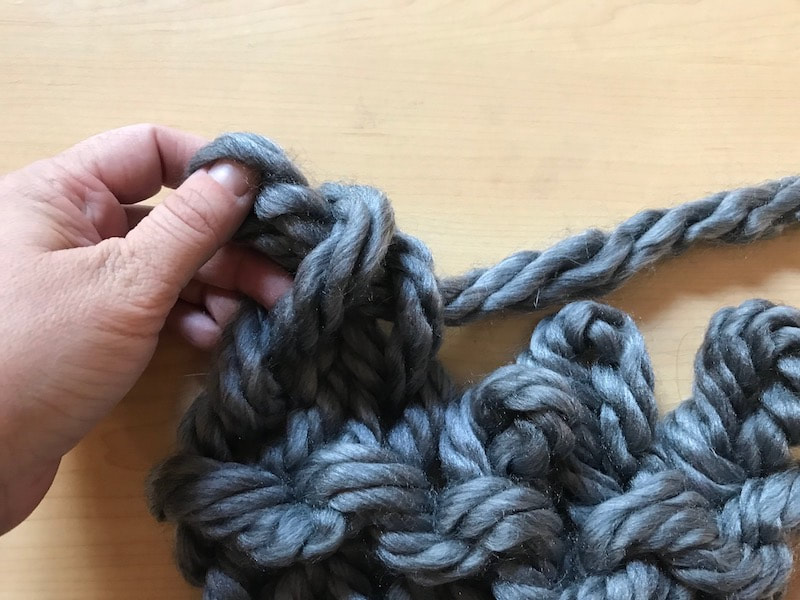
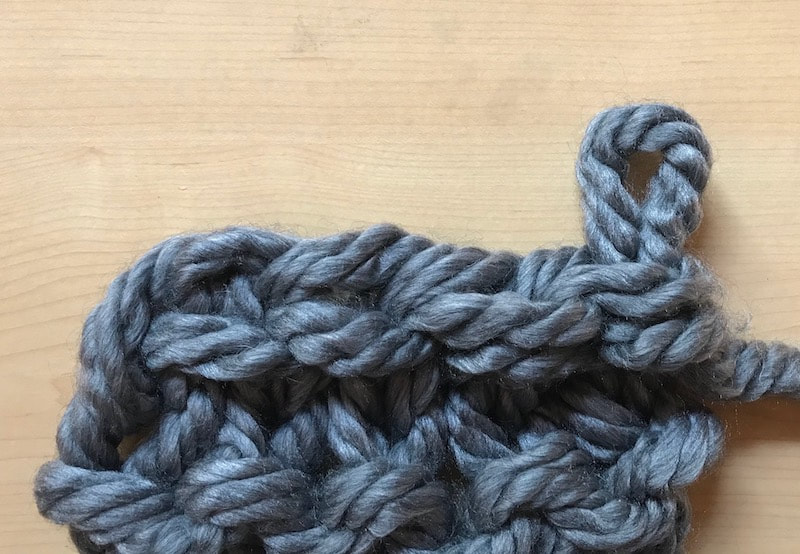
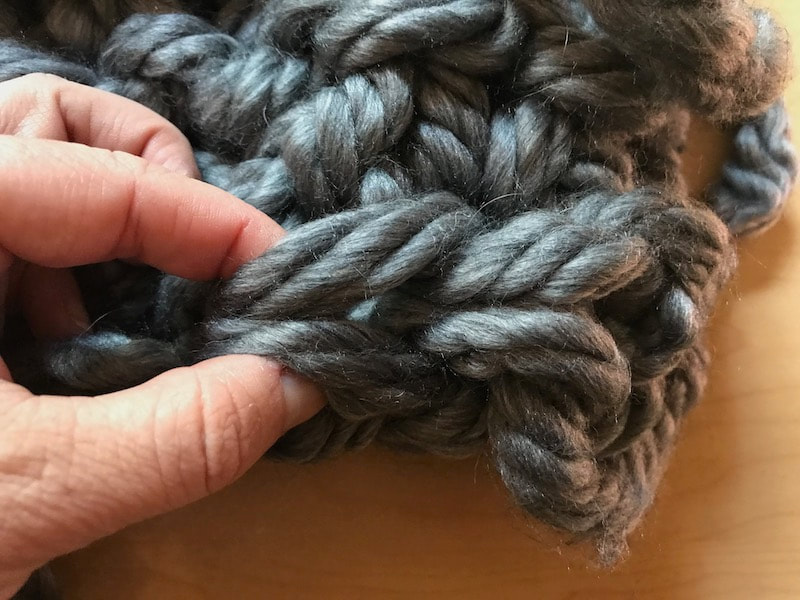
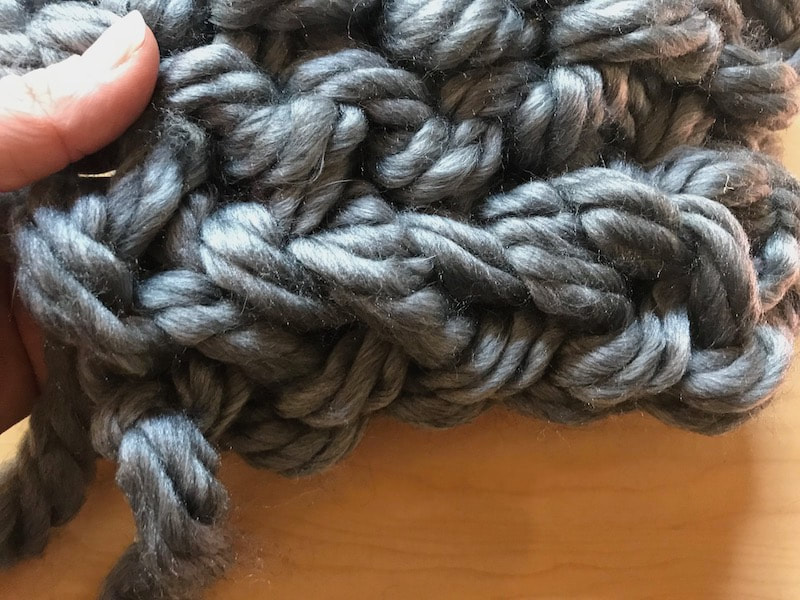
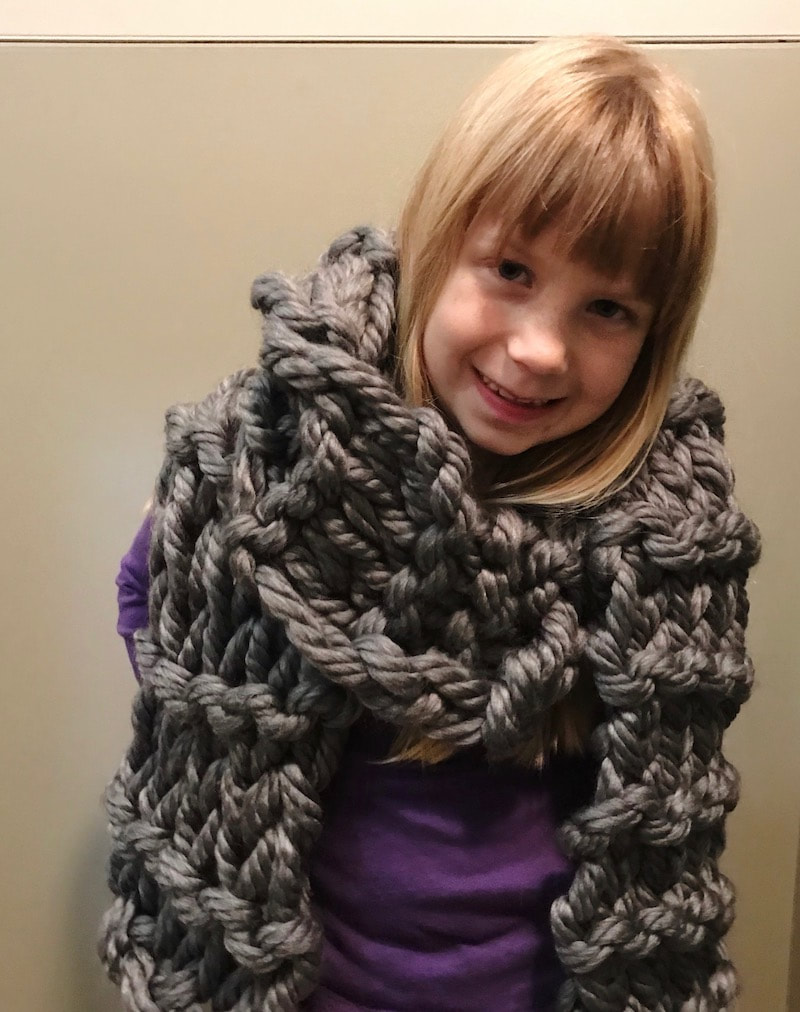
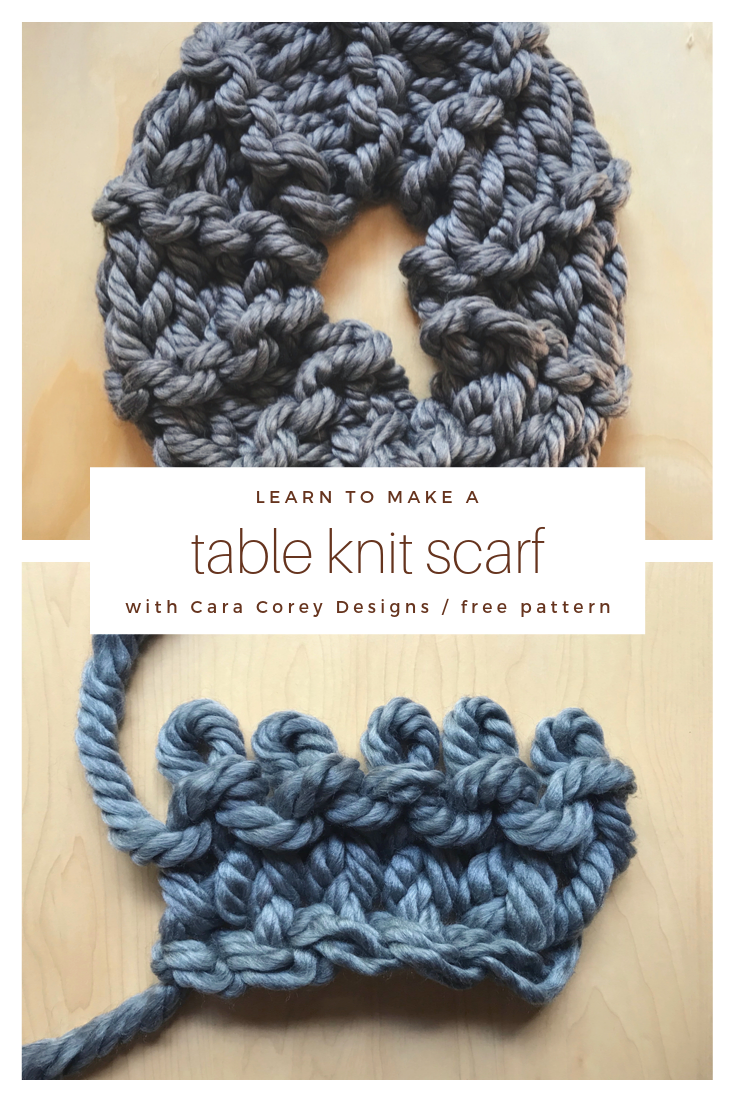
I usually use the “table knitting” technique for my giant blanket classes. But you can use it to make a lot of other things, too. The basic idea is that you lay the project flat on a table and make the loops with your fingers so you don’t have to use knitting needles. Since you don’t have to switch hands at the end of every row, the knitting is actually a lot easier. But if your yarn is too thin, your loops will be small and likely come undone. So table knitting is best used for projects with a big, chunky yarn. This pattern uses a super thick and soft jumbo yarn, so it works up very quickly. And instead of doing a flat stockinette stitch, as I traditionally teach, you will use purl stitches to create some ribbing in your scarf. This particular pattern is also different on the front and back sides. If you want to make a small cowl, you will only need 1 skein of yarn. If you’d like to make a double-loop cowl or a long scarf, you’ll need a second skein. If you can’t find this exact yarn, look for another jumbo (size 7) yarn. There are a lot out there now! Table knit cowl or scarfMaterials 1 skein Yarn Bee Jumbolicious yarn (22 yards) for single loop cowl, 2 skeins for double-loop cowl or long scarf – sold at Hobby Lobby stores (other jumbo (size 7) yarns will also work, try Ariel Big or similar from Michaels *If you would like to knit the scarf with needles, you can use a size 50/25 mm set, or even bigger needles if you can find them. Instructions You’re going to start by making a crochet chain. Since you don’t have needles to hold the stitches, you have to create a base. Make a slip knot with enough room in the loop to get two of your fingers through – about 1.5 inches. Now you’re going to pull a loop through your first loop. That makes a chain stitch. Hold the bottom of that stitch tightly so it doesn’t change size and then pull a loop through it to make another chain. Continue until you have five chains plus an extra loop sticking out. Lay the chain flat on the table with the loop sticking out to the right. Then lift the loop so it’s standing up on top of the chain to the left of it. The loop becomes the first stitch of your new row. Now reach under the top of the next chain and pull a loop through. It should be the same size as the first loop (with 1.5 inches of space inside). Continue pulling loops through until you have five new loops. That’s your first row of stitches. For the second row, you are going to do the same thing, but work left to right. Reach into the first loop and pull another loop through. Your main objective is to make sure the loops are all the same size since you don’t have needles to size them for you. Continue down the row until you have five stitches complete. For the third row, you are going to create purl stitches instead of knit stitches. All that means is that instead of reaching through the loops to pull new yarn from the back side, you are going to push a loop through the front side so that the knotty part of the stitch shows in front. Continue down the row making these purl loops. For the rest of your scarf or cowl, you will continue with this pattern of 2 rows regular knitting and 1 row of purl stitches. *If you are using needles, your pattern is different because of the switching needles at the end of every row. It is 3 rows knit, 3 rows purl for the entire scarf. You can decide how long you want your scarf to be. For a one-loop cowl, you will probably want to use the whole skein, so just leave yourself enough yarn to bind off the last row and then seam up the sides. If you’re using two skeins, you can stop when you feel the scarf is long enough. Finishing Binding off is similar to regular knitting. You start your last row by knitting two stitches. Now take the second stitch you knit and push it through the middle of the first stitch. You should be down to one stitch now. Knit another stitch so that you’re back to having two. Stick the second one through the middle of the first. Now that one is bound off and you’re back to one. Continue in this pattern until you have one loop left. Take the remaining yarn and pull it through the middle of that stitch. Pull it until it tightens into a knot. Now it won’t come unraveled. For the scarf, you will just weave in both yarn ends and snip off any remaining yarn. For the cowl, you will use the last bit of yarn to sew a seam. Start by matching up both ends of the cowl making sure you don’t add a twist (unless you want a twist!). Then take a stitch from each side and press them together so that it’s easy to run the yarn through both of them. I like to use a whip stitch, going outside to inside down the row of stitches. It looks kind of like a spiral at the end. But you can use whatever stitch you like. When you reach the end, tie a knot in the yarn to make sure it doesn’t come undone. Then you can snip off any extra yarn. Since the cowl is two-sided, you can decide which side you want to be on the outside. Either way, it’s super warm. By the way, this would be a great project for kids to get started with knitting. They could go down to four stitches and have a kid-sized scarf with just one skein.
0 Comments
Leave a Reply. |
by CaraNeed a quick and easy project? These beginner-friendly patterns work up in no time. ArchivesCategories |
 RSS Feed